Here is an step-by-step tutorial on how to fold an origami turtle that is easy to follow and make adorable paper turtles!
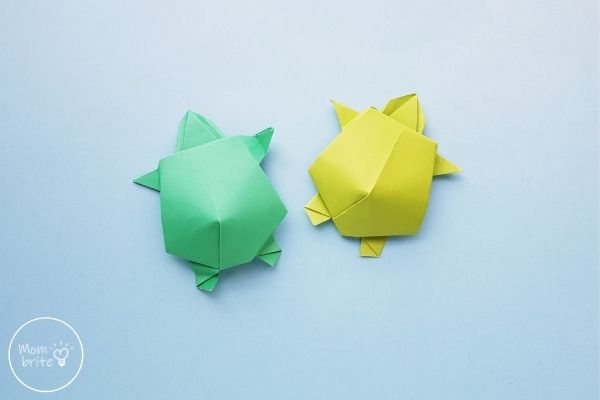
Origami is a great way to keep kids busy while they learn important skills such as mental concentration, sequencing, visual-spatial skills, and much more. Plus, you can do them anywhere, including on car rides and at an airport. All you need is a piece of paper!
If your kids are starting out with paper folding, the origami turtle or tortoise is an easy one to start with. There are no complicated folds, so your kids can make a cute paper turtle by following the steps closely.
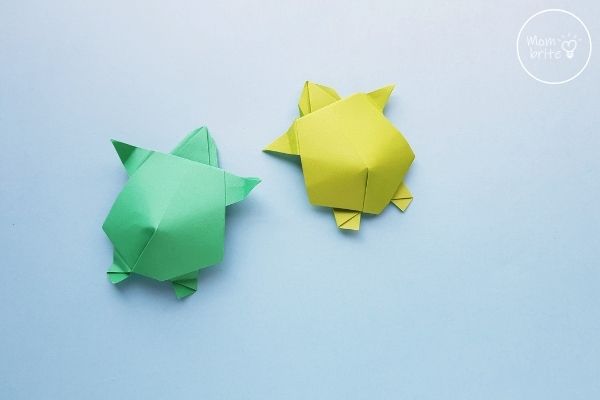
These origami turtles are cool because they are 3D, with an elevated shell just like a real turtle. Your kids can make a handful of them to create a turtle family that they can use for pretend play.
How to Make an Origami Turtle
Materials:
- Square paper (such as origami paper)
- Optional: glue stick
Instructions:
1. Start with a square piece of paper (we used green for our origami turtle). If you only have rectangular paper at home, you can check out the beginning steps of this paper bow craft to see how you can trim it to a square.
Fold the square paper in half vertically and then unfold it. This will form a crease along the center of the paper.
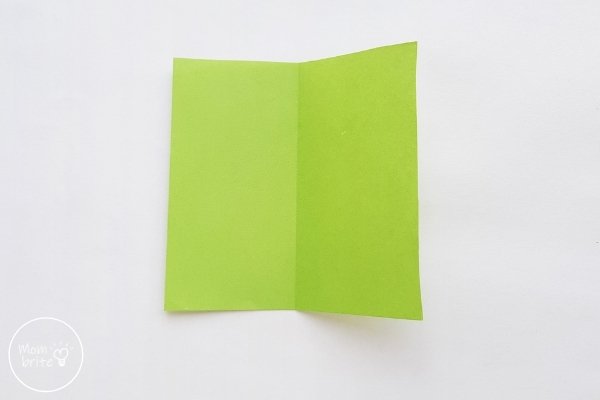
2. Hold the top right corner of the paper and fold it inward toward the center crease. Similarly, fold the top left corner of the paper.
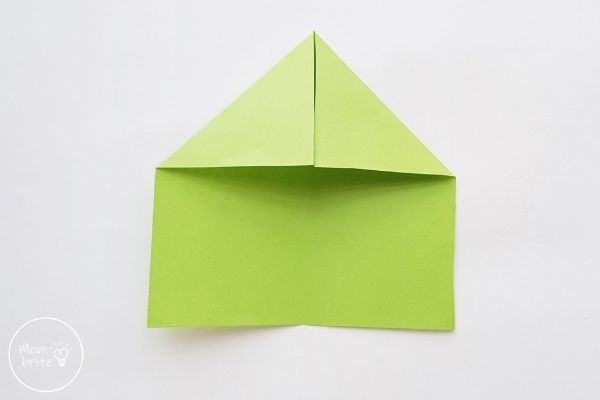
3. Flip the paper over.
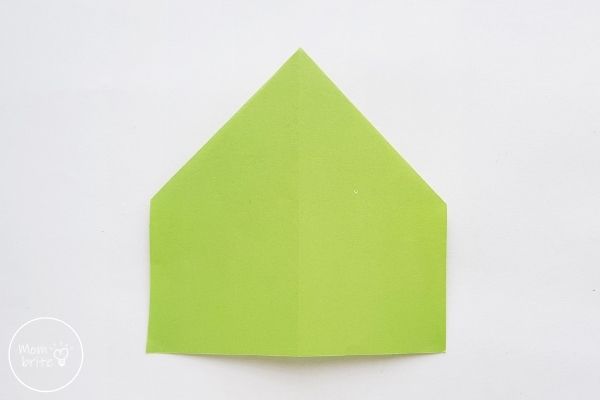
4. Fold the top right and left slants down along the center crease.
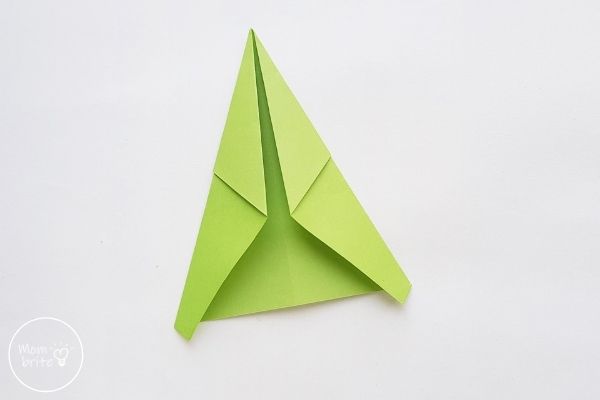
5. Open up the top right and left folds in the back.
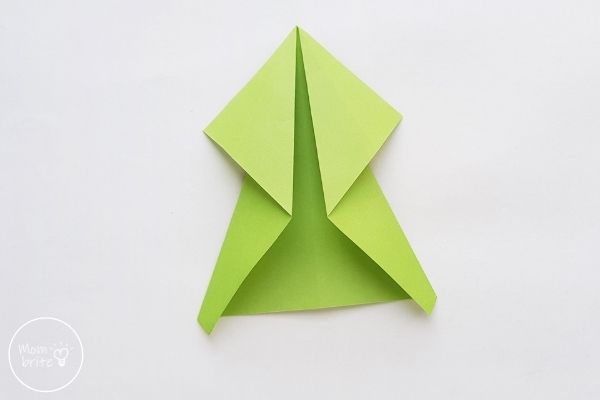
6. Fold the right and left lower parts up along the center line.
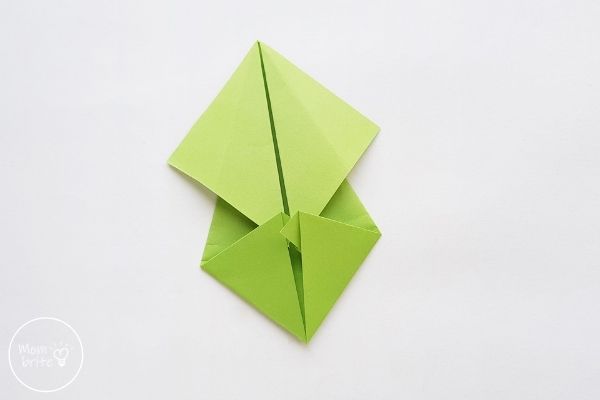
7. Fold the top portion of the left and right bottom flaps downward.
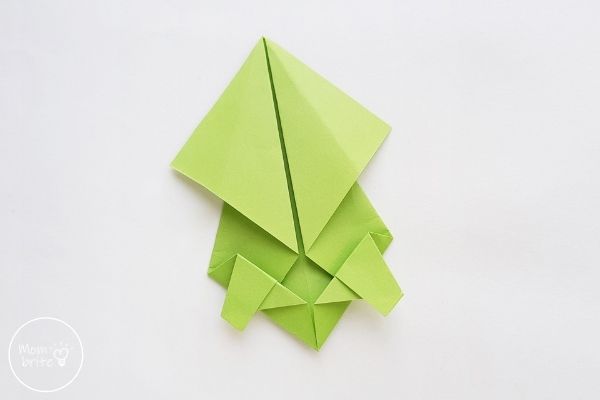
8. Fold the top corner of the diamond down the middle so that it is aligned with the bottom corner.
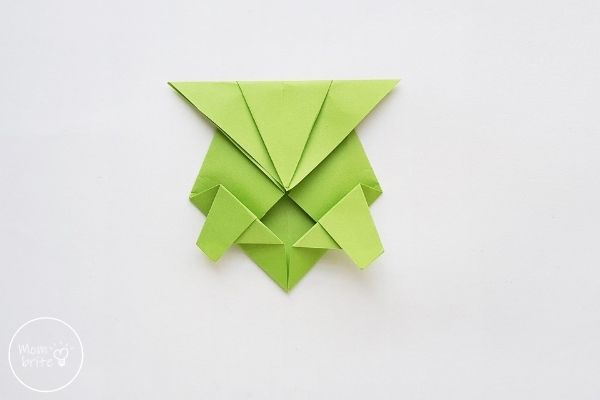
9. Fold about 3/4 of the top part up.
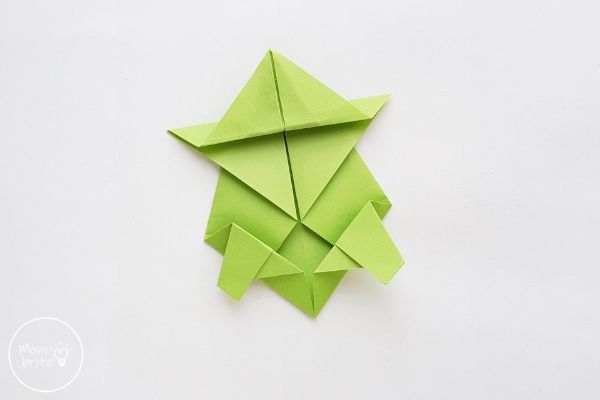
10. Hold the left edge of the top part and start pushing the middle of the edge inward.
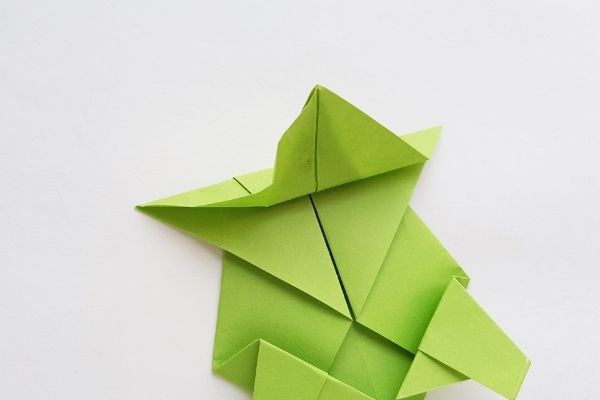
11. Continue until you can create a flatten the fold.
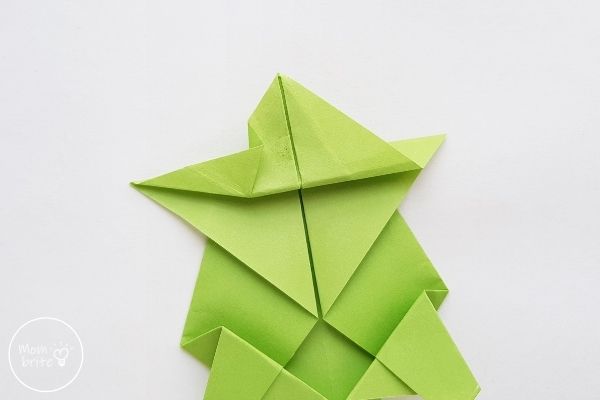
12. Repeat the same on the other side.
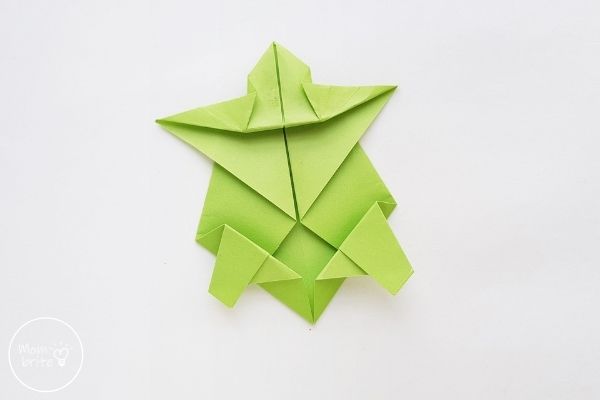
13. Flip the paper over. It almost looks like a turtle! Now, we need to make its shell and tail.
Hold the tail part of the paper turtle and fold it slightly along the crease. Squeeze the fold tightly, and you should now have an arch, giving the back of the turtle a more turtle shell feel.
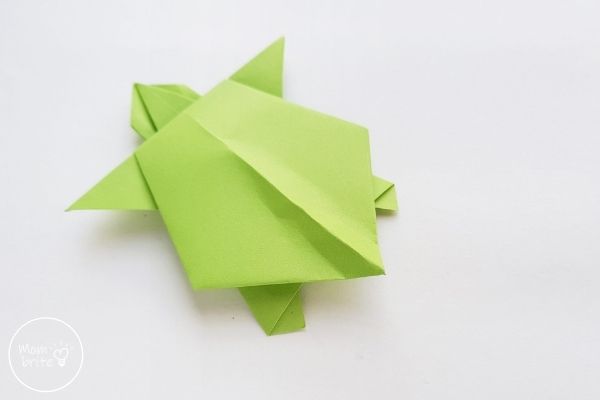
14. Fold the paper over to either side of the crease.
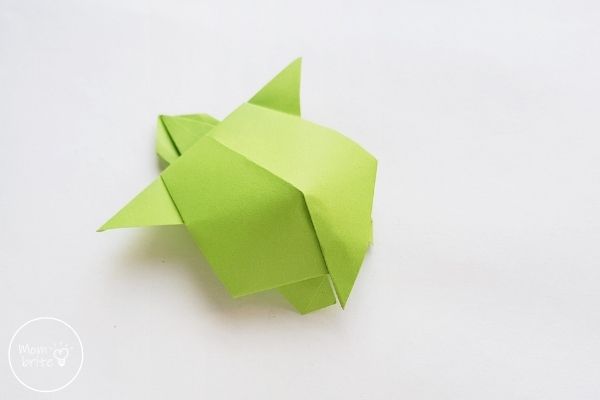
15. Flip the paper over and tuck the tip of the tail inside the shell. Glue the tip if necessary.
Fold the front legs of the turtle inward and then fold about 3/4 of the arms outward. Then, fold the hind legs along the edges of the turtle shell.
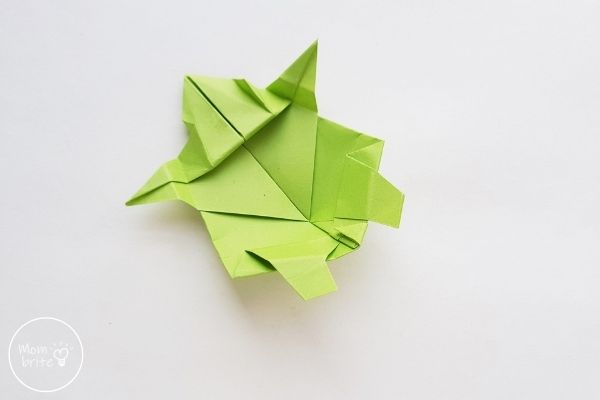
16. Flip the paper back over. The 3D origami turtle is ready!
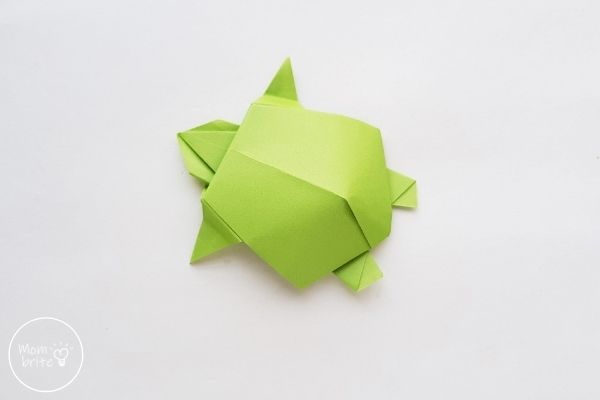
The thing with origami is that once you make one, you will want to practice and make another. Good thing you can get a pack of origami paper at a fairly cheap price so that your kids can have fun folding paper turtles all day!
Related Posts:

it was fun and cool at the same time i am a kid that had fun and my mom also had fun