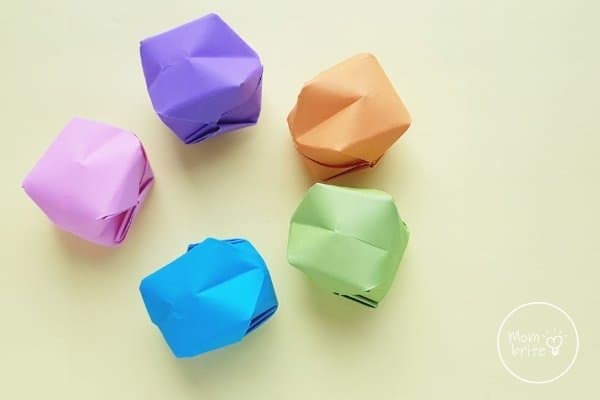
Making origami balloons is a quick and fun activity to do with your kids. It’s amazing how you can use paper and after some folding, blow it up just like a balloon. You can toss it around, play catch, or even throw them at targets!
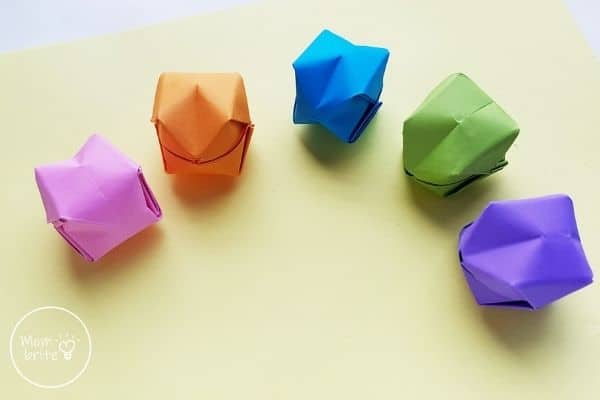
My kids love balloons and we go through them so fast as we use them for science experiments and exhilarating indoor games. There are some days when we find that we are out of balloons! No balloons, no problem. Grab a piece of paper, and you can make an origami balloon in minutes.
With younger kids, I will warn you that there may be quite a bit of saliva on the paper since it’s hard for them to blow air without spitting. Try having them blow gently while holding the origami balloon a little farther away from their mouths. A wet paper balloon will still work for fun games, but gross!
How to Make an Origami Balloon
Materials:
- Origami paper or any colored paper
- Optional: scissors
If you are using origami paper or you already have a square piece of paper, you are ready to go! But if you happen to be using rectangular paper, you can follow the steps below to make your own square piece of paper:
- Hold the top left corner of the paper and fold it toward the lower right side. Press the paper from the top corner to the right edge to form a crease. Now you should have a right triangle.
- Use the scissors and cut along the bottom edge of the triangle to cut off the bottom rectangle piece.
- Unfold and now you have a square paper!
Step-by-Step Instructions to Make Origami Balloons:
1. Select a colored origami paper or any square piece of paper. Take the square paper and fold it in half diagonally to form a triangle. Open up the paper and fold it again in half diagonally but the other side. Open up the paper completely and you should have two creased lines crossing each other at the center of the paper.
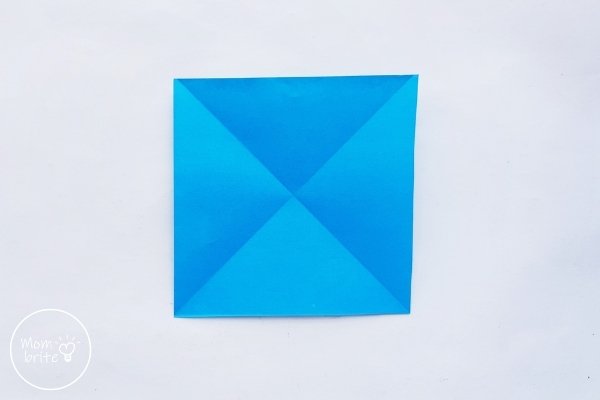
2. Flip the paper over and fold the paper in half vertically and then horizontally to create crease lines. Unfold the paper.
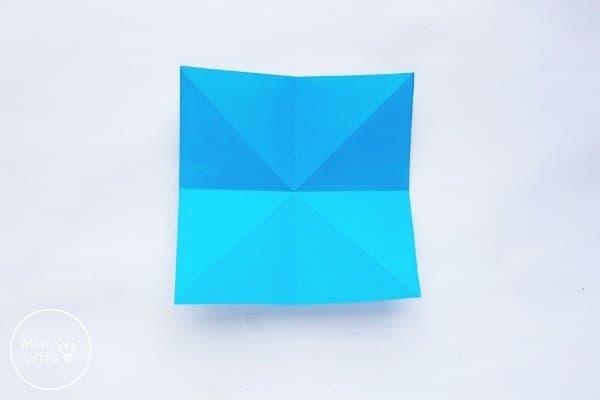
3. Carefully fold the diagonal creases while collapsing the 2 horizontal creases inward.

4. Flatten the paper and you should have a triangle shape. This is the base for your origami balloon.
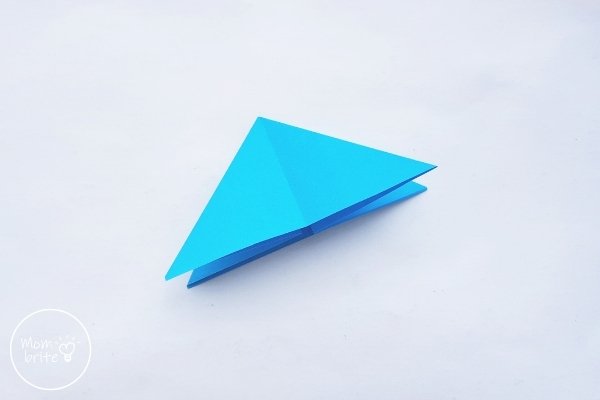
5. Fold the bottom left and right corners up toward the top corner of the triangle. The corners should meet in the center, with the edges lined up along the middle crease.
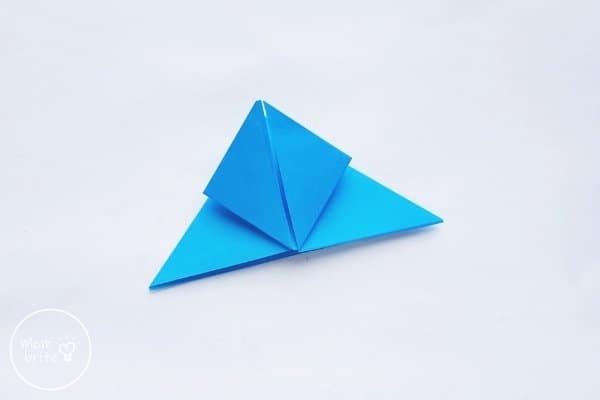
6. Flip the paper over and do the same on the other side.
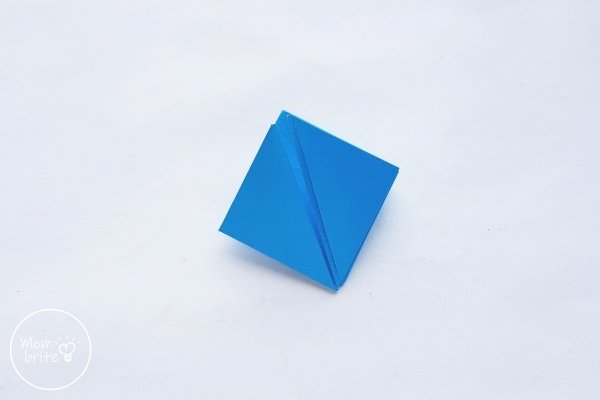
7. Note that you should be holding your paper so that it looks like a diamond in front of you, with the open edges at the top. This should be the natural orientation as you complete step #6.
Fold the two side corners so that they meet in the center.
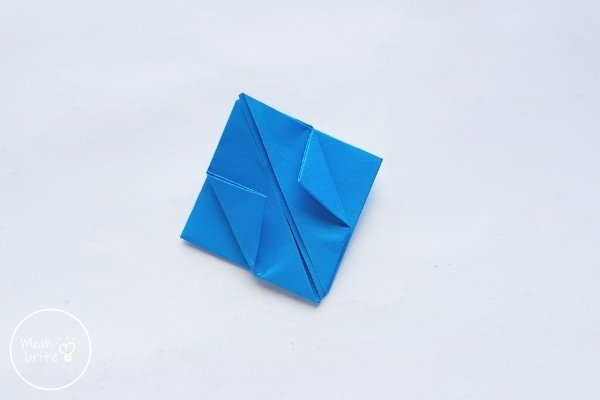
8. Flip over the paper and repeat on the other side.
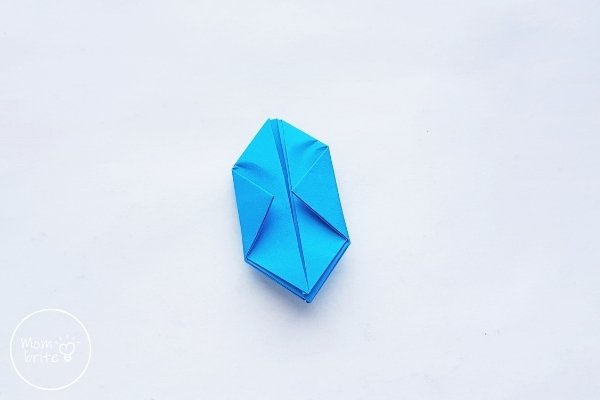
9. Take the top right flap and fold it down, using the small side triangle as a guide.
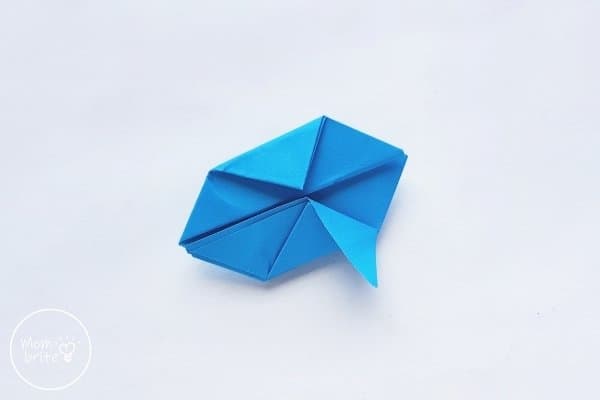
10. Take the right corner of this triangle and fold it back on itself to make a smaller triangle.
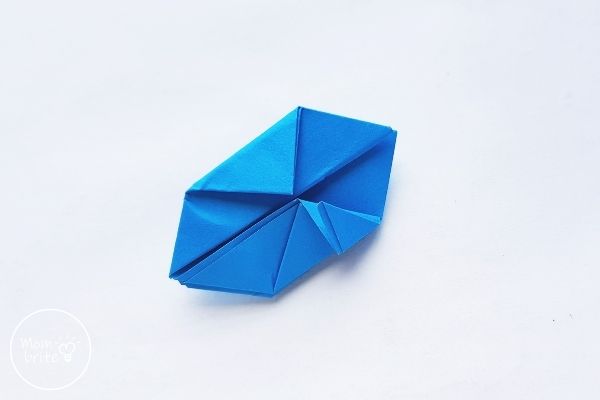
11. Lift the folded triangle and open the pocket underneath. If you have trouble doing this with your fingers, you can try using a pencil, letter opener, or even a small popsicle stick.
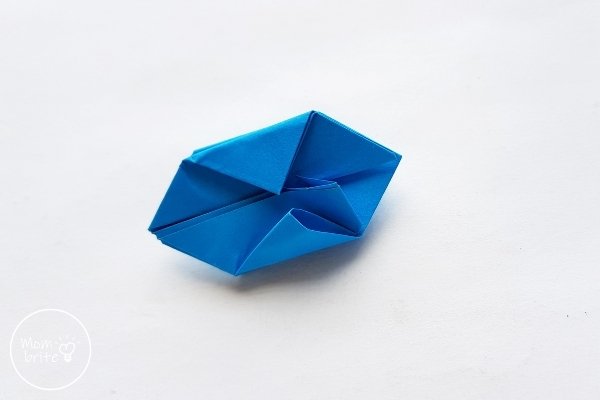
12. Slide the folded triangle inside the pocket.
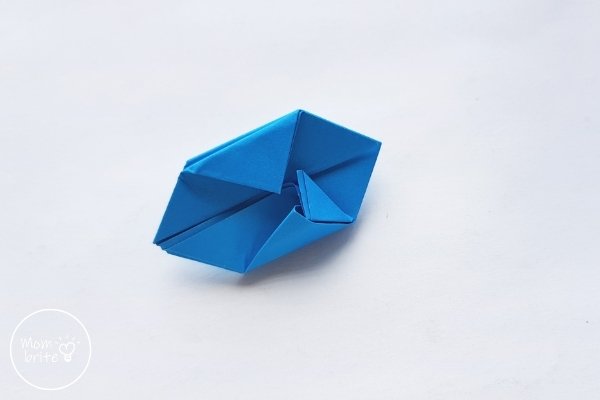
13. Tuck the folded triangle inside the pocket nicely. Repeat step #9-12 on the left side.
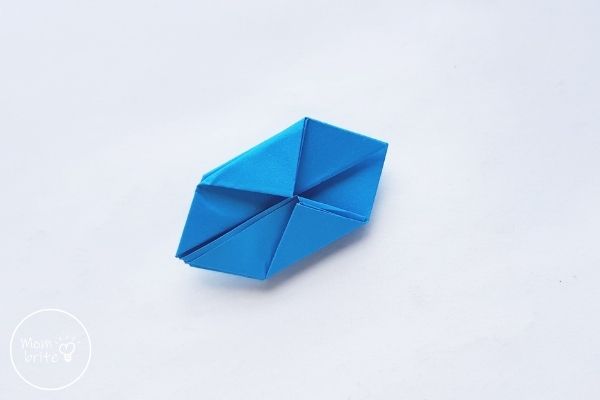
14. Flip the paper over and repeat steps #9-13 on this side with the remaining 2 flaps.
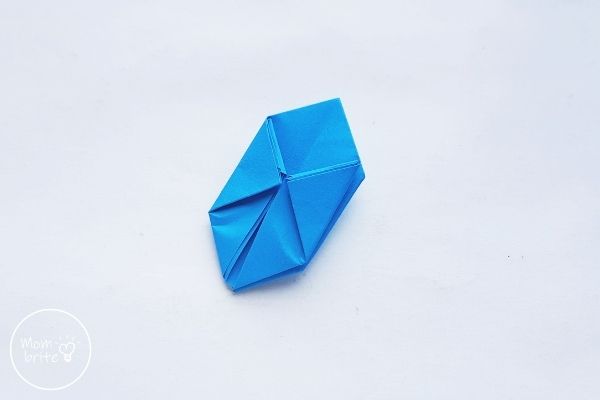
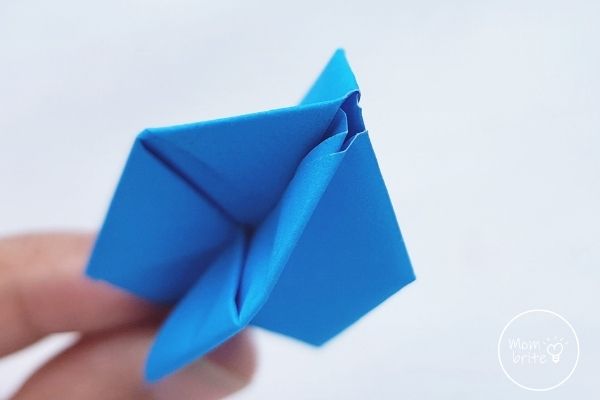
15. Spot the small hole on the closed end of the origami balloon. Carefully and gently blow air into the balloon through the small hole to inflate the balloon. If you are having trouble, you can use your fingers to help push the folded edges inward slightly to help get the paper into a ball shape. This might be necessary if you are using thicker paper like cardstock.
16. Grab different colored papers and create more origami balloons!
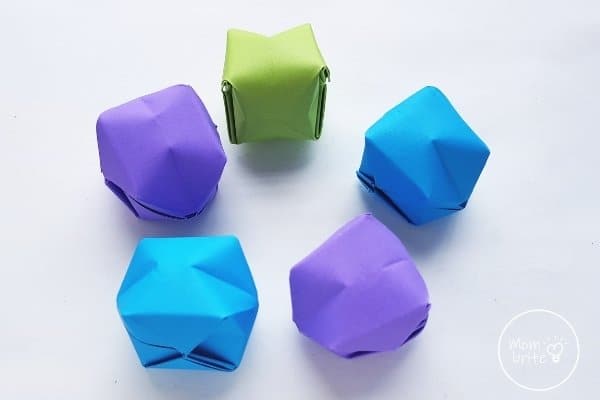
I remember as a kid growing up in Taiwan, I loved making these origami balloons and hitting them up in the air like you would with a regular balloon. However, my origami balloons were heavier and didn’t float, so it’s so much harder to keep them up in the air. But that’s what’s so fun about it!
Related Posts:
