When you think of origami, you might think of paper cranes or a heart. However, you can use origami to fold up practical items you can use in everyday life! The origami corner bookmark is a great example of a functional application of this ancient Japanese art of paper folding.
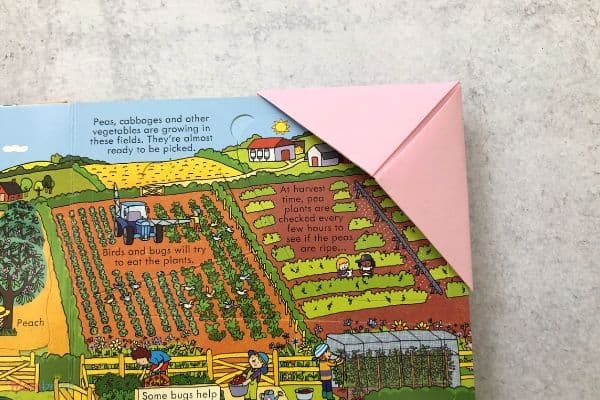
Growing up in Taiwan, we used origami to substitute for items we otherwise would have to purchase. For example, we would fold paper cups when we don’t have a cup, or a paper box to share our snacks.
I am excited to show you how you can make a corner bookmark out of paper! Don’t let the word origami scare you – this basic paper corner bookmark is easy to make, and fun to decorate. My 4 and 6 years olds can make it by themselves after practicing a few times.
How to Make a Paper Corner Bookmark
All you need is a piece of paper to make the corner bookmark. You can use origami paper, printer paper, or construction paper. Just avoid using cardstock paper or index cards because they are too thick and will make your bookmark too bulky.
The size of the paper should depend on the size of your book! For small chapter books, an origami paper or even a piece of sticky note would be preferred. For big, encyclopedia-type of books, you may want to use a piece of printer or construction paper.
Step-by-Step Directions:
Make a Square
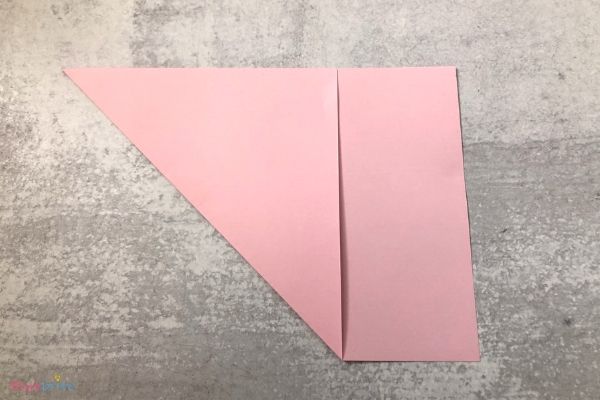
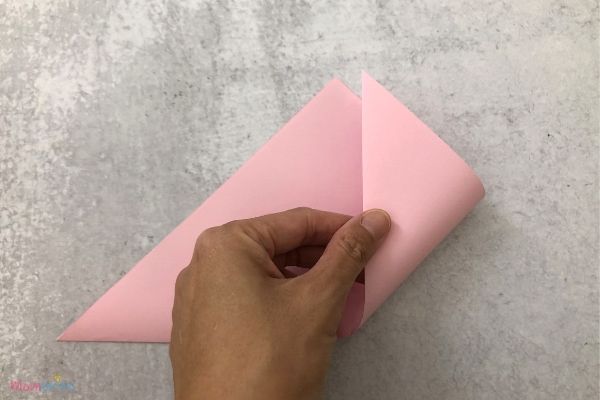
- If you are starting off with a rectangular piece of paper, we need to make a square first. Fold over one corner of your paper and line the edges up to create a triangle.
- Cut the excess rectangular section off. You may want to save it to decorate the bookmark later.
Folding the Corner Bookmark
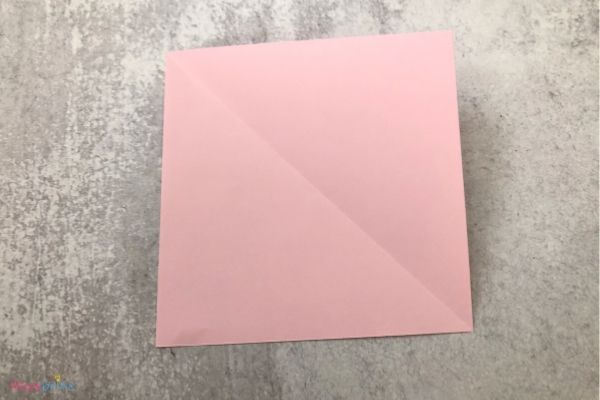
- Fold the paper in half diagonally to form a triangle. If you did the steps above to make a square, you already have done this step.
- Rotate the triangle so that the longest side (folded edge) is closest to you. The right angle should be facing up.
- Fold the right bottom corner of the triangle up to meet the top point.
- Repeat for the left side.
- Open both corners back up.
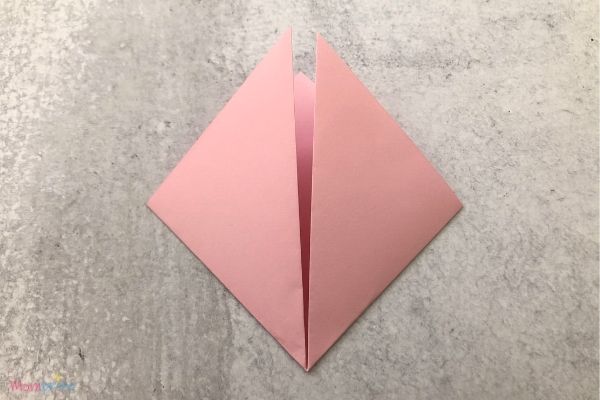
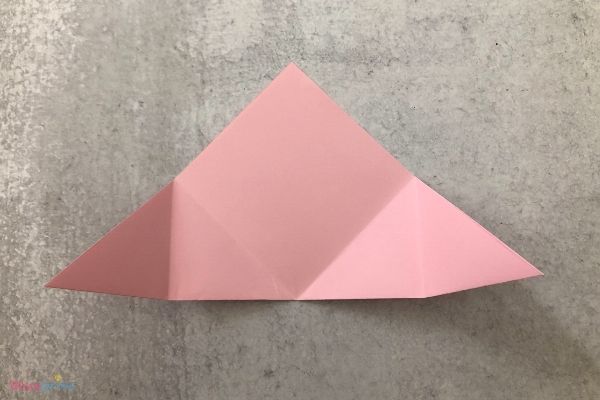
- The creases you made from steps #3-4 will intersect in the middle of the folded edge. Fold the right corner toward the middle of the folded edge.
- Repeat for the left side.
- Open the two corners back up.
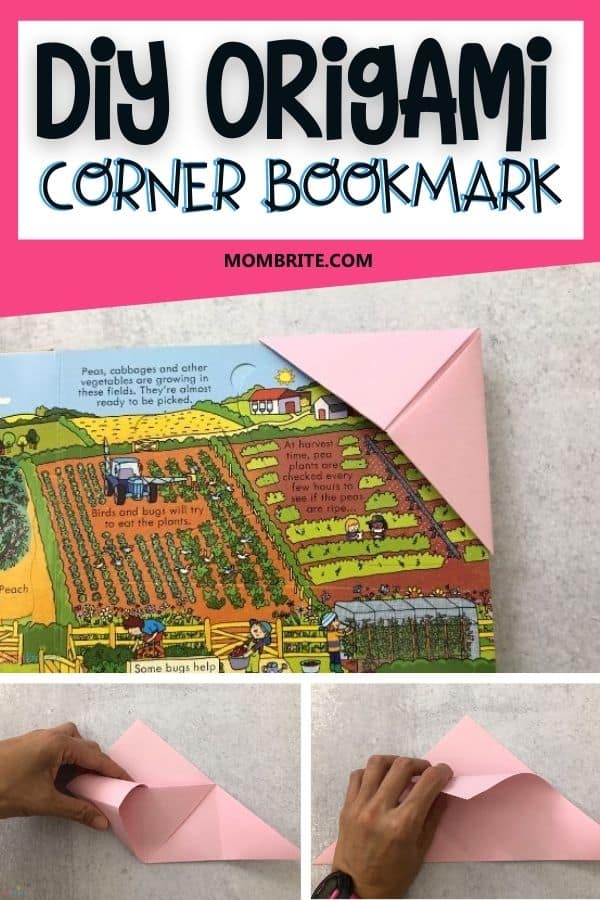
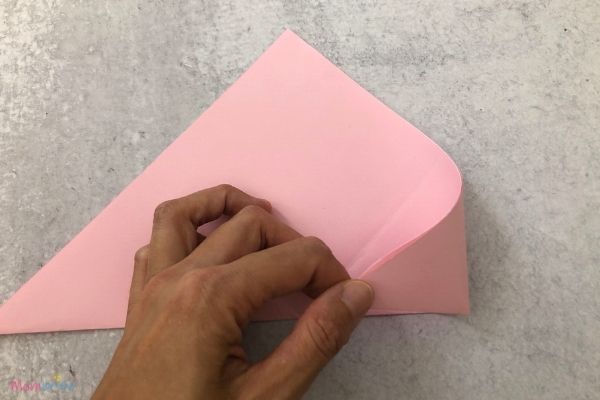
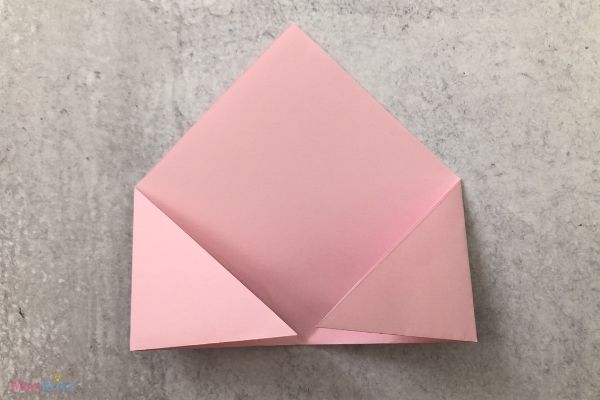
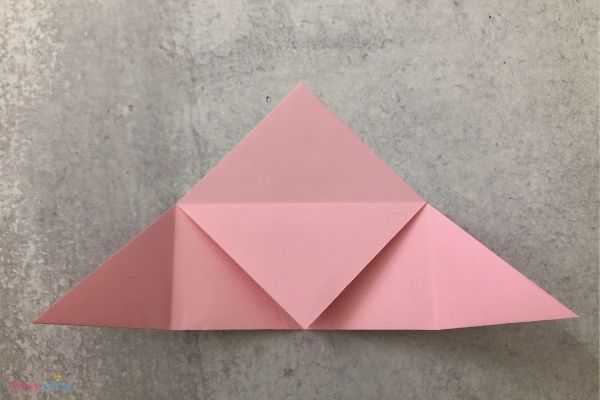
- Fold ONE of the top points down toward the middle of the folded edge. There are two layers of paper, and you only need to fold the top layer down. This will create the pocket for your corner bookmark.
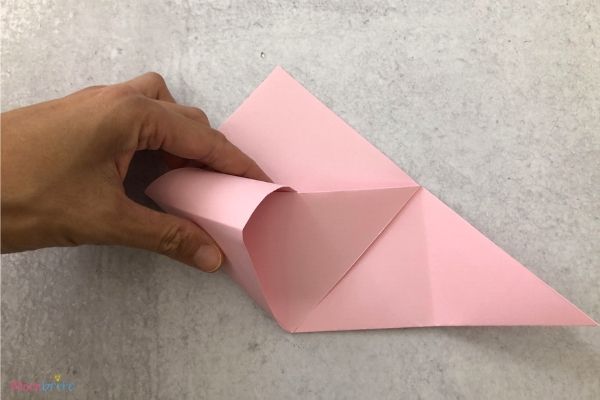
- Fold one corner of the triangle back up toward the top point, except now you are going to tuck the top part into the pocket of your bookmark.
- Repeat for the other side.
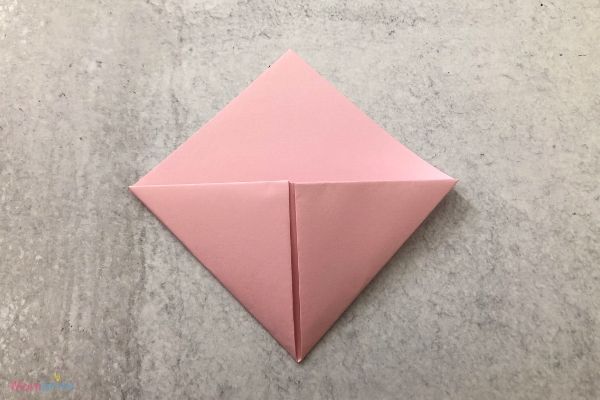
- You finished your basic origami corner bookmark!
You can decorate your paper corner bookmark whatever way you like! Draw on it with markers, stick some colorful stickers on it, cut out some teeth to make a monster … be creative! Just don’t use bulky items like pom-poms, or else you will have trouble closing your book!
Check out how we made Elephant & Piggie corner bookmarks for our favorite book!
For more paper crafts, check out:
- How to Make an Origami Ninja Star
- How to Make a Paper Fortune Teller
- How to Make Origami Flowers
- How to Make Flying Paper Helicopter with 3 Blades
- How to Make a Paper Bow and Arrow
- Racing Paper Caterpillar Game



Great explanation, thank you! I’m not the best at crafts but this guide made it very easy.