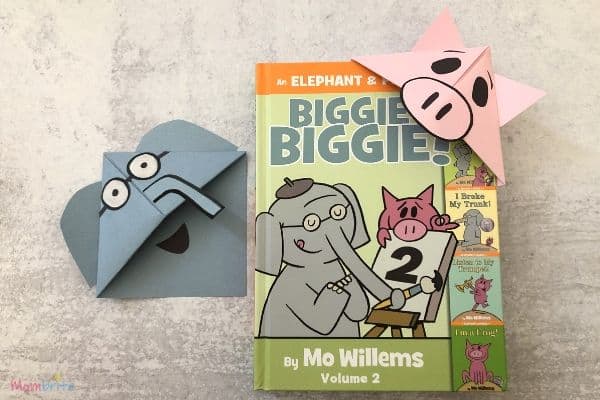
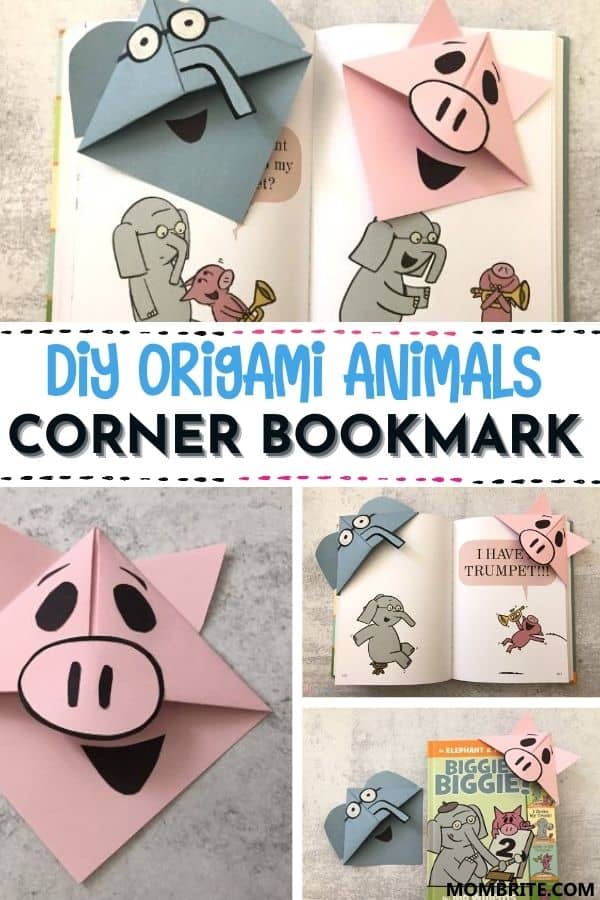
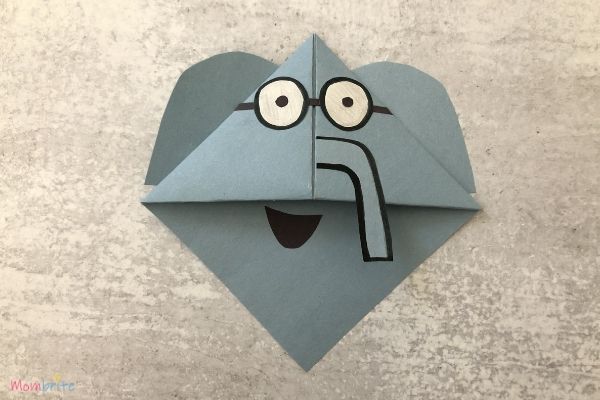
Learn how to make adorable Elephant & Piggie paper corner bookmarks for your little ones who love the books!
My son loves Elephant & Piggie books by Mo Willems. Normally, he hates reading the same books more than once. However, with the Elephant & Piggie books, we can read the same one every day and he would be happy.
We love the funny characters and the well thought out plots. There is no shortage of laughter when we read the stories about the two unlikely best friends.
I was ecstatic when I found An Elephant & Piggie Biggie! It’s basically a compilation of 5 Elephant & Piggie books in one big book. Usually, it would cost me at least $5 to buy one book, so this collection is a great deal!
So what better way to keep track of which book we are on in the big Elephant & Piggie book than Elephant and Piggie bookmarks! This is such a fun and functional Elephant & Piggie craft idea.
How to Make Elephant & Piggie Corner Bookmarks.
We used construction paper for these bookmarks because we need a big bookmark for the An Elephant & Piggie Biggie! book. If you are making paper corner bookmarks for the smaller books, I suggest you use origami paper or something of similar size.
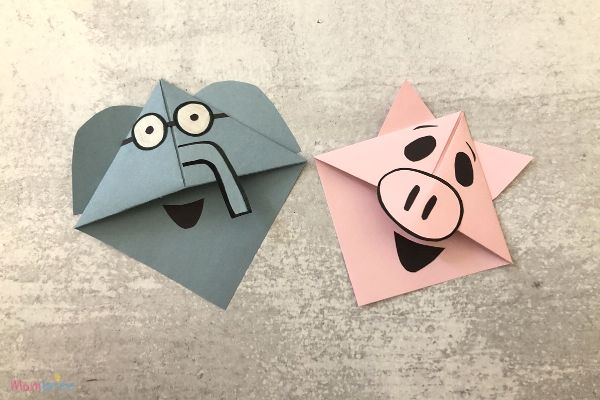
Use a pink paper for Piggie and a grey paper for Gerald (the elephant). I didn’t have any grey paper so we used a light blue. You will also need a black marker, white and black construction papers, and a glue stick.
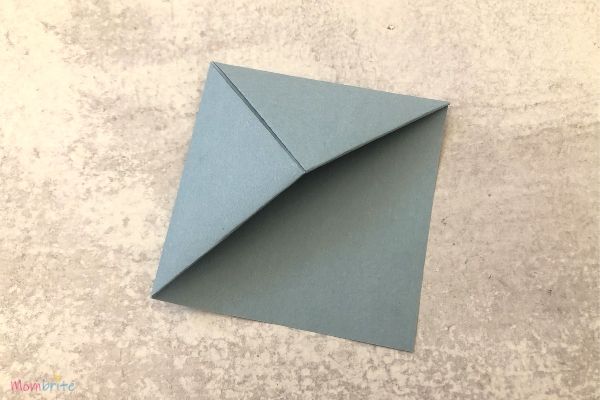
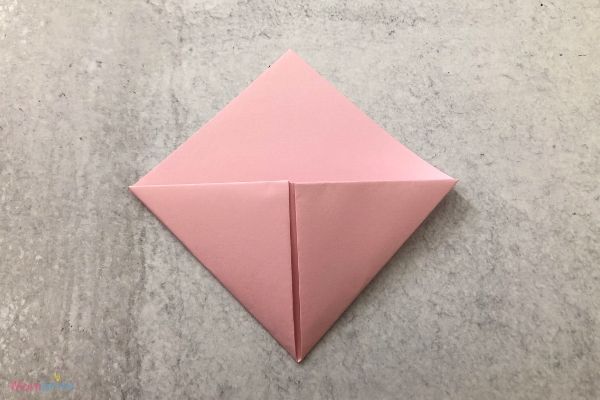
For both Elephant and Piggie bookmarks, check out how to make a basic origami corner bookmark and follow the steps. Then come back to this post for the designs!
Directions for Gerald (Elephant):
- Start with the basic corner bookmark using grey paper.
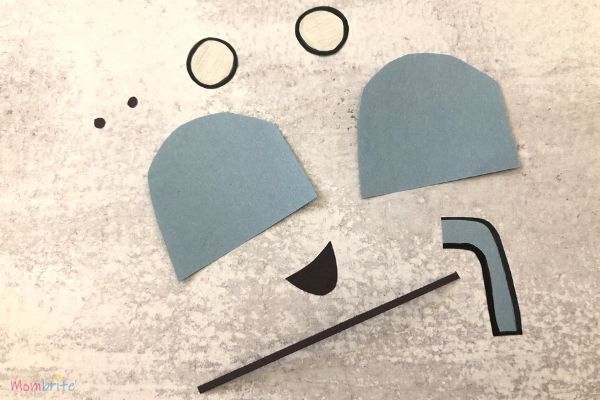
- Cut out elephant ears.
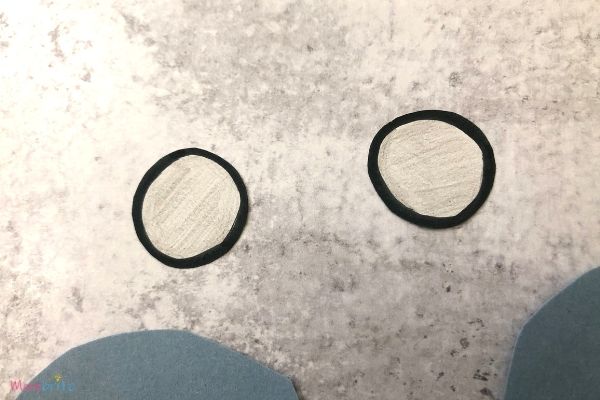
- Draw two circles on the white construction paper with a black marker for the frame of his glasses. I colored the circles gray because that’s the color of Gerald’s glasses in the book, but you can just keep them white if you wish.
- Cut out the glasses frames along the black outline. You want to keep the black outline at the border of the frames to give the pig more of a cartoon feel.
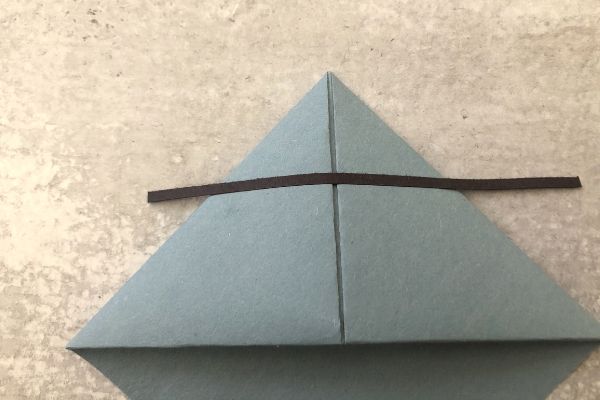
- Cut out a thin straight line for the glasses for the bridge and temples of the glasses. Don’t worry if the line seems too long, we can always trim it later.
- Draw Gerald’s nose with a black marker except the edge where the nose attaches to the face. His nose most of the time has an “L” shape.
- Cut out the nose along the black outline.
- Cut two pupils and his mouth out of the black construction paper.
- Glue everything on the grey (or in my case, blue) bookmark!
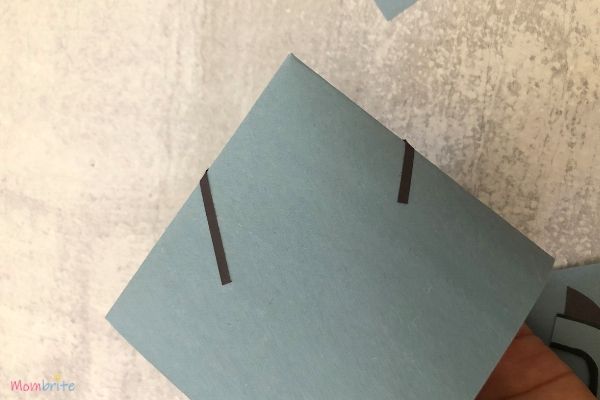
I just want to note that for the black line, glue it to the corner bookmark first. You can either trim it to the edge of the bookmark with a scissor, or you can just glue the excess part to the back of the bookmark.
The ears will cover it. Then glue the glasses frames on top of the black line.
Directions for Piggie:
- Start with the basic corner bookmark using grey paper.
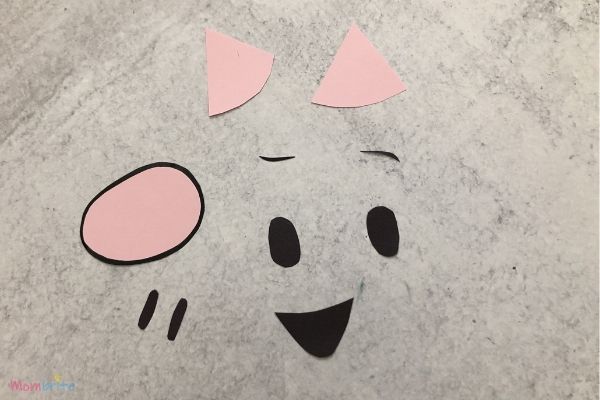
- Cut out triangle pig ears. I left some extra space at the bottom for glue.
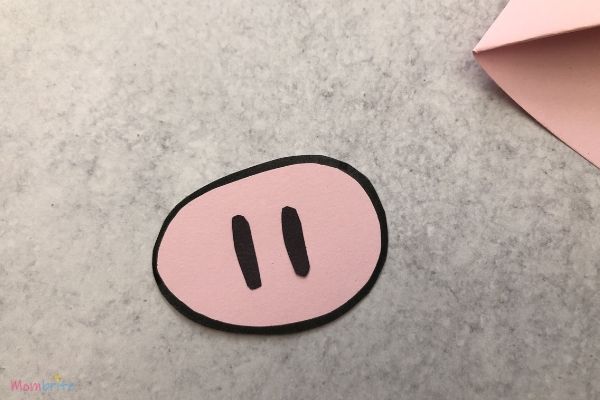
- Draw an oval with the black marker for the snout.
- Cut out the snout along the black outline.
- Cut the nostrils, eyes, eyebrows, and mouth out of black construction paper. You can use a black marker to draw them directly on the corner bookmark if you don’t have any black construction paper.
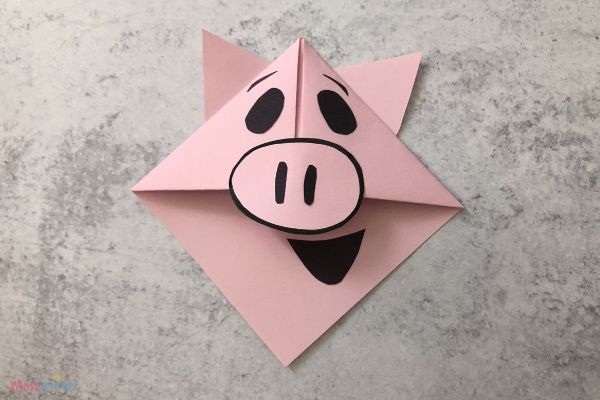
- Glue all the parts of the face onto the pink paper corner bookmark.
You can see that the mouths for both Gerald and Piggie are not on the pockets of the bookmarks. Therefore, when you use it on a page, you won’t be about to see their mouths.
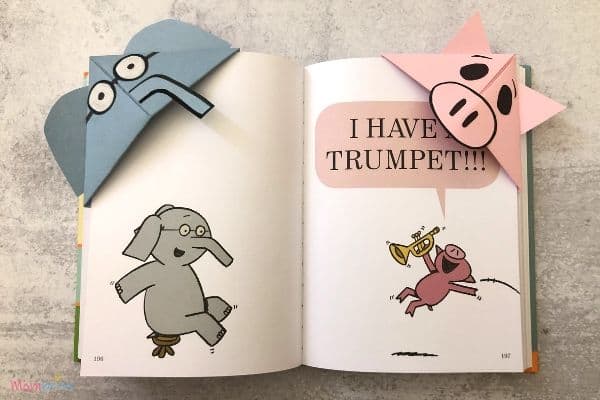
I think it’s cute how you don’t know if they are happy or sad when you have the bookmark in the book. But when you take it out, you can see that both Gerald and Piggie are very happy you are reading!
My kids absolutely adored the Elephant & Piggie bookmarks. They are already asking if we can make origami corner bookmarks for other books. I have a feeling you will be seeing a lot more origami corner bookmarks from us!
