Learn how to make an origami ninja star with these easy-to-follow step-by-step instructions and pictures. You can make origami throwing stars with papers you have around the house and your kids will spend hours playing with them after!
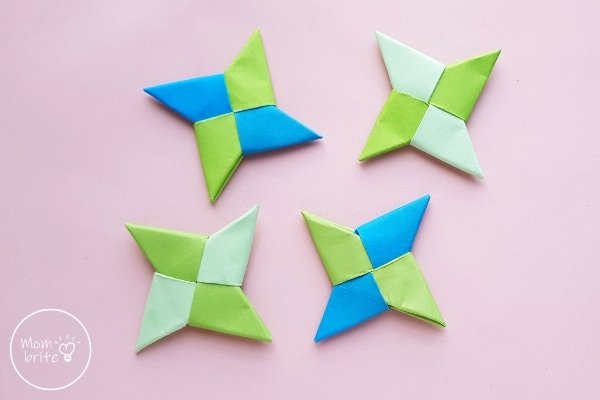
If your kids are fans of Ninjago, Naruto, or any other movie or TV show related to ninjas, they will love making these origami ninja stars.
The original throwing star in Japan is called a shuriken, which means “hidden hand blade.” They can come in different shapes and sizes, with some resembling small daggers.
With this step-by-step tutorial, you and your kids will learn how to make an origami ninja star using two sheets of square paper. You can choose your favorite colors for the paper ninja stars, and even decorate them with markers after you finish folding them.
After your kids make the origami ninja stars, of course they will want to test them out! These paper shurikens actually can be thrown across the room quite well and since they are made out of paper, the chances of someone or something (like the wall) getting injured or damaged is very low.
How to Make Origami Ninja Star
Materials:
- Colored construction paper or origami paper
- Scissors
**Note: If you are using an 8.5″ x 11″ construction paper instead of a square origami paper, simply fold the upper left corner down to the right edge. Then use scissors to cut off the bottom flap. Unfold the paper and you have a square piece of origami paper!
Instructions:
1. Select 2 different colored construction papers or origami papers. If you are using construction papers, make sure you follow the note above to make them into square pieces of paper.
Take any one of the square papers and fold it in half and then unfold. This will form a crease along the middle of the square paper.
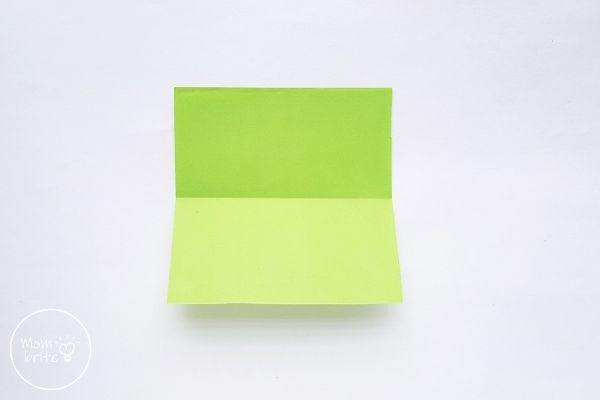
2. Fold the top and bottom edges toward the crease. Make sure the edges line up with the crease.
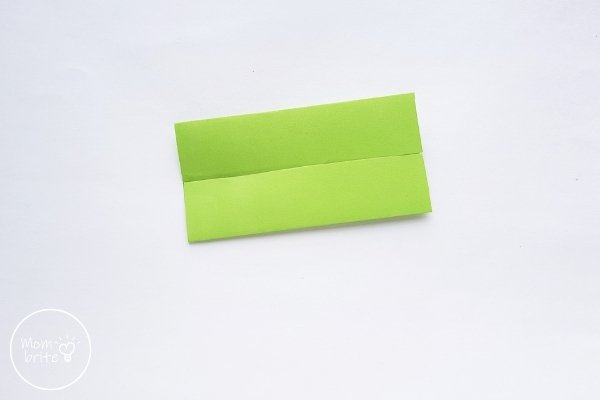
3. Fold the top edge down to the bottom edge, keeping the folds inside.
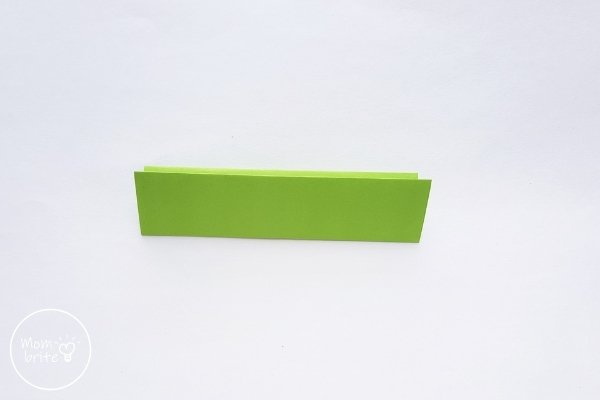
4. Fold the paper in half and unfold. This is to create a crease along the middle of the paper.
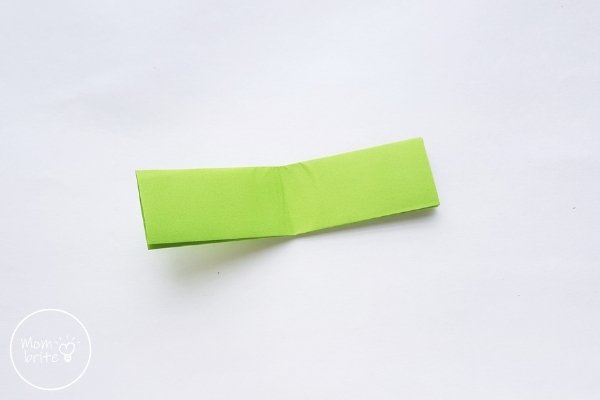
5. Hold the left side of the crease and fold it downward diagonally. The top edge of the paper should line up with the center crease.
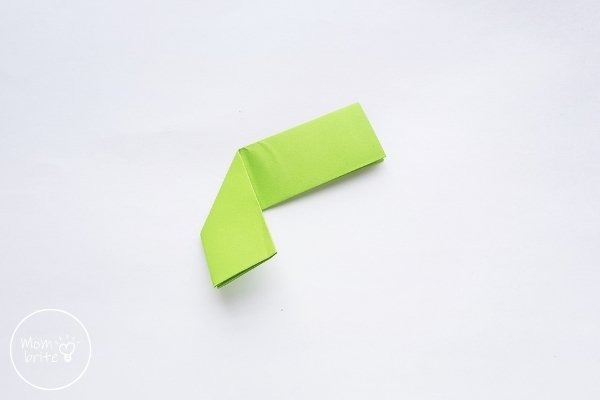
6. Fold the right side of the diagonally upward,. The top edge of the paper should line up with the center crease.
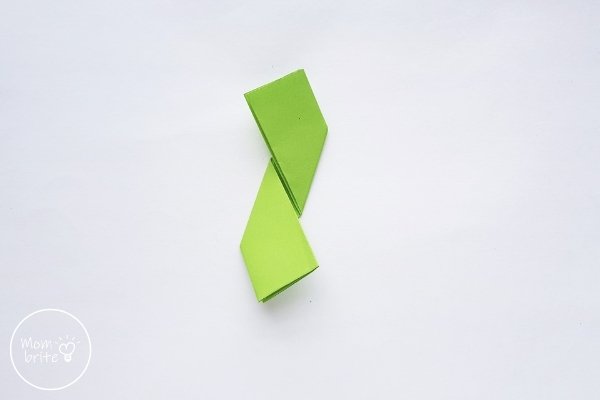
7. Grab another square piece of paper of a different color and repeat steps #1 through #4. When you get to steps #5 and #6, you are going to make opposite folds. Hold the left side of the paper and fold it upward diagonally, and then hold the right side of the crease and fold it downward diagonally.
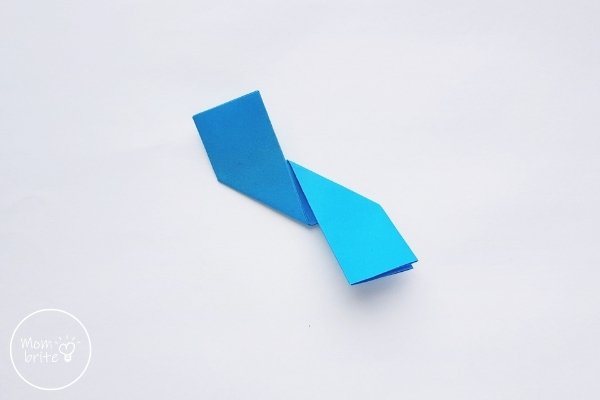
8. Flip both paper patterns over to their other sides. They should be mirror images of each other.
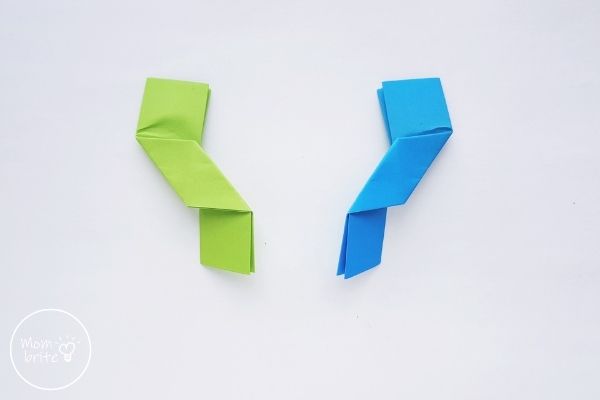
9. Take any one of the folded papers and fold the bottom corner up toward the center to form a triangle.
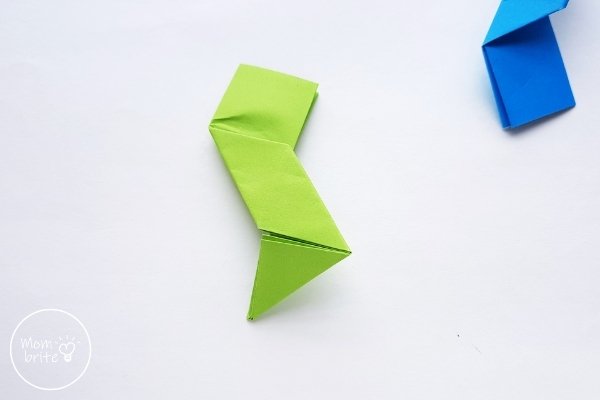
10. Similarly, fold the other corners. Place the papers side by side as shown in the picture below.
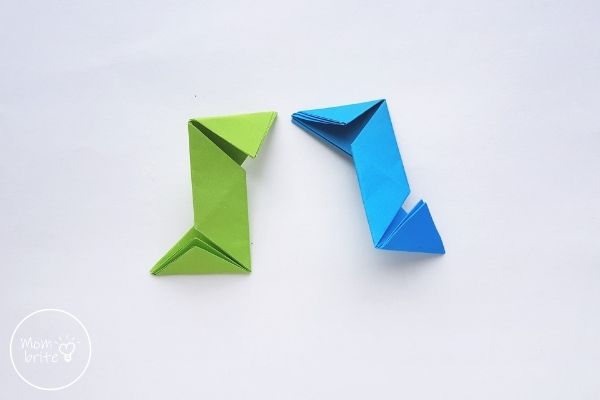
11. Flip one of the paper over. We flipped the blue paper on the right over.
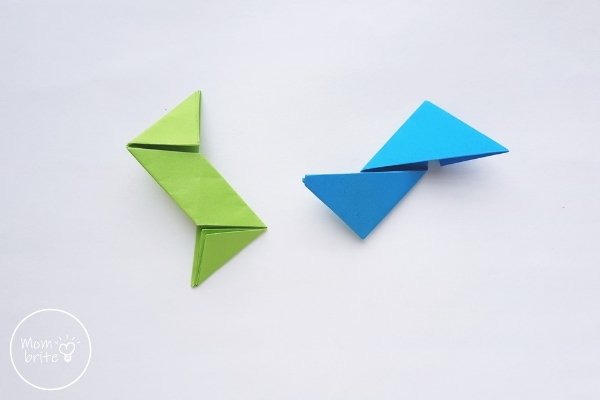
12. Place the flipped paper on the top of the other paper (green) in a criss-cross position.
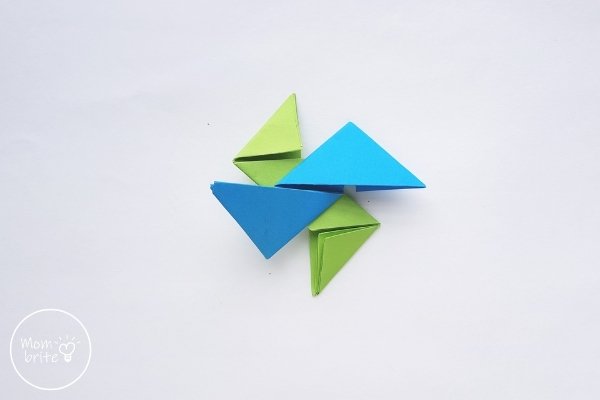
13. Hold the top end (triangle part) of the bottom pattern and fold it downward. Then tuck it inside the pocket of the top pattern.
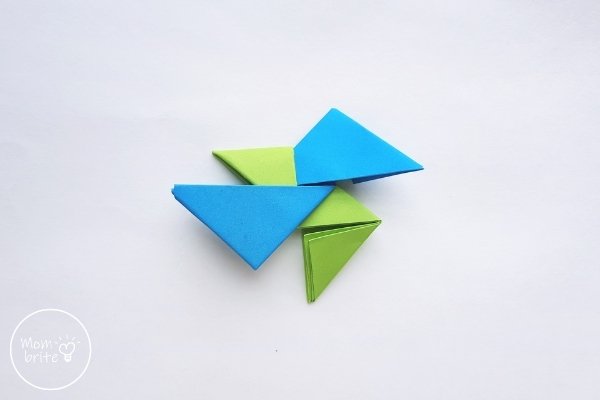
14. Similarly, fold in and tuck the other end (triangle part) of the bottom pattern inside the pocket of the top pattern.
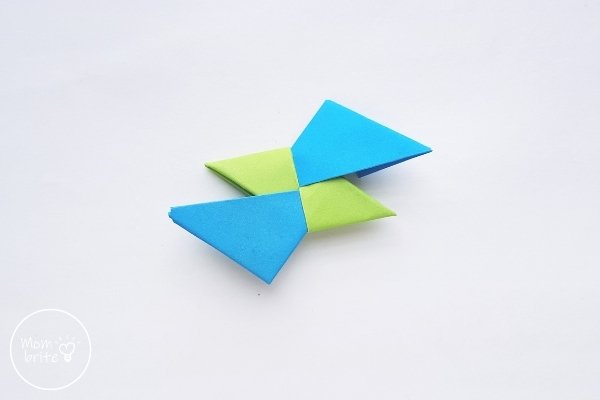
15. Carefully flip both papers over. Now the previous top pattern is on the bottom side.
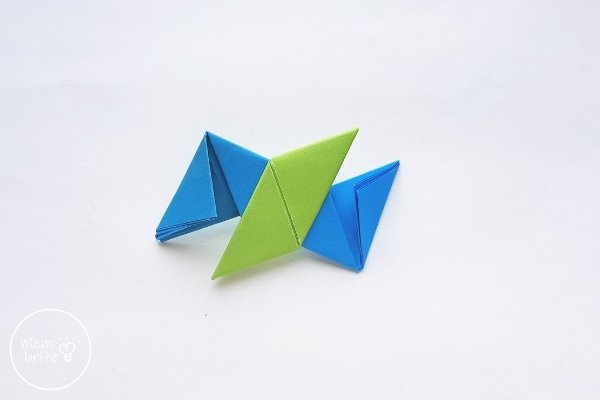
16. Fold in the triangle parts of the bottom paper (blue) inside the pockets of the top paper (green) to complete the origami ninja star. If you are having trouble inserting the triangle flaps into the pockets, then use something pointy like a pencil, a chopstick, or a letter opener to open up the pockets.
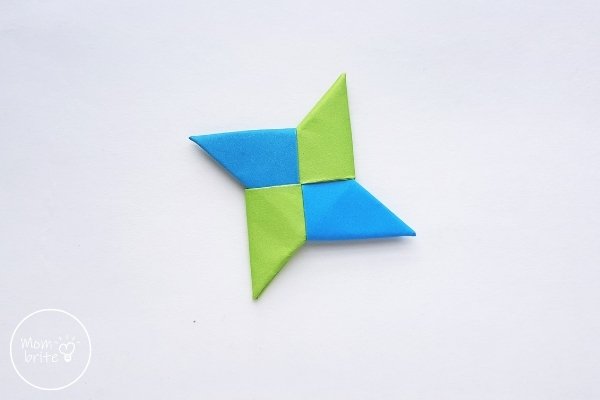
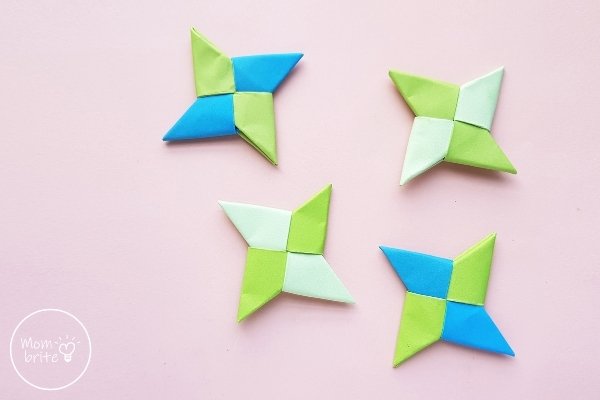
What should you do after you complete an origami ninja star? Fold more of them of course! Grab more colorful paper and make a whole collection of paper ninja stars that you can use for some epic ninja battles in the house!
Related Posts:
