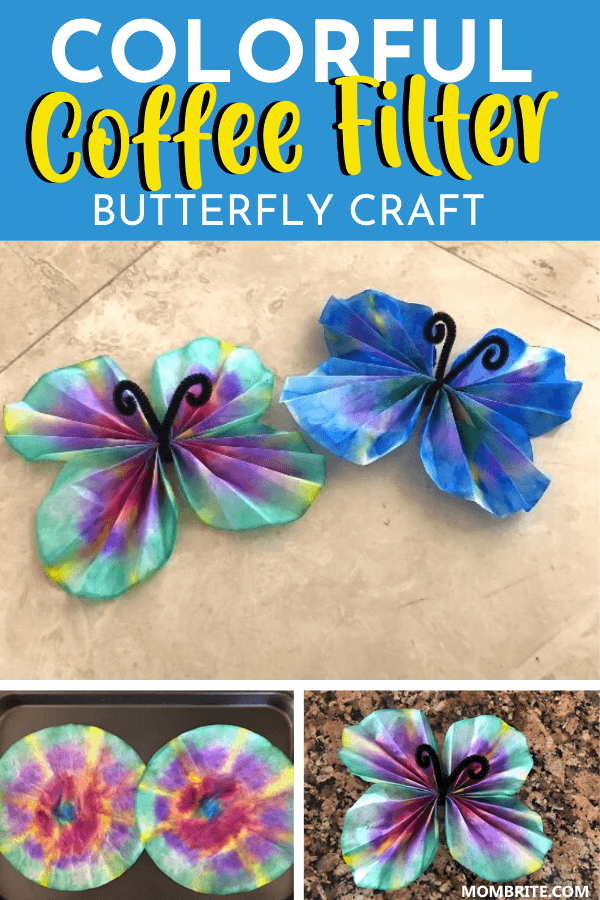
Coffee filter crafts are a great way to learn about color mixing and capillary action. Here is a beautiful coffee filter butterfly to welcome the arrival of spring!
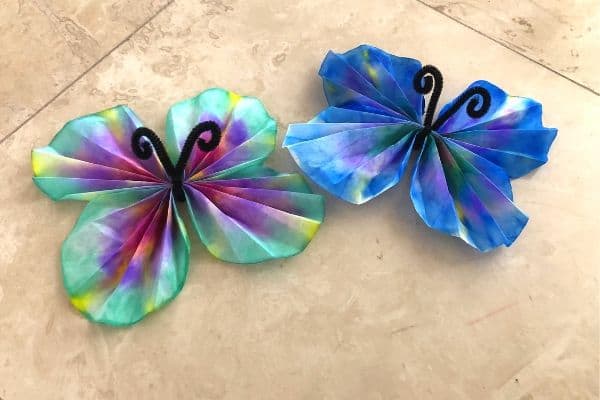
Making coffee filter butterflies is like conducting mind-blown science experiments. Your kids will love watching the colors spread through the coffee filter and “magically” create beautiful patterns on the wings of the butterfly.
A quick story on why we did this coffee filter craft in the first place:
We just moved and have not found our coffee machine yet. I told my husband to run out and grab instant coffee. He came back with regular ground coffee and I was baffled.
He looked at me and said, “What’s wrong? Isn’t this how you always make coffee? Just take ground coffee and melt it with hot water?”
… I need to rethink my marriage. Haha just kidding.
But since now we have a can of ground coffee, I decided to buy coffee filters to make coffee. However, since I ordered it off Amazon, buying just a couple of dozen was not an option. Hence, we ended up with 100 coffee filters.
I looked around for things to do with coffee filters with the kids. Since it’s spring and we are seeing lots of butterflies outside, this is the perfect time to make this quick and easy coffee filter butterfly craft.
How to Make Butterflies from Coffee Filters
Materials:
- Coffee filters (you need 2 circles for each butterfly)
- Washable markers
- Pipe cleaners
- Pipette/droppers
- Water
- Paper plate, tray, or baking sheet
- Optional: Pencil
Instructions:
1. Stack the two coffee filters on top of each other. Press to flatten them.
2. Place the coffee filters on the paper plate, tray, or baking sheet to prevent the markers from bleeding through to your table.
3. Decorate the top coffee filter with washable markers. Leave a little white space between the colors to let the colors bleed into each other.
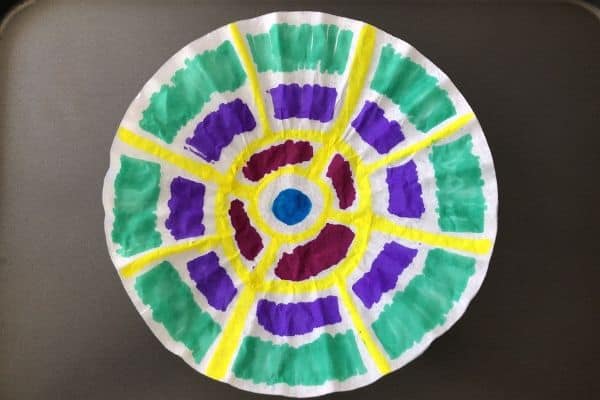
4. Use the pipette or dropper, drop water all over the coffee filter. Careful not to squirt too much water at once – it’s better to drip the water slowly and watch the color spread and blend into each other.
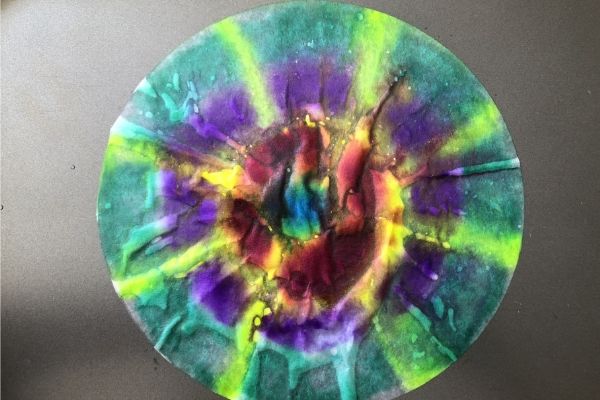
5. Once the entire coffee filter is wet, leave the coffee filters (still stacked) on the tray to dry.
6. Check to see if both coffee filters are dry, and if so, separate the top and bottom layers. You should have two similar-looking layers.
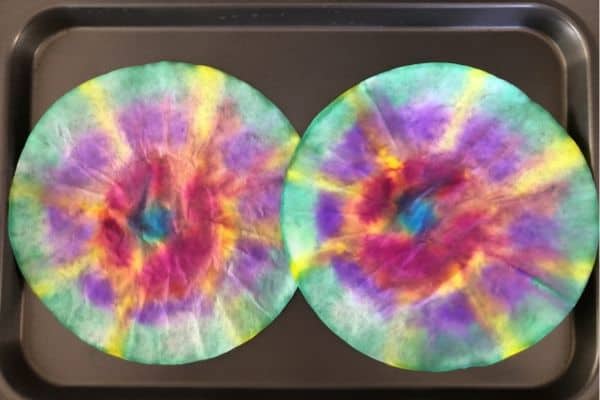
7. Fold the bottom of the coffee filter up, about ½ inch. Repeat the folding back and forth, accordion-style, until the entire coffee filter is folded.
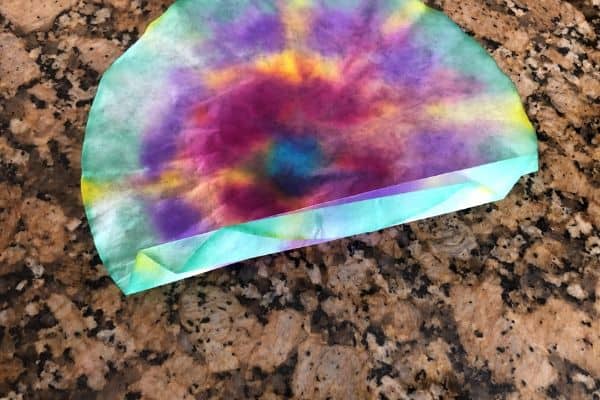
8. Repeat with the other coffee filter.
9. Place the two coffee filters together on top of each other.
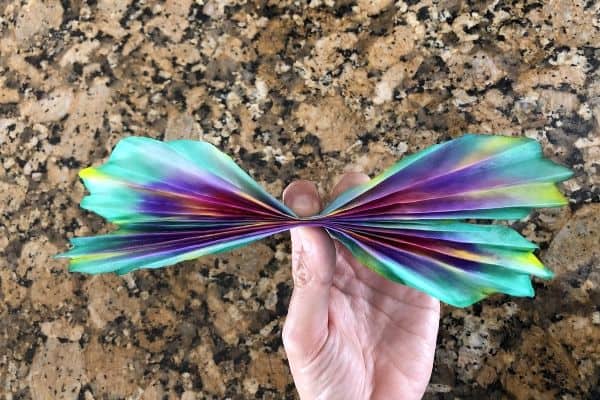
10. Twist the pipe cleaner around the middle of the coffee filter to form the body and wings. Leave about 1-2” at the ends of the pipe cleaner for the antennas. Trim if necessary.
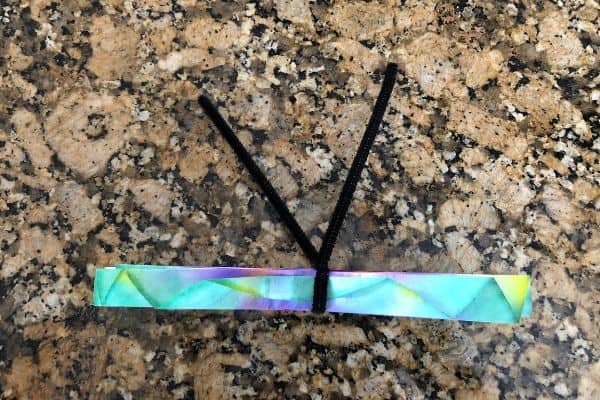
11. Wrap one end of the antenna around a pencil to curl it. If you don’t have a pencil you can just use your hand.
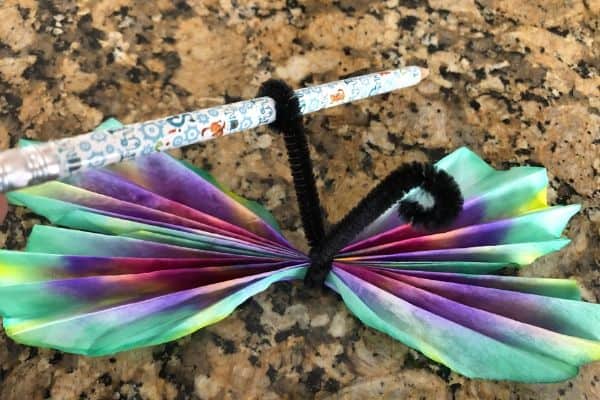
12. Repeat with the other antenna.
13. Fan out the butterfly wings.
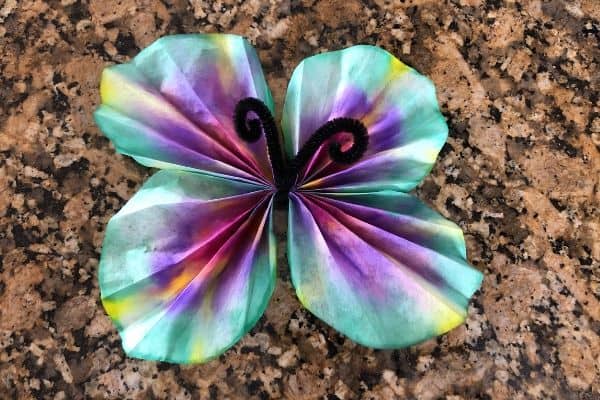
Display the butterfly around the house! You can hang them from the ceiling, make them into a mobile, or hang them near a window as suncatchers.
The beauty of this craft (besides how pretty the butterfly wings look) is that you can’t go wrong with coloring the wings. Therefore, you can just leave your kids to use their creativity and decorate the coffee filters whatever way they want!
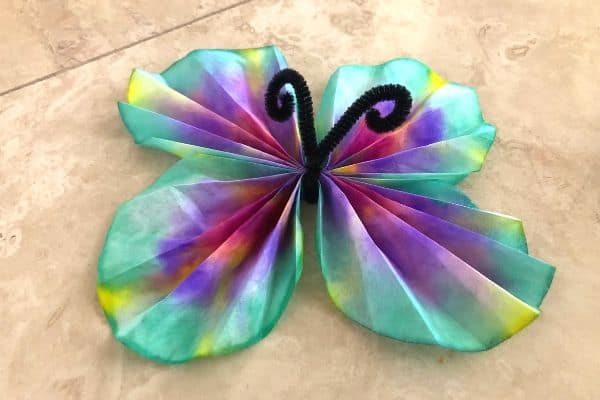
I hope you and your kids enjoy making these pretty coffee filter butterfly crafts! They sure add some color to your house in the spring and summer!
YOU MAY LIKE:
- Paper Plate Butterfly Life Cycle Craft
- Paper Heart Butterfly Craft [Free Template]
- Free Butterfly Unit Study
- Free Printable Butterfly Templates
