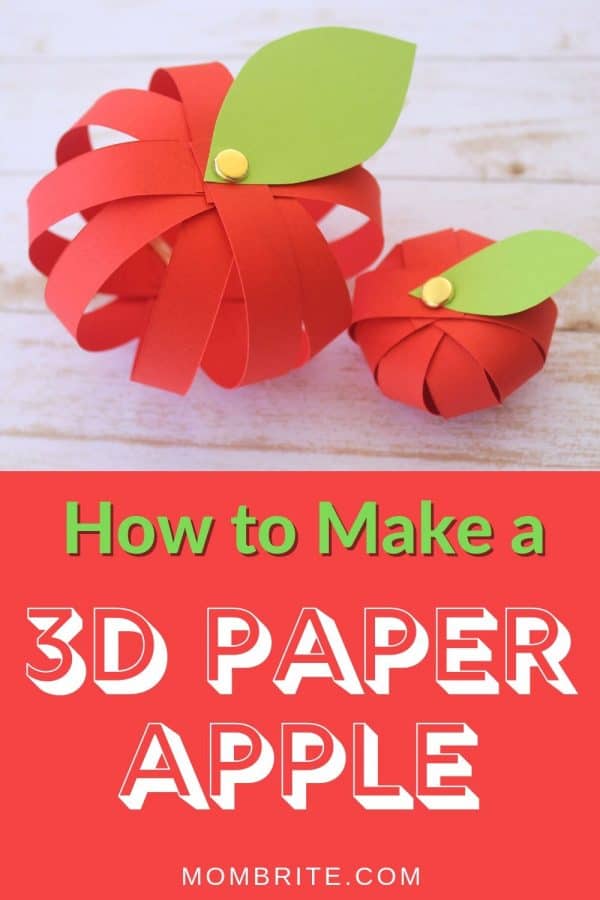
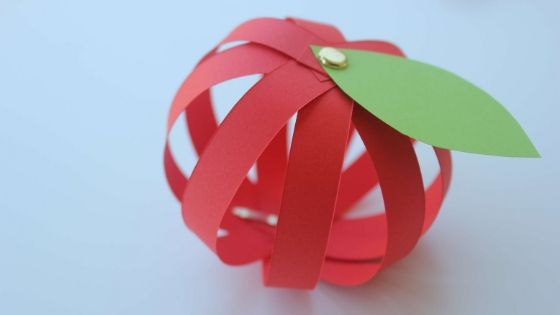
Celebrate the start of fall with this fun and easy 3D paper apple craft! Your little ones will love making these adorable apples and you can even use them as home decoration afterward!
This post contains affiliate links. Please see my full disclosure policy for details.
With back to school coming up, we are ramping up on arts and crafts to prepare my kids for school! No more just sitting around twiddling our thumbs. Just kidding – with a 3-year-old and a 5-year-old, there will be no sitting in this house!
Over the weekend we tackled the paper plate apple craft. Since my kids enjoyed learning about the apple so much, why not tackle the 3D paper apple craft? It gives a different perspective to apples since it is 3-dimensional, and it’s so easy that my kids can do the whole craft with just a little guidance from me.
Materials:
Instructions:
- Cut the red construction paper into thin strips. Honestly, you can cut the strip as long and as thick as you like, it will just change how the apple looks. Since my kids liked this apple craft so much, we have done it multiple times with different lengths and widths papers. The number of strips is also up to you. The more strips you have, the more “dense” your apple is going to be. I will show you by making two differently sized apples.
- Cut out the leaf for the apple with the scissor and green construction paper.
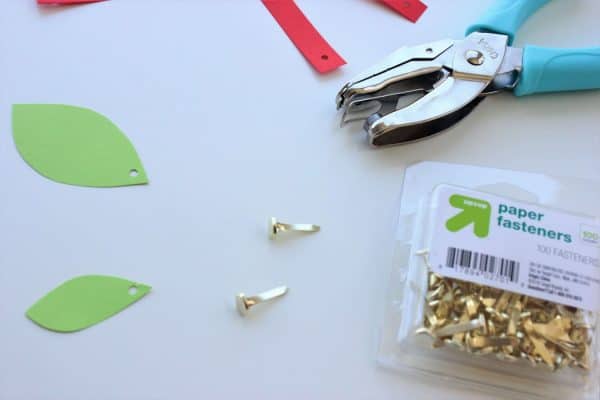
- Punch holes on each end of the red strips. Try to make the hole around the same place on each strip, or else your apple won’t look as round.
- Punch a hole in one end of the leaf.
- Layout the strips in a circle so they are spaced eventually. This will help your apple look more uniform.
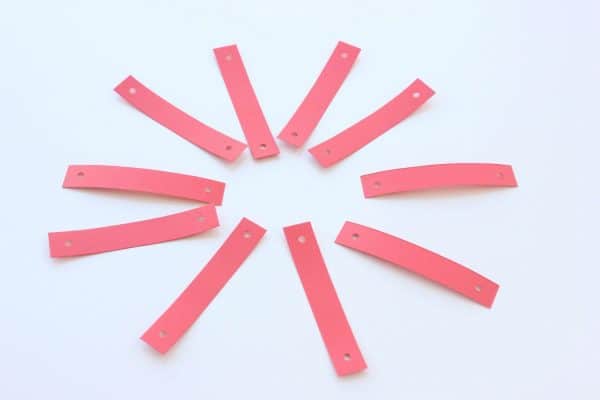
- Put the strips through the paper fastener and secure them.
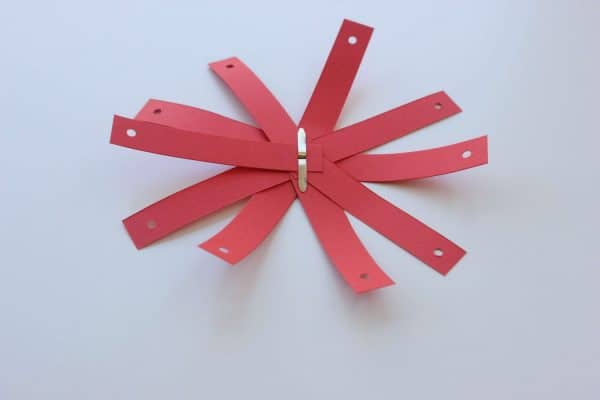
- Do the same with the other side, but don’t forget to put the leaf through first!
- Fan out the strips so they are evenly distributed.
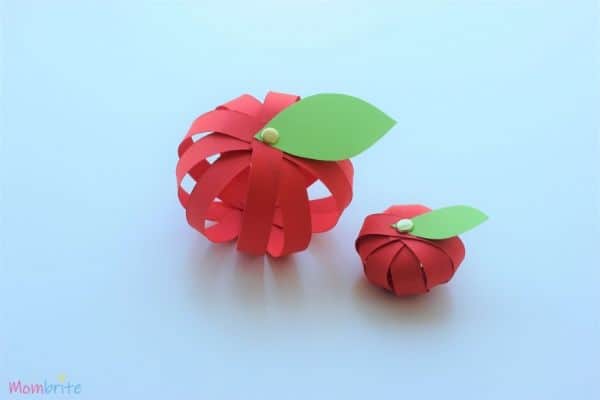
Pretty simple, right?
I did 10 paper strips for each apple. You can definitely go less than that, especially if you are making a smaller apple with shorter strips. My kids just liked using the scissors so much that we decided to cut out lots of strips.
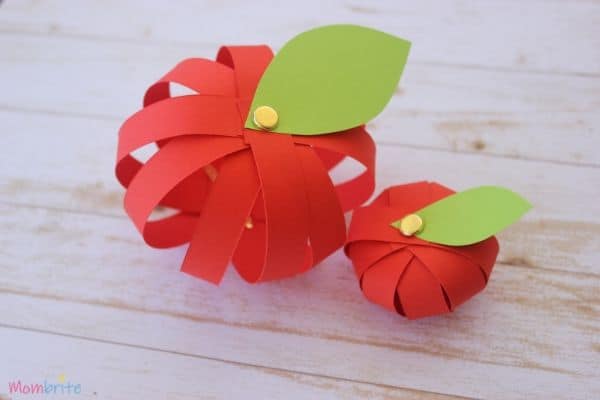
For the smaller apple, the 10 strips were enough to pretty much cover the entire apple with hardly any spacing between the strips. For the bigger apple, there is a decent amount of space between the strips. Both apples are pretty in their own ways.
How adorable are these apples?
Related Post: Easy and Fun Paper Plate Apple Craft
Interesting Facts about the “Apple Fruit”
So when you try and search for “interesting facts about apples,” all the internet cares about is the company, Apple. You know, the one that makes the iPhone you are probably reading this post on? Therefore, you have to enter in “fruit” to clarify you are looking for facts about the fruit apples.
Anyhow, since with the paper plate apple craft we learned about the inside of an apple, I found some background on apples to teach my kids.
There are many interesting facts, but here are the ones more suited for preschoolers:
- Apples float because 25% of their volume is made up by air (and there goes your kid dropping an apple in water).
- Apple trees can live for more than 100 years.
- The average apple contains 10 seeds.
- Apples ripen up to 10 times faster at room temperature than if they are in the fridge. Try buying a couple of apples and leave one out while storing the other one in the fridge and see for yourself! (source)
Try Other Colors!
Apples don’t come in just red! You can also use different colored construction papers and make a green apple or a yellow apple instead of the standard red apple. This is a good way to introduce these different colors to your toddler.
These also make great back to school teacher appreciation gifts! Just make a bunch of them, put them in a basket as if you just picked these apples from an orchard, and present the basket of apples to your kid’s teacher on the first day of school!
Hope you enjoyed this 3D paper apple craft! Let me know how your apples turn out in the comments below!
Related Post: 15 Ways to Prepare Your Child for the First Day of School
