Your kids will love studying and playing with this rainbow water beads sensory bottle. The translucent water beads mixed with water make a wonderful sensory play for young kids.
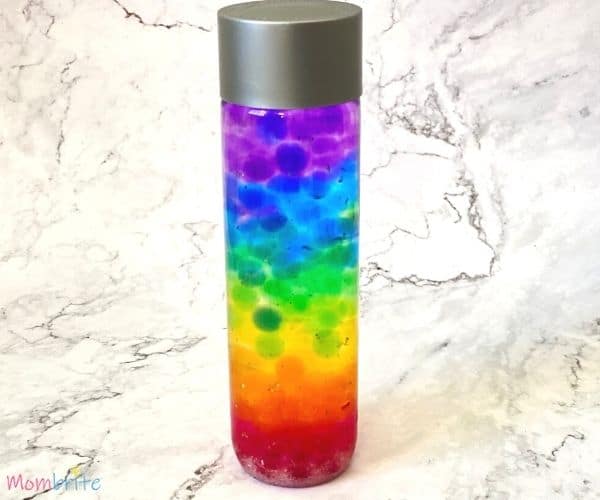
Have your kids ever played with water beads? If you haven’t, I strongly urge you to get a bag right now!
Even though I have heard about water beads for years, I never bought them until recently. And I wish that I have gotten them for my kids when they were younger because they are so much fun to play with! From watching them absorb water and grow in size, to bouncing them on the floor, my kids played with these water beads for days.
Since water beads last for a few days, we searched for new activities to do with them every day. One of our favorites was the rainbow water beads sensory bottle. It’s a great activity for learning about the different colors of the rainbow.
Since water beads are translucent, light passes through them. Therefore, the rainbow water beads sensory bottle is beautiful when you play with it in a well-lit room. You can also place them on a windowsill on a sunny day and you can see the different colored lights shine on your floor. And it’s mesmerizing to watch the water beads float around in the water after you shake the sensory bottle.
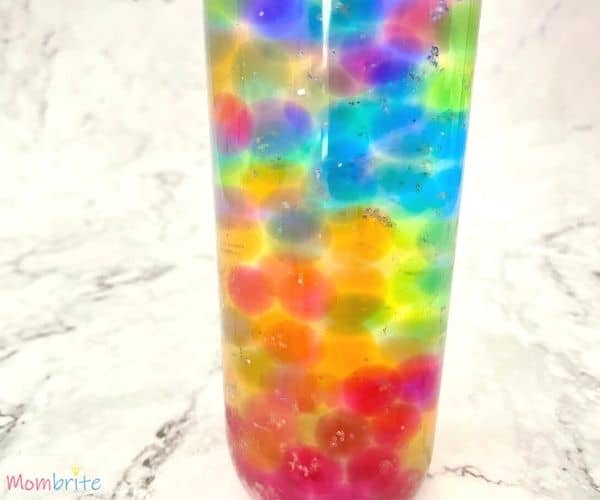
If your kids love sensory play, or if you are in need of a calm down bottle for your kids, this rainbow water beads sensory bottle is the perfect mess-free toy.
How to Make a Rainbow Water Beads Sensory Bottle
Supplies:
- Water beads
- Clear plastic bottle (we used a VOSS water bottle)
- Water
- Glitter (optional)
- Container or bowl
Instructions:
Step 1: Prepare Your Water Beads
Pour 1 teaspoon of dehydrated water beads in a large container or bowl and add 3 cups of tap water. If you want to make more, simply double or triple the water beads and water while keeping the same ratio. 1 teaspoon of dry water beads will grow to be about 4 cups after they are hydrated, so you might end up with more than you think!
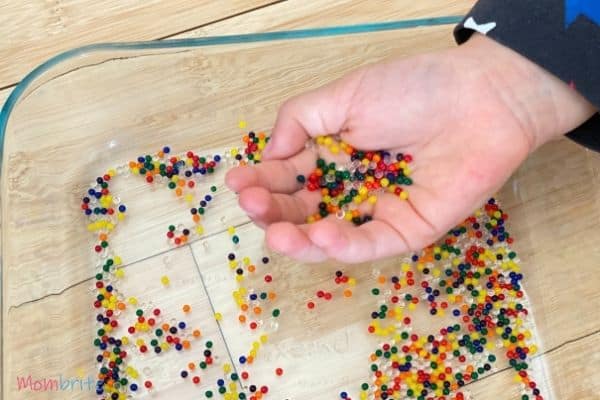
Wait about 5-6 hours for the water beads to be fully hydrated. It’s fun to watch them grow. If your kids are impatient, you may want to hydrate the water beads overnight so that they are ready to go by the time your kids wake up.
Step 2: Layer the Water Beads by Color
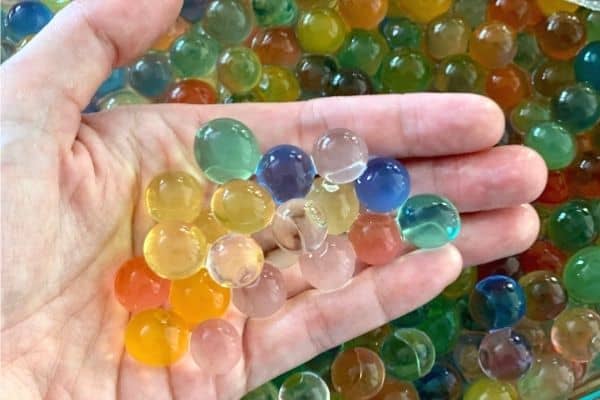
Once the water beads have fully grown, you can start adding them to your water bottle. You can start with either violet or red (the ends of the rainbow spectrum). We started with red because my preschooler found it confusing to name the colors of the rainbow backward.
The number of water beads you add per color depend on the size of your bottle. Just make sure you add about the same number of beads per color. If you have a preschooler or kindergartner, this is a good opportunity to take out the ruler and have them measure the height of each later. Otherwise, you can just eye the layers to see if they are about even.
Another great learning activity is to have your kids count the number of water beads as they place them in the bottle. For kindergarteners or first graders, you can have them practice skip counting by 2 or 3.
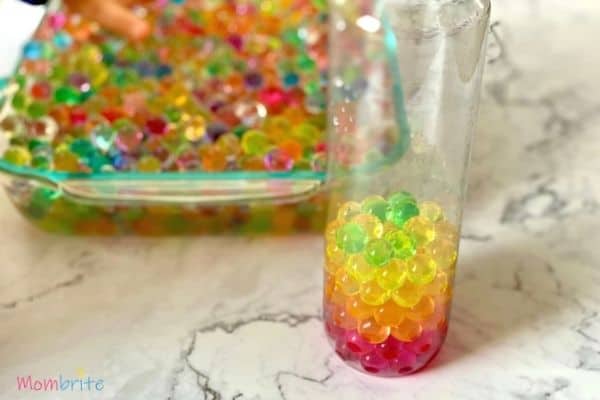
As we picked out the colors, we noticed that it’s difficult to tell the colors of the water beads when they are all together in a container. The reason is because that since the water beads are translucent, they also take on the color of the beads next to them. You need to place them on your hand or another surface in a single layer to accurately select the colors you want.
Continue to stack the layers according to the colors of the rainbow until the bottle is near full. Leave a little room on top for the glitter and water.
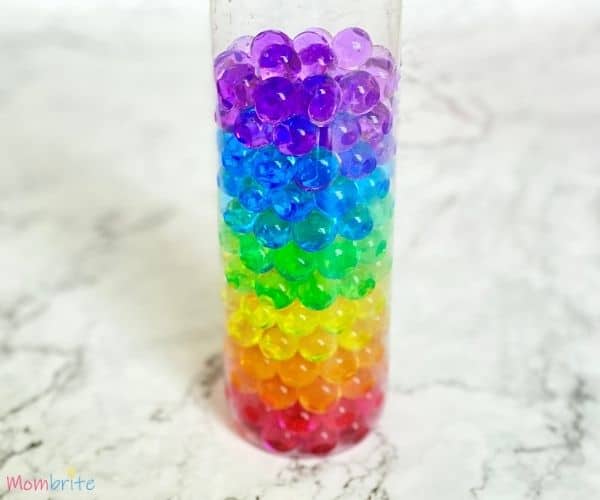
*Note: Careful not to tilt the bottle or knock it over. Once you knock the bottle over, the layers will mix and you will no longer have distinct layers in the water bottle.
Step 3: Add the Water and Glitter
After you are done stacking the layers of the rainbow, simply add enough water to fill the water bottle. You can add glitter if you want to make the water beads sensory bottle extra sparkly.
Step 4: Complete the Rainbow Water Beads Sensory Bottle
Place the lid on the water bottle and seal it tight. If you have a baby or toddler who may unscrew the lid, you may want to hot glue or tape the lid secure to avoid any spills.
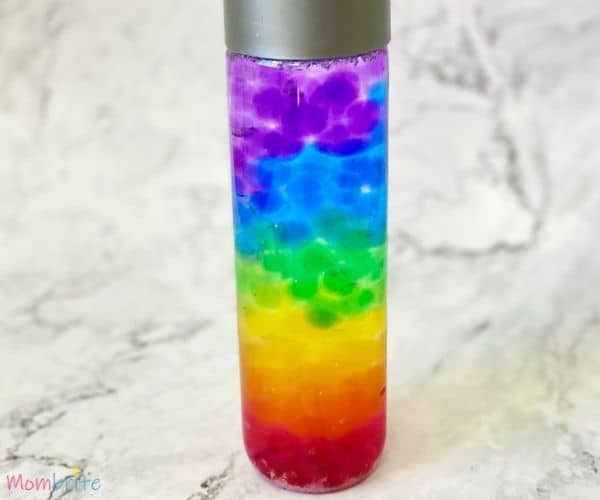
Doesn’t this rainbow water beads bottle look magnificent? The water beads look even more magical floating in the water. My kids and I just love this sensory bottle.
We shook the bottle to mix the colors. You can see how when the red and blue water beads overlap, the color turned purple. When the yellow and blue water beads overlap, the color turned green. What a great way to show your kids color mixing!
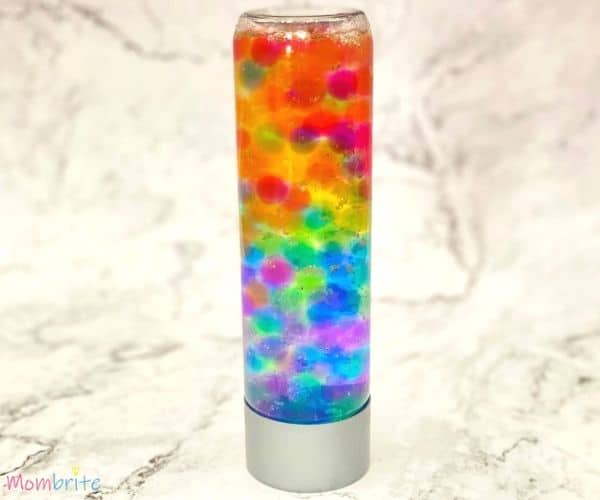
Once my kids realized that you can mix the colors inside this rainbow water beads sensory bottle, they wanted to keep shaking the bottle until all the layers of the rainbow disappeared.
If you prefer to maintain the rainbow effect, you can add more water beads per layer. Also, after you finish each layer, lightly tap the water bottle on the table or floor so the water beads settle closer together. Your water beads should reach the top of the water bottle with very little room for water. This way, the water beads won’t move around too much when your kids play with the bottle and the rainbow effect will remain intact.
I hope you and your kids enjoy this rainbow water beads sensory bottle as much as we did!
Related Posts

How long before the water beads dissolve away?
Honestly we left it for more than a month and the water beads never dissolved away!