Make this cute paper bird with your little ones. The free template makes the paper bird craft easy to make for your preschoolers and kindergarteners.
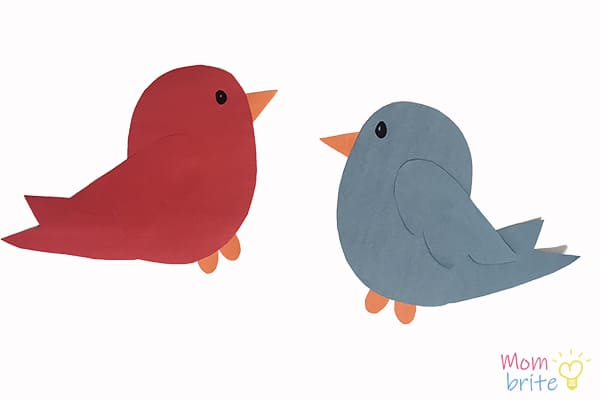
Are you are ready for springtime? We love hearing the birds singing after a long winter. One of our favorite books about birds is Are You My Mother? by Dr. Seuss.
I have a simple bird craft that you can do with your kids to celebrate the spring! This is a great craft for preschoolers and kindergarteners. It goes well with a spring lesson plan or just to practice scissor skills.
This paper bird craft comes with a free template that makes doing this spring activity easy with multiple kids. The instructions below include details on how you can quickly create template pieces for a group of kids and make a flock of paper birds for your classroom.
How to Make Paper Bird Craft
Spring bird craft supply list:
- Free paper bird craft template
- construction paper, copy paper, or cardstock
- stapler
- scissors
- glue sticks
- black marker (for eyes)
Instructions:
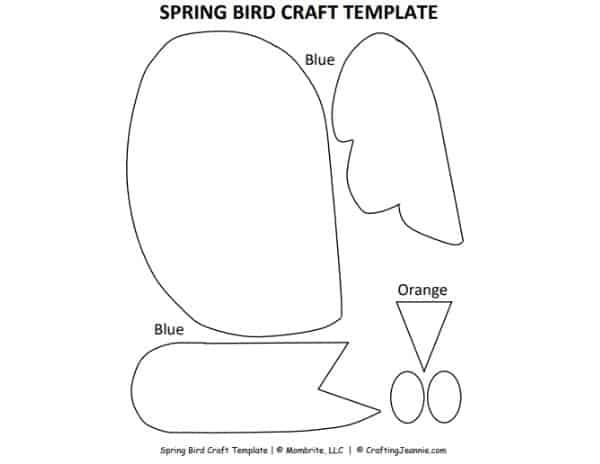
Step 1: Download and Print the Free Bird Template
Download the free paper bird craft template. The PDF file contains everything you need to make your cute spring bird.
Step 2: Staple and Cut Out the Bird Craft Shapes
The pictures and template are for a blue bird, but you can make your bird any color of the rainbow.
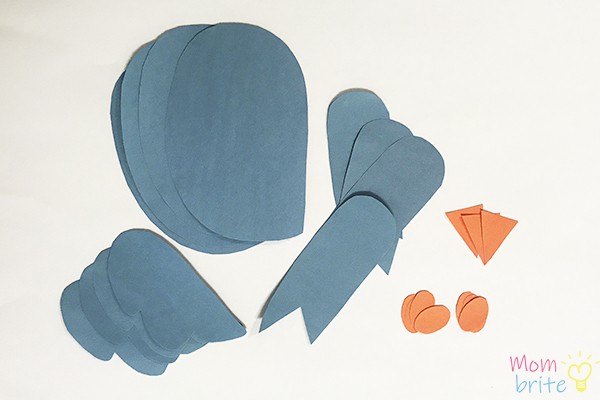
If you would like to have your child practice their scissor cutting skills, cut out the template and trace it onto the colored paper. Then, let the children cut out the craft shapes.
But, if you are doing this craft with a group of children or want to make more than one bird, try stapling the template to the construction paper.
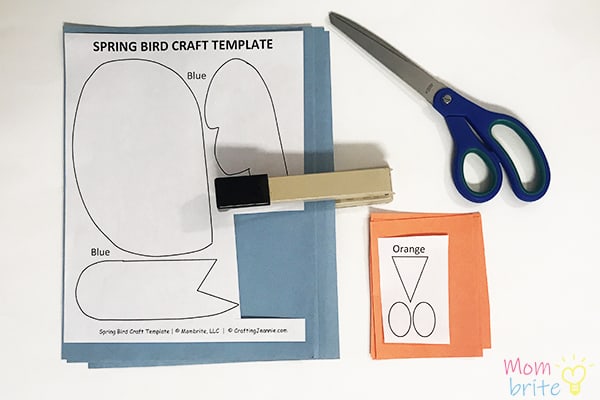
You can staple the template to up to ten sheets of copy paper, five sheets of cardstock, or 6-10 sheets of construction paper.
Stapling the paper is very important because it makes sure it doesn’t move as you cut. The more staples the better. Cardstock is the thickest so you may only be able to cut five sheets at a time.
Step 3: How to Assemble the Bird Craft
The kids will just need to glue it all together and make it their own! If you are working with elementary school kids, they can perhaps figure it out by themselves without further instructions or help. For preschoolers and kindergarteners, follow the tutorial below.
Glue the tail onto the back of the bird’s body.
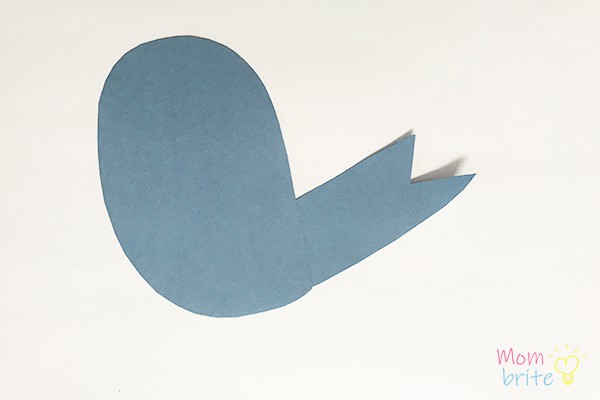
Glue the wing onto the bird’s body.
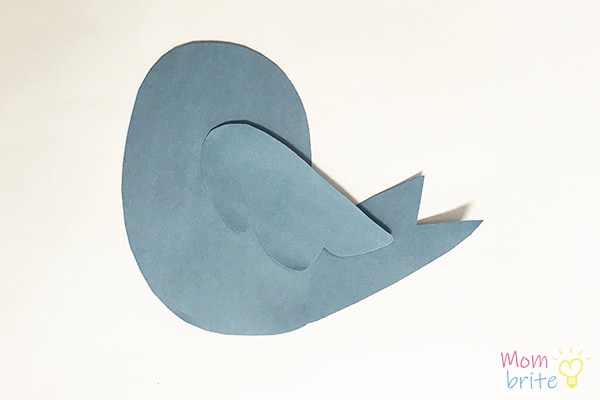
Glue the feet onto the bottom of the bird, behind the body.
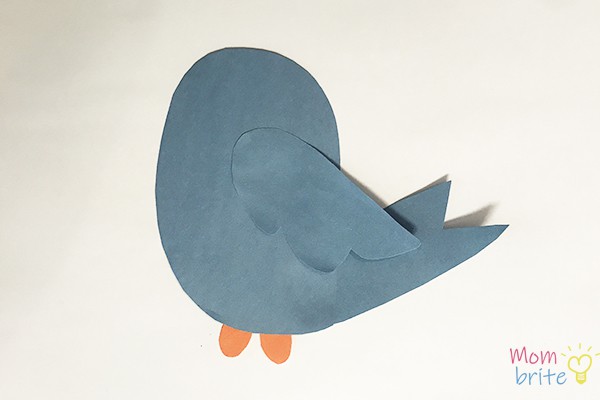
Glue the beak onto the bird’s head.
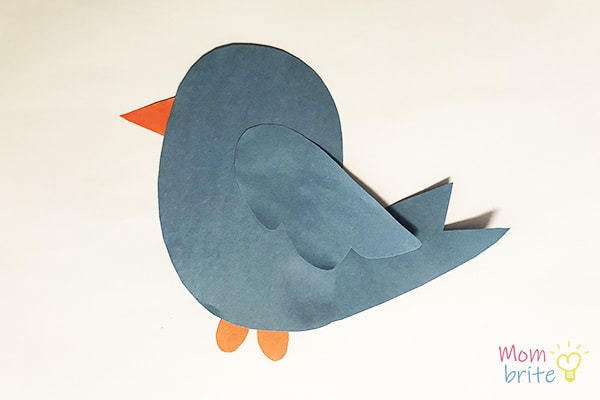
Draw the eye onto your bird.
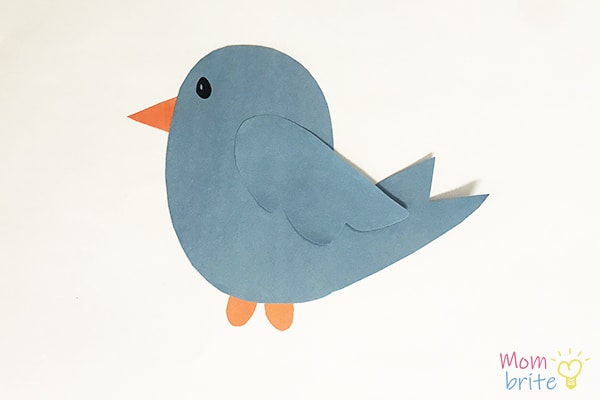
Don’t forget to write your name on the back.
And you’re finished!
For more fun, add real feathers to the bird. Or children can add glitter, sequence, or even glue a magnet to the back to hang it on the refrigerator.
This spring bird craft is perfect for preschool, kindergarten, or just a fun craft at home idea.
This paper bird craft is a guest post from Crafting Jeannie. On Jeannie’s site, you can find crafts with templates specifically designed for groups of kids like classrooms, after-school groups, parties, homeschooling, and more. Check out her fun craft templates at https://www.craftingjeannie.com/.
Related Posts:
