If you’re looking for a project to do with your kids this fall, try making an origami maple leaf. This craft is great because it’s easy and quick but still requires some fine motor and focus skills to fold the paper properly.

Making an origami maple leaf is a great way to celebrate the changing seasons. It also provides an opportunity for children and adults alike to learn about the iconic Canadian symbol.
As fall arrives, leaves start to change color and drop from the trees. It’s the perfect opportunity for kids to make origami maple leaves that you can use as fall decorations or even party favors for a Thanksgiving party.
There are many different ways you can make a maple leaf out of paper, but we have found this technique to be the easiest for small hands. Your kids will love making this simple origami maple leaf, so make sure to provide them with lots of yellow, orange, and brown papers to mimic the leaf colors of the fall.
Follow these simple step-by-step instructions below to turn your plain papers into beautiful leaves!
How to Fold an Origami Maple Leaf
Materials:
- Free origami maple leaf template (download instructions at the end of the blog post)
- Construction paper
- Elmer’s School Glue
- Scissors
Instructions:
1.. Download and print out the free origami maple leaf template. Cut out the template pattern.
2. Select a construction paper that is the color you want for your maple leaf. Trace the template pattern on the construction paper with a pencil.
Cut out the traced pattern with scissors.
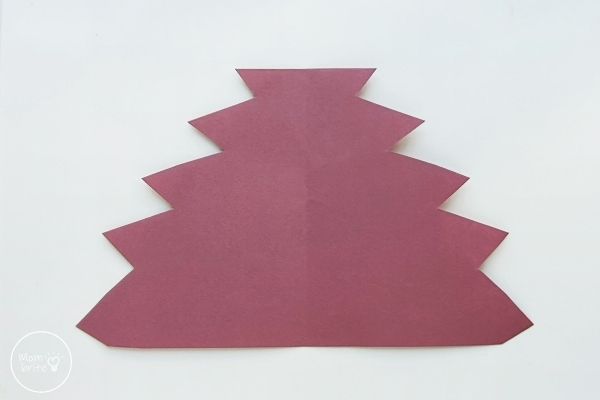
3. Take the top of the leaf cutout and fold it down until the top is aligned with the bottom edge. Press down to make a crease.
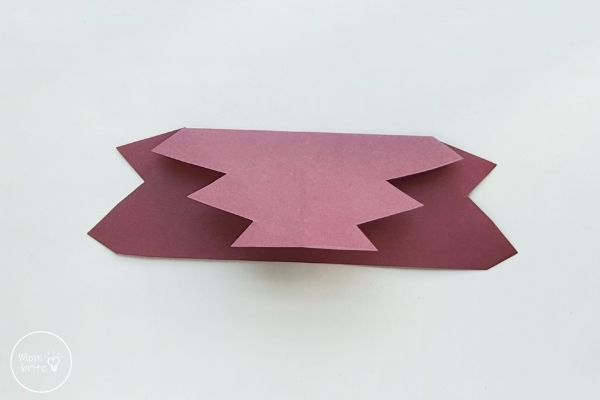
4. Fold the pattern in half again by folding the top edge downward.
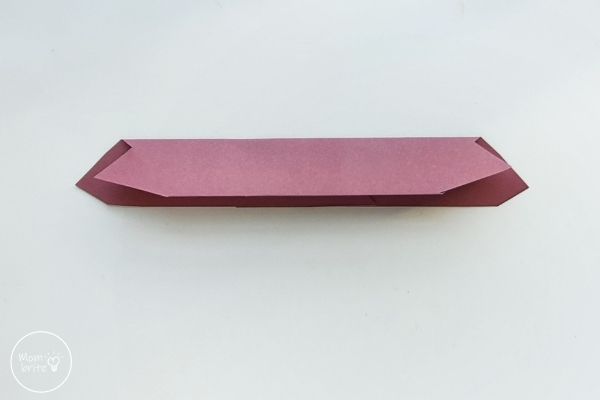
5. Fold the pattern in half horizontally for the third time.
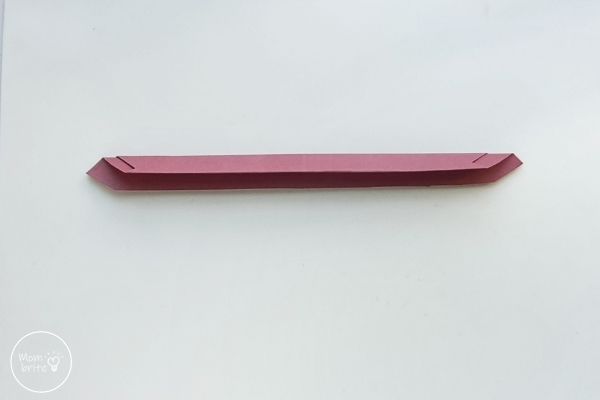
6. Fold the pattern in half horizontally for the last time. If the paper is too thick for you to fold, then fold the right side first, then the left side.
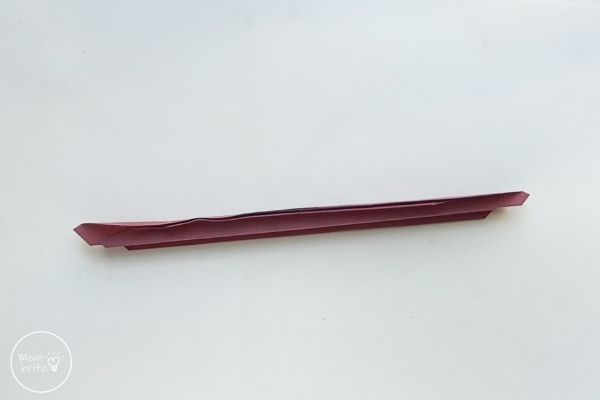
If you are really having trouble with the last fold, you may want to consider using a thinner paper. Another option is enlarging the maple leaf template when you print it out so that you are working with a bigger piece of paper.
7. Unfold the paper completely. You now have creases that will help you make the accordion folds easily.
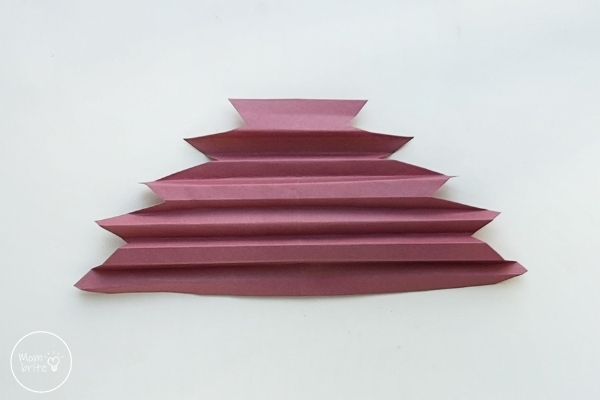
8. Use the creases in the previous steps as a guide to create accordion folds. If you have not heard of an accordion fold, it’s a series of alternating folds. It’s also known as a zig-zag fold or a fan fold.
Start by folding the bottom edge to the first crease. Flip the paper around and fold the new bottom edge to the next crease. Continue to flip the paper over and folding the bottom edge up until you have folded the entire paper maple leaf.

9. Hold thee paper leaf so that the wider side is facing you. Apply a little bit of glue on one side of the wide side’s last fold.
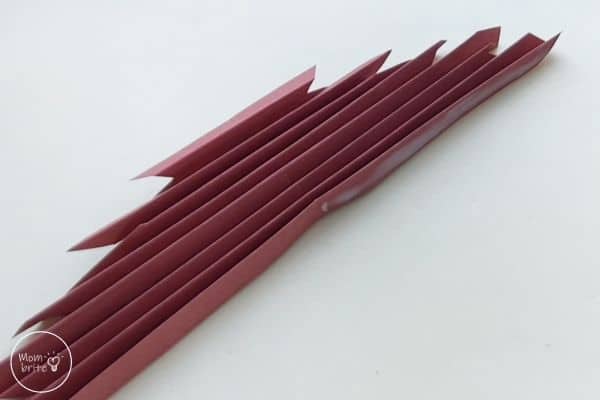
10. Fold and bring the two sides of the wide side together.

11. Hold the two sides of the paper together until the glue dries.
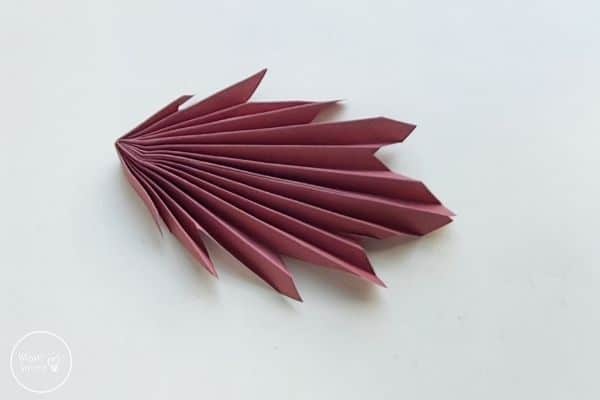
12. Spread out the folds slightly with your fingers.
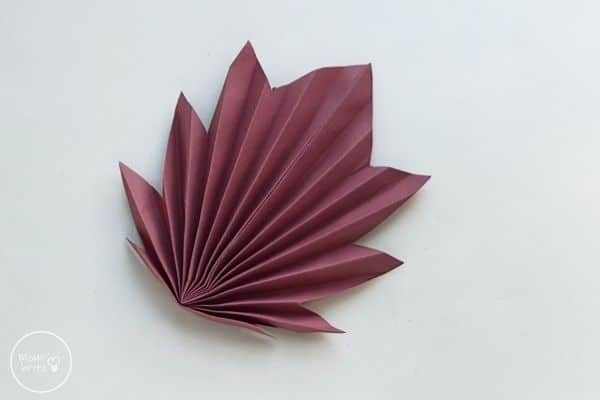
That’s all it takes to make this beautiful origami maple leaf! Make as many of these leaves as you want and use them for decorations or gifts.

Happy folding!
Related Posts:

