Learn how to make an origami box with a lid that you can use to hold food, little trinkets, and even gifts for others with this easy step-by-step tutorial.
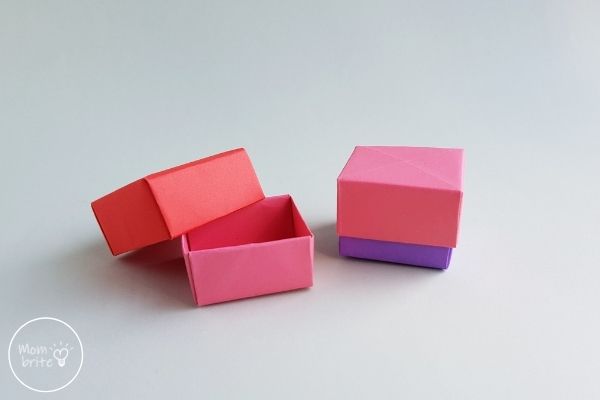
Growing up in Taiwan, we folded origami all the time to make practical items that you can use in everyday life. While making decorative items like origami flowers and origami turtles is fun, you can also make functional origami that will make your life a lot easier.
One of the most common origami we folded was a paper origami box with a lid. At school, we would fold these paper boxes to hold little trinkets that the teachers handed out to take home. We also used them to hold popcorn and other snacks during lunchtime.
You can also use these origami boxes as homemade gift boxes for jewelry or gourmet candies to give to someone for his or her birthday or other special occasions. Talk about cute and inexpensive packaging!
Easy Origami Box with Lid
Materials:
- Square paper for the box
- Another square paper for the lid. This one should be 1cm more on all sides than the paper used for the box. You can use origami paper and trim the sides.
- Optional: glue stick
Instructions:
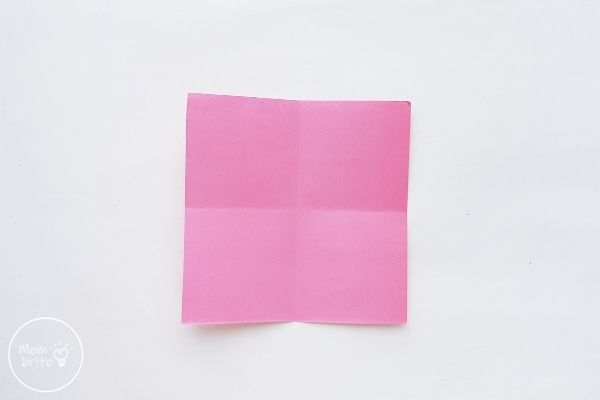
1. Select a colored square paper to make the origami box. We’re using a 6″ x 6″ piece of paper. Take the square paper and fold it in half vertically and horizontally to create creases. Unfold completely.
2. Hold the top right corner of the square paper and fold it towards the center of the paper (where the 2 creases intersect in the center of the paper).
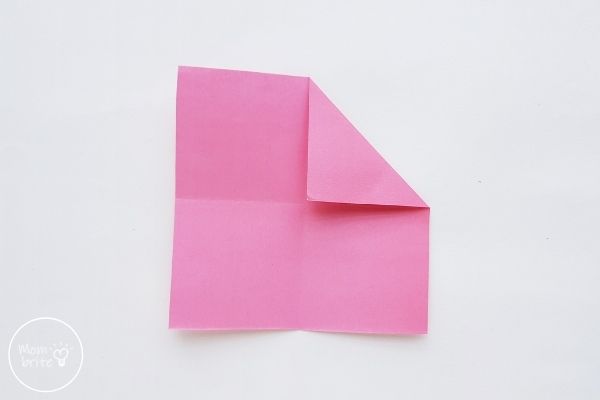
3. Repeat the previous step with the other 3 corners.

4. Fold the top and bottom edges to the center.
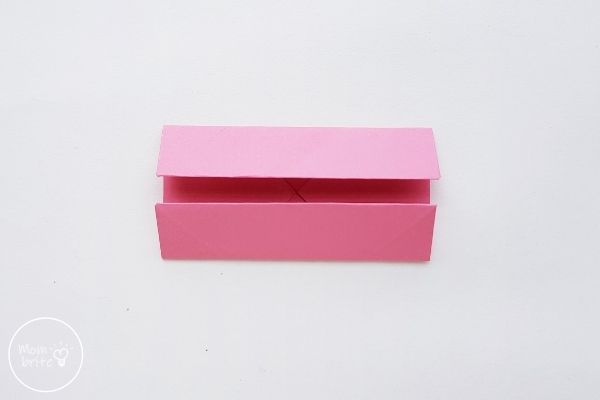
5. Unfold the last folds.
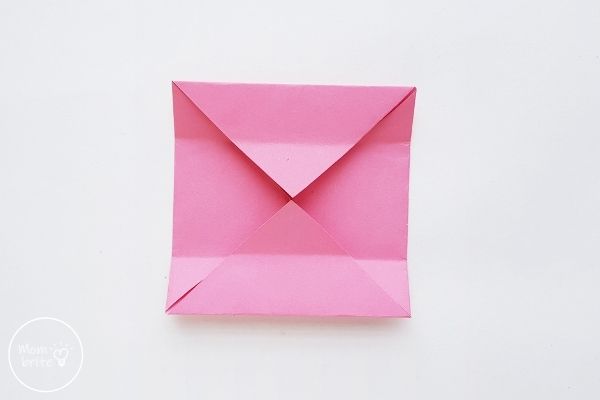
6. Unfold the top and bottom triangles.
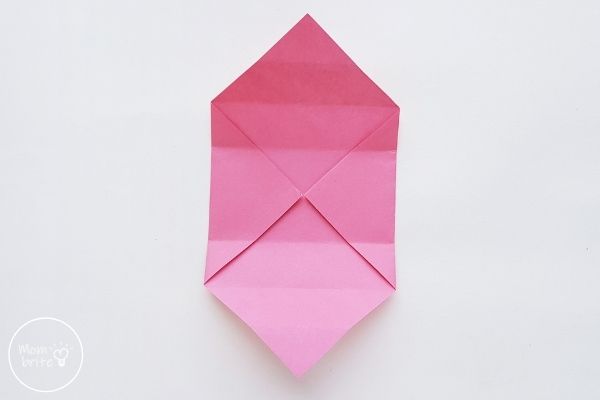
7. Fold the left and right edges to the center.

8. Fold up the top part along the 3rd crease from the top.
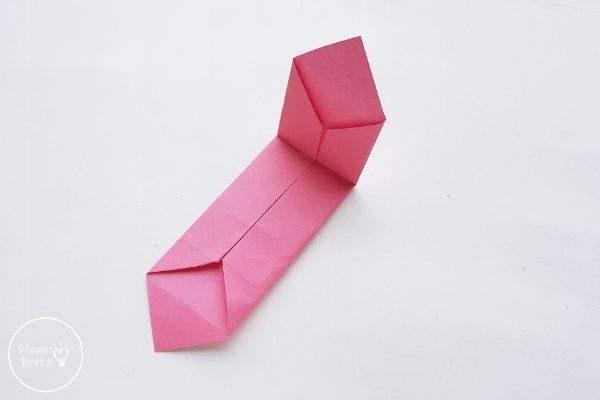
9. While holding the right side of the paper, carefully open the left side to form 1 side and 1 corner of the box

10. Carefully adjust the side to a 90-degree angle.

11. Similarly, open and fold the right side of the paper so that it forms a 90-degree angle.
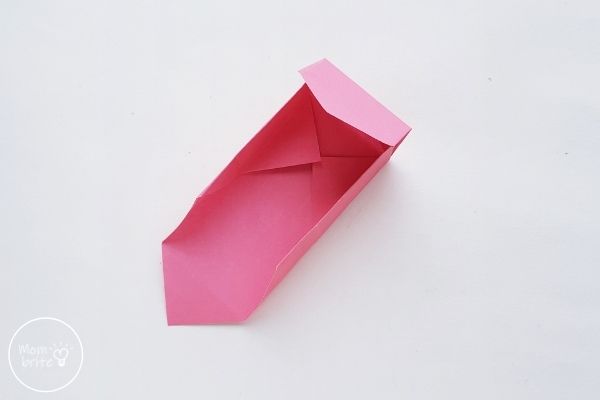
12. Hold the top triangle flap of the paper and fold it inside the box. If you want to ensure that the box doesn’t come apart, use the glue stick to secure the flap to the side and bottom of the box.

13. Repeat steps #8-12 on the other side to complete the paper box craft.
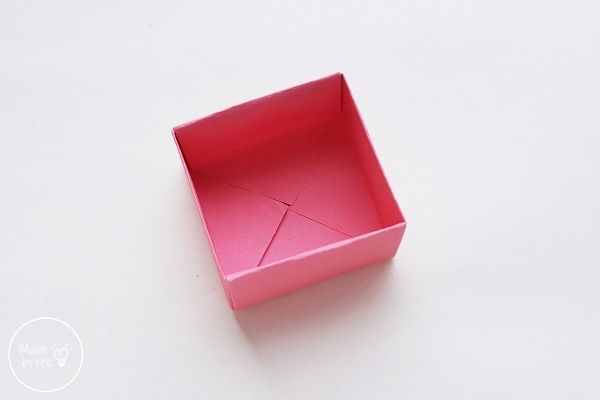
14. To make the lid of the box, use the paper that is 1 cm longer on all sides than the one you used for the box. Follow the same steps to make the box shape, but flip it around and use it to cover the opening of the box.
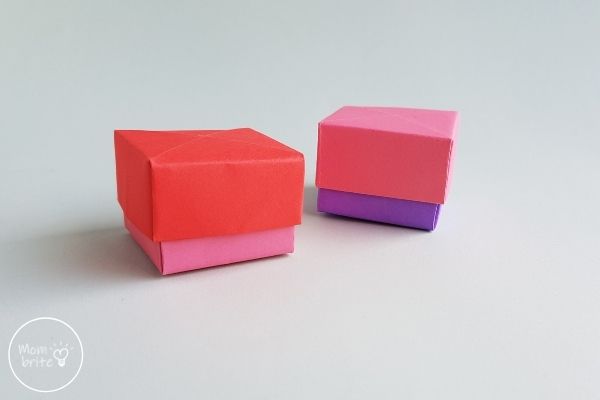
You are done making the origami box with a lid!
If you want to use it to hold bigger items, simply use a bigger piece of paper to start. As long as the paper for the lid is slightly bigger than the paper for the box, you can follow the directions above to make boxes of any size.
And if you want to use the box portion without the lid, that’s totally fine too!
What are you going to put in your box?
Related Posts:

Thank you so much for this tutorial :). Some other origami tutorials are so confusing, but I love all of yours. Such a great website!
thank you so much!