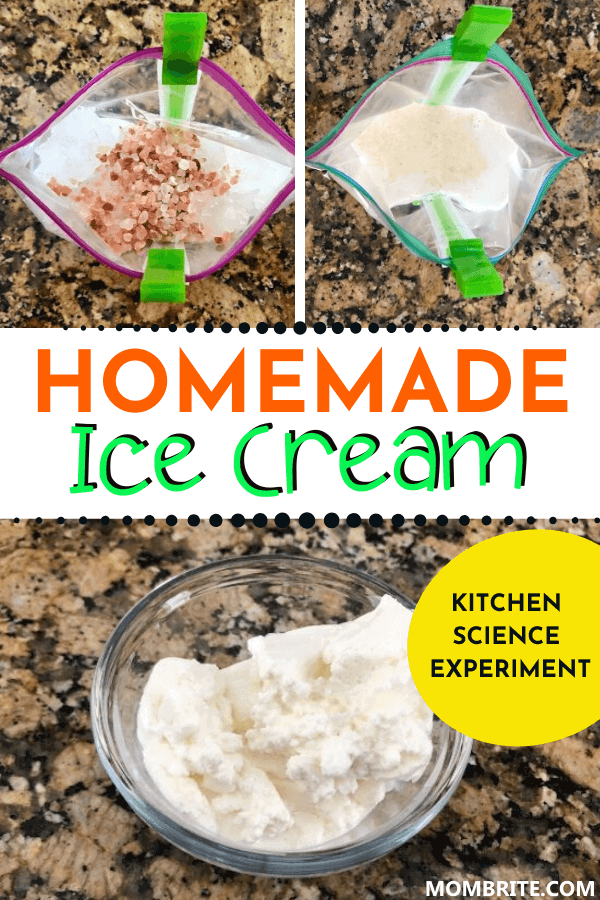
Your children will love making their very own ice cream this summer season with this homemade ice cream in a bag experiment. How cool is that!
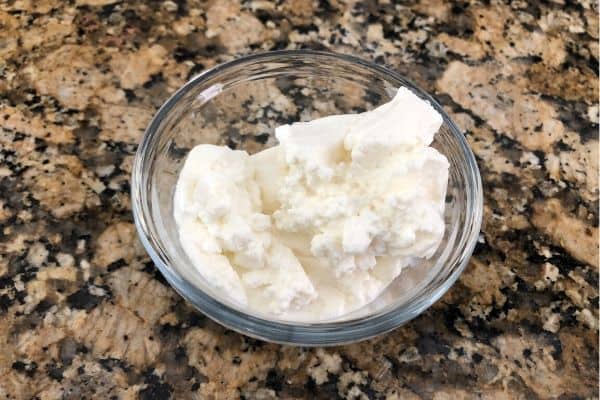
Ran out of ice cream at home and don’t want to venture out to buy some?
You can make ice cream at home without a fancy ice cream machine! All you need is a couple of plastic bags, ice, and salt.
This week, we made homemade butter and popped our own popcorn on the stovetop. We are continuing the kitchen science theme by making ice cream in a bag! And the kids are overjoyed.
How to Make Ice Cream in a Bag
Ingredients:
- 1 cup half-and-half
- ½ teaspoon pure vanilla extract
- 2 tablespoon sugar or sugar substitute (we used maple syrup)
- Ice
- ¼ cup salt (you can use table salt, but rock salt will make the ice cream faster)
- 1 small and 1 big resealable plastic bag
- Optional: ice cream toppings
Directions:
1. Pour 1 cup of half and half, ½ teaspoon of pure vanilla extract, and 2 tablespoons of sugar or sugar substitute in the small resealable plastic bag. I used the snack-size Ziploc bag.
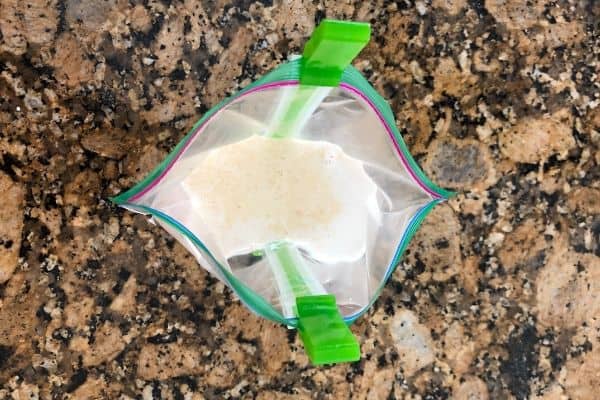
2. Squeeze as much excess air as possible and seal.
3. Fill the big resealable bag halfway with ice. Add ¼ cup of salt.
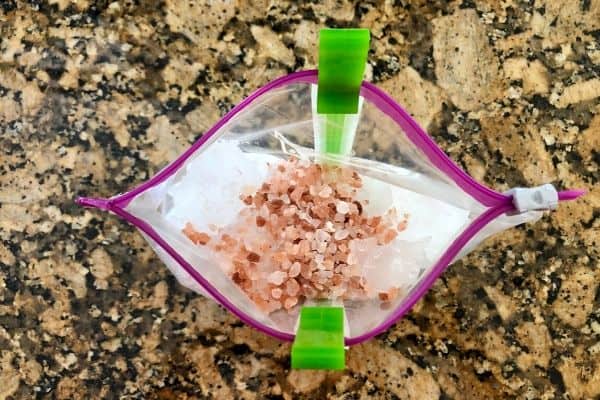
4. Place the small bag inside the bigger bag.
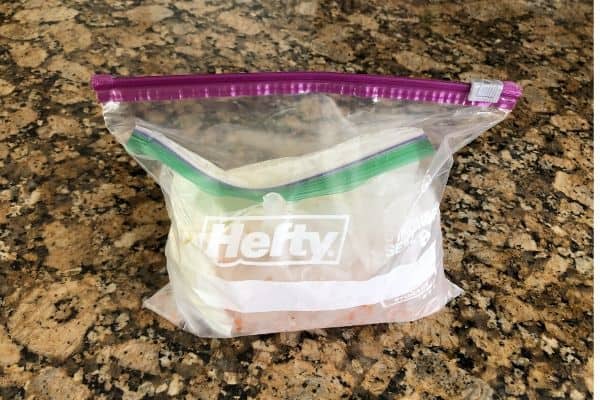
5. Shake vigorously for 5-10 minutes. Gloves may be necessary since the salt makes the ice extra cold. You may need to add additional ice while shaking if the ice melts too quickly.
6. Check the small bag to ensure the ice cream is the right consistency.
6. Take the small bag out of the bigger bag and rinse the outside of the small bag with cold water. This will ensure the ice cream is not salty.
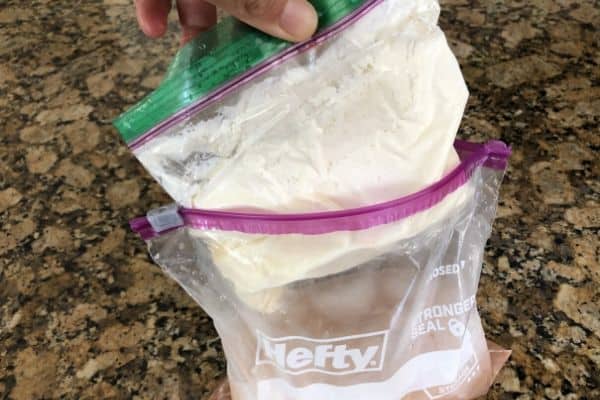
7. Squeeze the ice cream out into a bowl.
8. Optional: add toppings!
9. Serve and enjoy!
It’s important for you to use quality bags with good seals. Otherwise, you might end up with salt inside the small bag. To be extra safe, you can double bag the ice cream ingredients. This might be a good idea if you have small kids who might shake the bags a little too forcefully.
Using chunkier salt would also help prevent the salt from getting into the small bag. We used rock salt because that’s actually all we have at home.
The kids are super excited about this experiment because we don’t usually have ice cream at home. I like how we can make a small amount at a time and not worry about storing a container of ice cream in the freezer. Otherwise, I know I will have to deal with my kids asking for it all the time!
The Science Behind Ice Cream in a Bag
As we learned in the ice fishing experiment and LEGO ice excavation, salt lowers the freezing point of ice. The more salt is added, the lower the temperature can get before the salt solution freezes.
In order for the ice to melt, it has to absorb heat from its surroundings. In this case, it’s from the ice cream mixture. The ice pulls the heat away from the ice cream, which allows the ice cream mixture to freeze.
By shaking the bags, you are pushing the warmer ice cream mixture to the outside of the small bag. This makes the ice cream mixture freeze more evenly.
Ice cream is actually a colloid, a type of emulsion, which means that the ingredients are unmixable or unblendable. Similar to the oil and vinegar salad dressing, the fat globules are spread throughout a mixture of water, sugar, and ice, along with the air bubbles you created by shaking.
This is why it’s important for you to eat the ice cream right away. If you let it sit, the fat is going to separate from the water and sugar and you won’t have ice cream anymore.
Science Extensions to Try
I am sure your kids will be more than happy to try more experiments with ice cream!
- Use rock salt instead of table salt or vice versa. Do you see a difference in how long it takes for the ice cream to form?
- Add a couple more tablespoons of salt to the ice. Do the ice cream freeze faster?
- Try using whole milk instead of half-and-half. Can you feel the difference in the ice cream texture?
- Add more sugar to the ice cream mixture. Does that impact the texture of the ice cream or how long it takes for the ice cream to freeze?
- After the ice cream freezes, try shaking for an additional minute or two. Does that make the ice cream creamier?
- If you have an ice cream machine at home, make ice cream in a bag and with the machine. Taste both and compare the difference.
Final Thoughts on the Ice Cream in a Bag Experiment
You can also do the ice cream experiment in a jar or coffee can with a lid. I find that the bags are easier because you can see inside the bigger bag to ensure that there is no leakage. If you are using cans, you may not be able to see the inside as you roll and shake the bigger can.
Overall, it’s a super easy science experiment that your kids will enjoy. Plus, there is a yummy treat at the end!
