If your kids love watching things fly through the air, they’ll love learning how to make a DIY plastic bag parachute. This parachute is fun for kids of all ages!
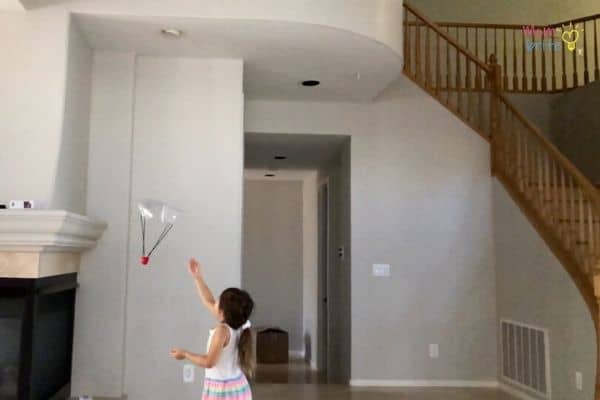
After the paper helicopter experiment, my kids are obsessed with throwing things off the second-floor landing. Can’t blame them – it’s super fun!
Today we’re making a DIY toy parachute using a Ziploc bag. You can also make the parachute using a grocery bag, but we didn’t have any in the house. The Ziploc bag is more expensive, but you can make 2 toy parachutes out of one bag. (studybizz.com)
Let’s learn about air resistance with this easy and fun parachute!
How to Make a Ziploc Bag Parachute
This post contains affiliate links. Please see my full disclosure policy for details.
Materials:
- Ziploc bag (we used the gallon freezer size)
- Scissors
- Tape
- Hole Punch
- Plastic or paper cup
- String (we used yarn)
Instructions:
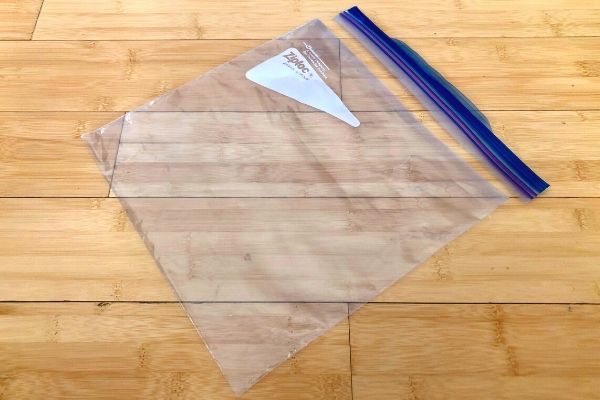
- Cut the top off the bag, using the zipper as a guide for a straight line.
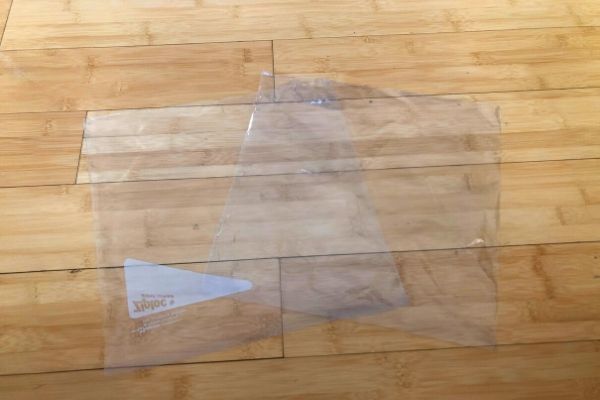
- Cut open the remaining sides down the slits. You should end up with two squares of plastic. Put one aside for now.
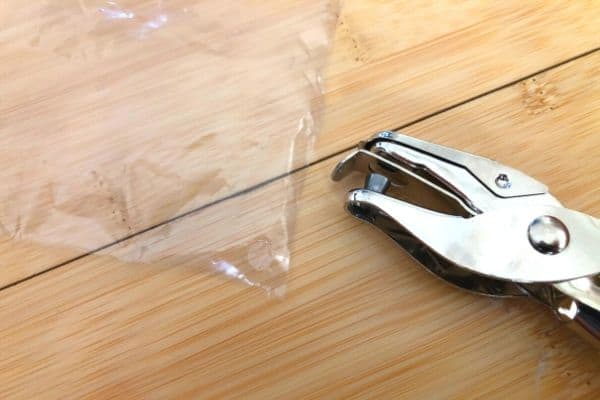
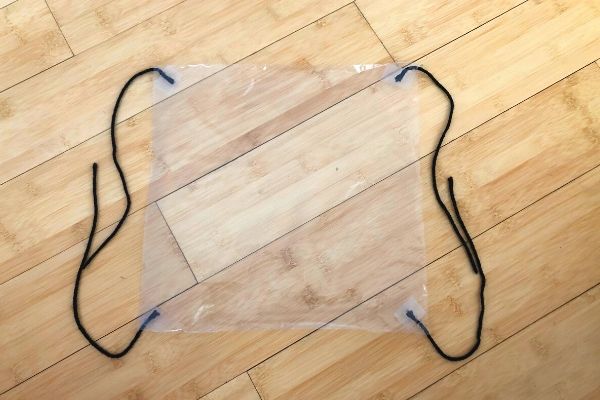
- Use a hole punch to cut holes in all four corners of the square.
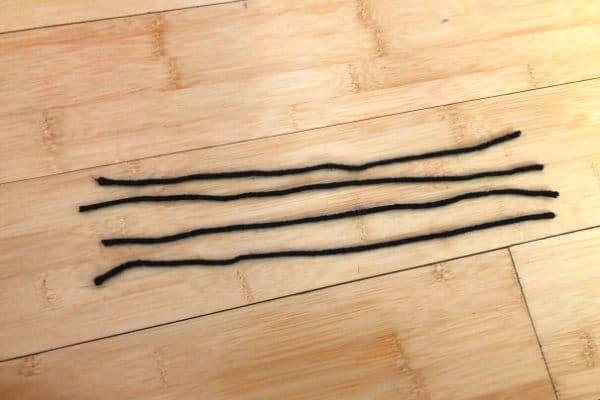
- Cut four pieces of string of equal length. We didn’t measure the exact length of the string with a ruler, but they were about 9” long.
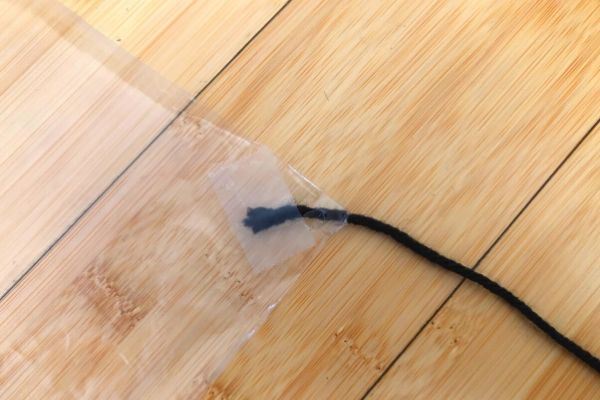
- Put one end of a string through the hole in the square plastic and secure it to the plastic with a piece of tape.
- Repeat step #5 for all the strings and corner holes.
- Make sure the tape is on the underside of the parachute when the parachute is in the air.
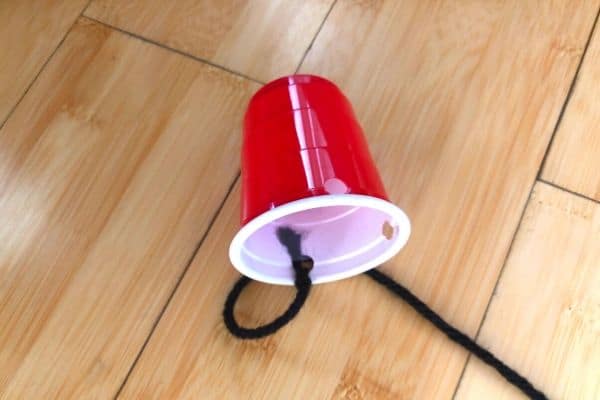
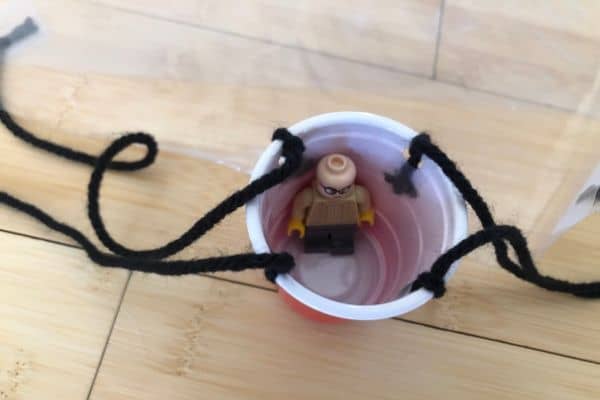
- Punch 4 holes 90 degrees from each other in the cup.
- Put the loose end of the strings through the holes and tie a knot.
- For extra security, tape the loose end of the knots to the interior of the cup.
- Place whatever you would like inside the cup. We put a LEGO man since we are obsessed with LEGO STEM activities right now.
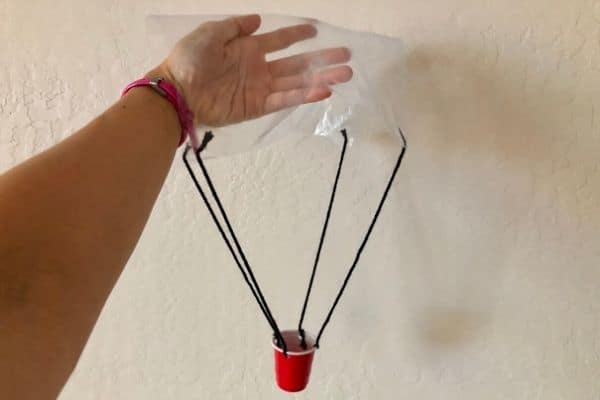
- Hold the parachute with your palm up supporting the underside of the plastic chute.
- Lightly toss the parachute upward and in front of you.
Now the LEGO minifigure can fly to safety with his trusty parachute!
My kids just loved releasing the plastic bag parachute from the second-floor landing and watching the parachute float down to the first floor. In fact, they made it a game. My son would release the homemade parachute, and my daughter would try and catch it before it hit the ground.
This video shows about a quarter of the time they were playing with the parachute. I am not exaggerating. I lost count how many times they went up and down the stairs playing this game of catch the parachute.
Science Behind the Ziploc Bag Parachute
The plastic bag parachute is all about air resistance!
Air resistance, or drag, is the force that acts in opposition to the relative motion of an object as it passes through air. In layman’s terms, as gravity pulls the parachute down to the ground, air resistance pushes it upward, hence slowing down its descent.
The bigger the chute, the greater the air resistance. This is because the drag force, or air resistance, is dependent on the surface area of the plastic square chute.
There are many science extension activities you can try with this DIY toy parachute experiment:
- Use a smaller or bigger piece of plastic for the chute. Does the parachute take a shorter or longer time to reach the ground?
- Put a lighter or heavier object inside the cup. How does the weight affect the time it takes for the parachute to reach the ground?
- Try different lengths of string. Do the lengths of string matter when it comes to the speed at which the parachute falls?
- Try cutting a small hole in the middle of the parachute. How does the hole affect the speed at which the parachute falls? How about its motion as it descends to the ground?
- Try using a different material – perhaps a grocery bag that has thinner plastic. Does the thickness or weight of the plastic chute affect its descending speed?
Final Thoughts on the DIY Plastic Bag Parachute
We just love activities like this DIY toy parachute because we already have all the materials in the house. It amused my kids for over an hour, and it certainly got them active by going up and down the stairs.
If you don’t have a cup around the house, you can also just tape the strings to whatever object you have. We just like using a cup because this way, you get to test out how putting different things in the cup affects how the parachute falls.
YOU MAY ALSO LIKE:

WOW
We used a small (3 oz ) platic cup and a gallon sized bag. We had a little trouble getting the ‘chute to fill. We switched to a quart sized bag and had great success! Thank you for the idea!
Oh interesting, perhaps the gallon size bag was too big and floppy so couldn’t get enough air resistance underneath it for the parachute to work! I am glad that you experimented and found a solution!