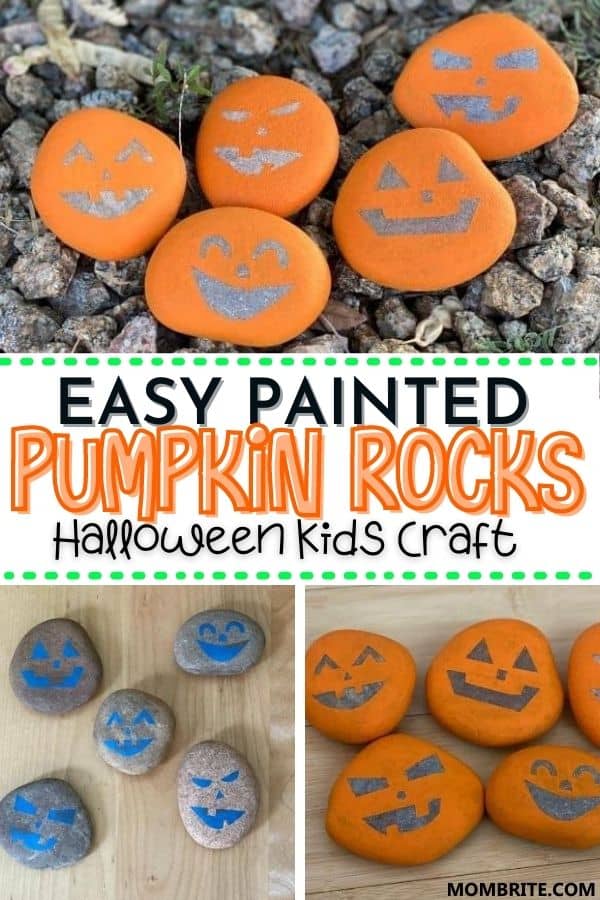
Kids loving painting rocks because rocks are so much more interesting than a piece of paper. Plus it’s fun to go outside and select your rocks to paint.
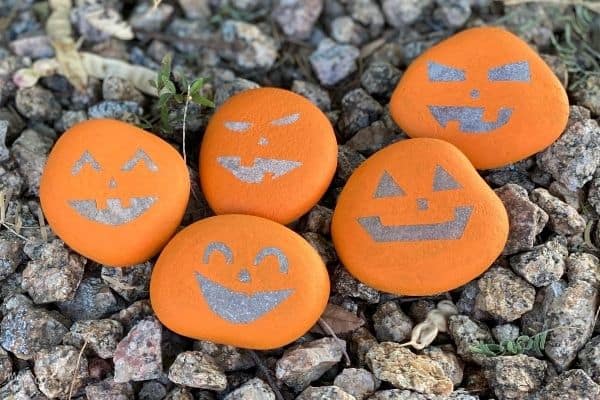
For this fall and Halloween, why not paint some pumpkin rocks? You can just paint a few, or make a whole pumpkin patch.
And I am going to teach you a little trick so that you don’t have to worry about drawing the pumpkin face on an uneven surface after. This way, you don’t have to fight over who gets the black permanent marker with your kids.
How to Paint Pumpkin Rocks
Materials:
- Rocks
- https://amzn.to/31FHWSYPainter’s tape
- Orange acrylic paint
- Paintbrush
- Paper plates or cardboard
Instructions:
1. Clean the rocks with water and let them dry.
2. Cut the eyes, noses, and mouths of the “pumpkins” out of painter’s tape. It’s not the most difficult thing to do, but do cut carefully so the tape doesn’t stick to your scissors.
3. Tape the pumpkin faces on the rocks.
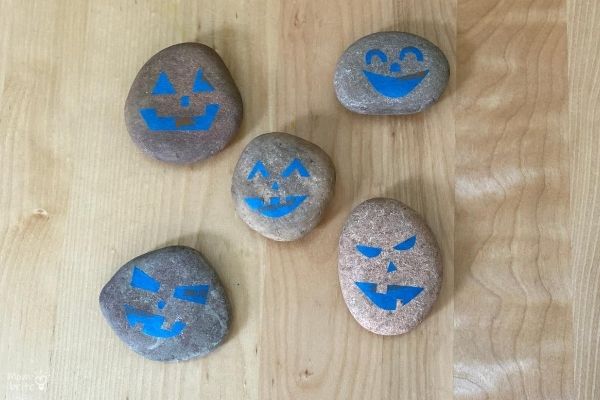
4. Give your child the rocks and let him cover the rocks with orange acrylic paint.
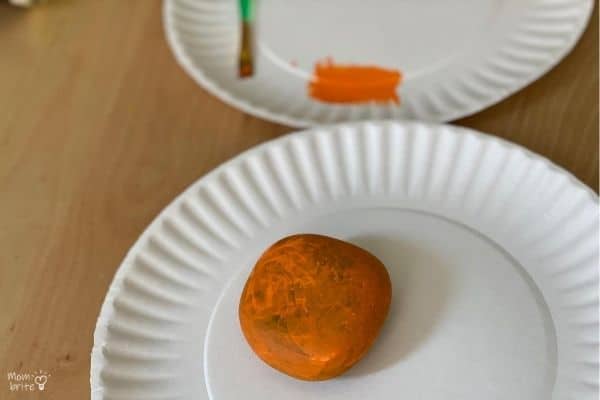
5. Let the paint dry. Depending on the paint you use, you may want to apply more than one layer.
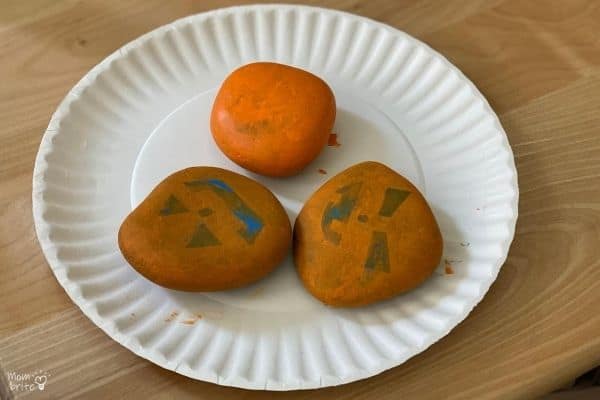
6. After the paint has completely dried, carefully peel off the painter’s tape.
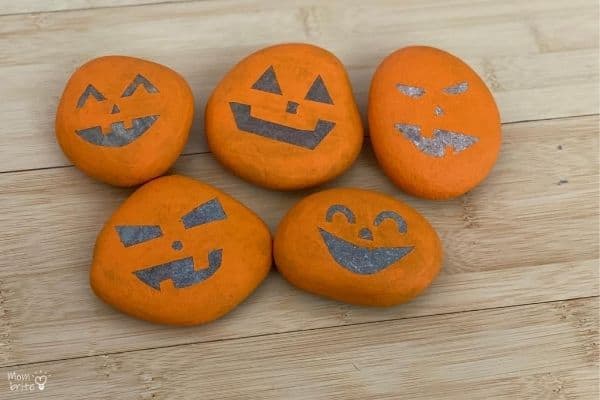
7. Decorate your yard or porch with these adorable pumpkin rocks!
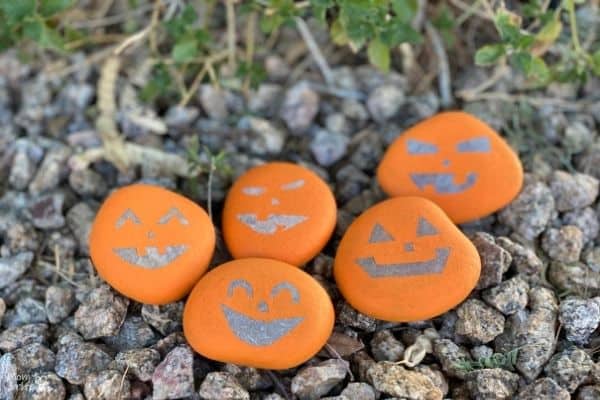
My kids loved painting these pumpkin rocks. They were happy that we needed 3 layers of paint on the rocks because they just wanted to keep painting. It’s not every day you get to paint rocks!
Plus, they were so proud of their pumpkin rocks once I took off the painter’s tape. Even though I was the one who cut out the painter’s tape, they helped arrange the eyes, noses, and mouths on the rocks.
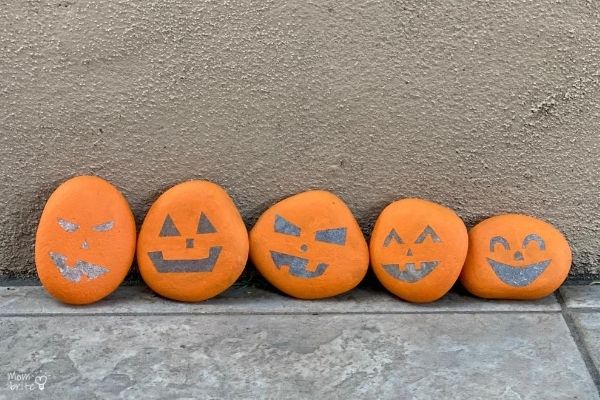
I hope you liked the painting pumpkin rocks craft for Halloween. For more easy Halloween craft you can do with your preschooler or elementary school kid, check out:
- How to Make Q-Tip Skeletons
- Pumpkin Toilet Paper Roll Lantern Craft
- 3D Toilet Paper Roll Pumpkin Craft
- How to Make Puffy Paint Pumpkins
- Easy Paper Plate Pumpkin Craft for Halloween
- Puffy Ghost Halloween Craft [Free Ghost Printable]
