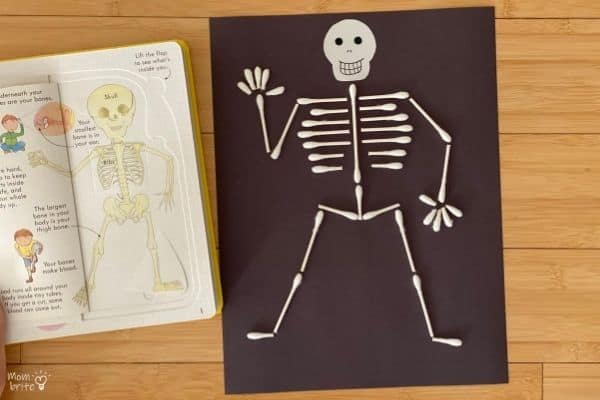
Your kids will have love learning about the human skeletal system by building it with Q-tips. This Q-tip skeleton craft also doubles as a Halloween craft!
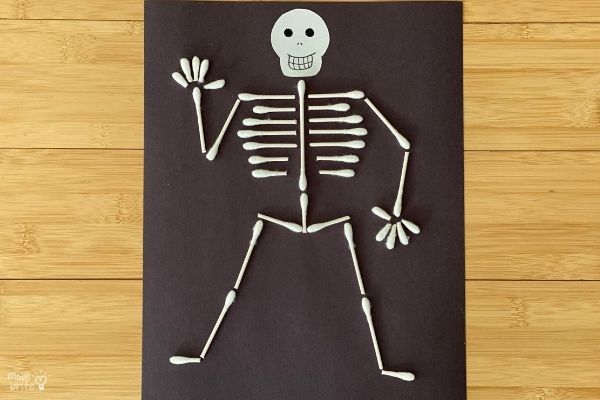
The head bone’s connected to the neck bone, the neckbone’s connected to the backbone … who doesn’t know the famous Dem Bones children’s song?
And that’s the song we played as we made our Q-tip skeleton craft. As part of our homeschool human anatomy unit study, we are exploring the different bones in our bodies. Making a skeleton out of cotton swabs was a lot of fun and perfect for Halloween!
Before we jumped into the skeleton craft, we read our favorite human anatomy book, Look Inside Your Body. Then we used the skeletal drawing in the book to model our Q-tip skeleton.
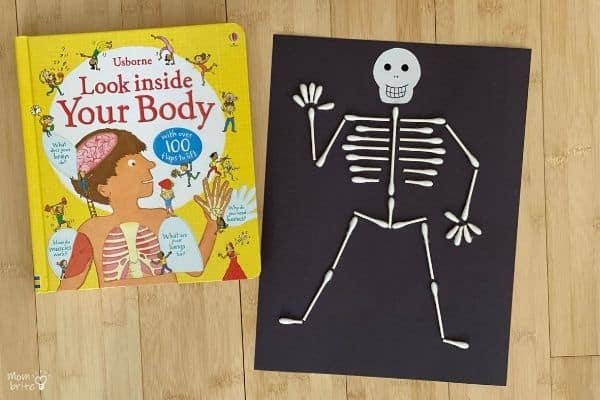
Q-Tip Skeleton Craft
Materials:
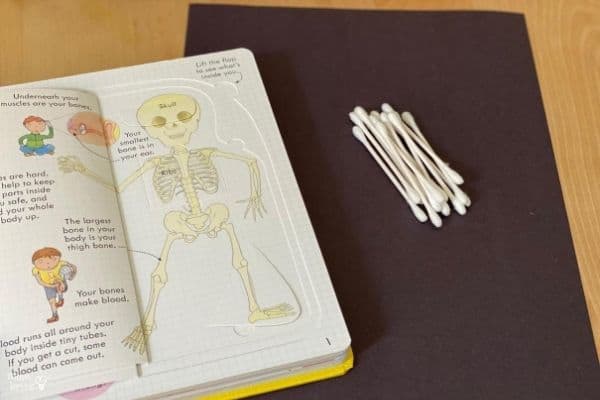
Instructions:
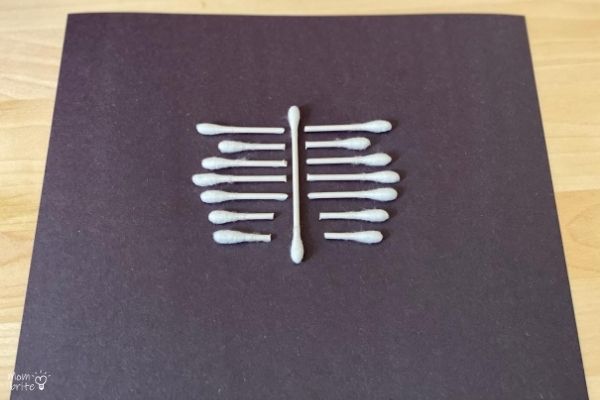
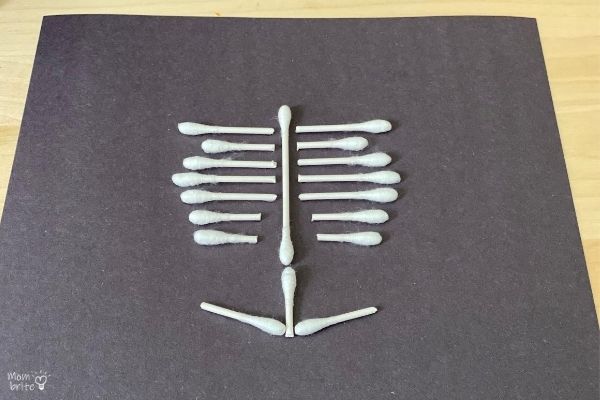
1. Cut 6 Q-tips in half for the skeleton’s ribs. For more accuracy, you can trim some of the ribs shorter.
2. Glue 1 Q-tip on the black construction paper. This will be the spine. I cut an additional section to make the spine slightly longer than the ribs.
3. Glue the 6 pairs of ribs on both sides of the spine. Make sure to leave a little room up top for the neck bone.
4. Cut two sections off a Q-tip for the hip bones. They should be slightly shorter than half of the Q-tip. Glue them on the construction paper.
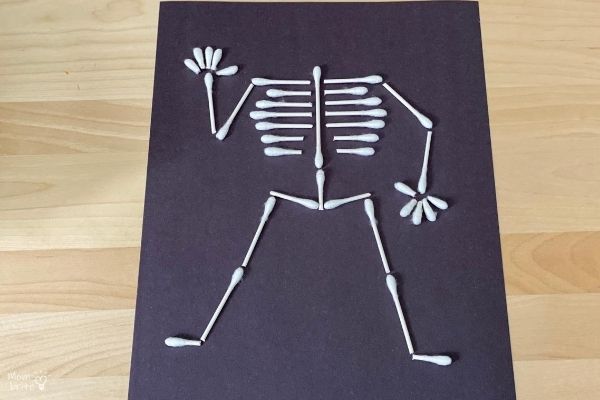
5. Trim the ends off 8 Q-tips. These will be the arm and leg bones.
6. Cut the ends off 5 Q-tips. These are your fingers.
7. Cut the 2 ends off 1 Q-tip (though leave a little more stem). These are your feet.
8. Arrange all the Q-tips you cut in their proper locations and glue them on the black construction paper. Be creative with your skeleton’s pose!
9. Draw a skull on the white paper with a black marker and cut it out.
10. Glue the skull above the skeleton, right above the neck bone.
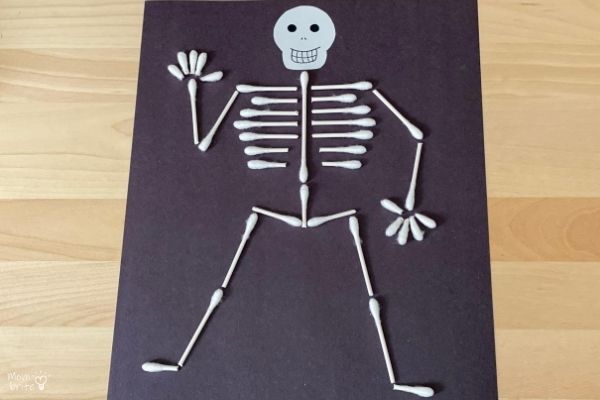
Did you decide to make a scary skeleton? Or a friendly one? Since the idea of a skeleton is a little scary for my preschooler, we made our skeletons all happy ones.
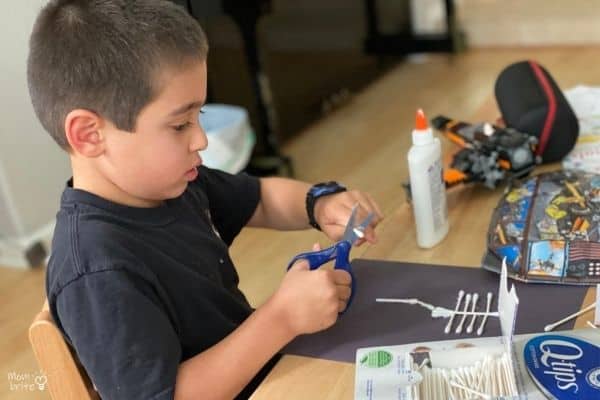
The cotton swabs are a little difficult to cut, so you might want to cut them ahead of time. My 6-year-old son was stubborn and cut all the Q-tips he used by himself, and he did so successfully. But mommy had a mini heart attack every time a Q-tip went flying.
For my kids, I just wanted them to understand the major bones of our body. I didn’t get into the names of every single bone, but they at least know that our leg bones are not connected directly to our backbone. We also talked about the concept of joints versus just bones.
Fun Facts About the Human Skeleton
Here are some fun facts you can share with your kids about the human skeleton after making the Q-tip skeleton craft:
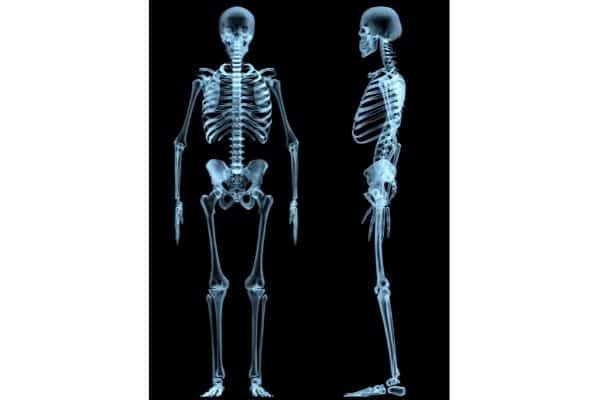
- The human adult skeleton consists of 206 to 213 bones. Some people are born with extra bones such as an extra pair of ribs or an extra digit.
- The smallest bones in your body are in the ear. The hammer, anvil, and the stirrup bones, collectively known as the ossicles, are responsible for transmitting sound vibrations from the air to the fluid in the inner ear.
- Only one bone is not connected to another bone. The hyoid bone, which sits at the base of the tongue, doesn’t connect to a joint.
- Babies are born with 300 bones. As we get older, some of the bones fuse together to form the larger bones.
I hope your kids enjoyed this craft. You can hang your Q-tip skeletons up on the wall, the fridge, or even the door for Halloween!
For more fun Halloween crafts, check out:
