If your kid loves to sew, he or she will love creating this easy heart string art for Valentine’s Day or Mother’s Day. It makes a wonderful homemade gift for grandparents, teachers, and friends.
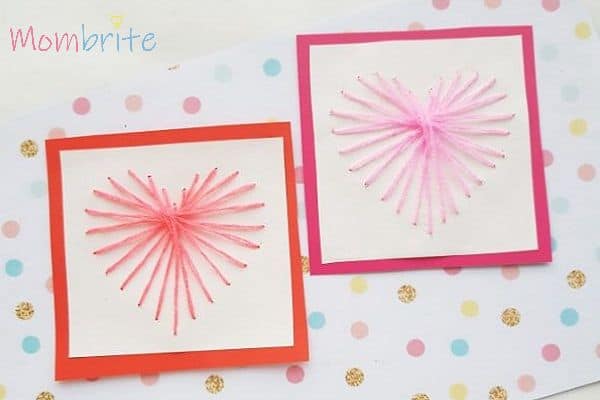
My 4 years old started getting into hand sewing lately. Sewing is super fun for kids and it teaches them how to focus on one task at a time to complete a bigger task. Have you tried threading a needle through a hole while not concentrating? The result is probably poking yourself in the finger with the needle.
Sewing with a needle and thread is also great to practice your kid’s fine motor skills. For younger kids, you can start with large eye plastic needles to avoid any injury or frustration. But if your kid is anything like mine, they only want to use whatever mommy uses, so adult handsewing needles it is!
This DIY heart string art makes a great homemade gift for Valentine’s Day. You can even frame it afterward as wall art to decorate the house. For younger kids, you do have to monitor them carefully with the needle and guide them on the placement of the threads. For tweens and teens, you can let them figure out the pattern they would like to create with this heart string art.
How to Make a Beautiful Heart String Art
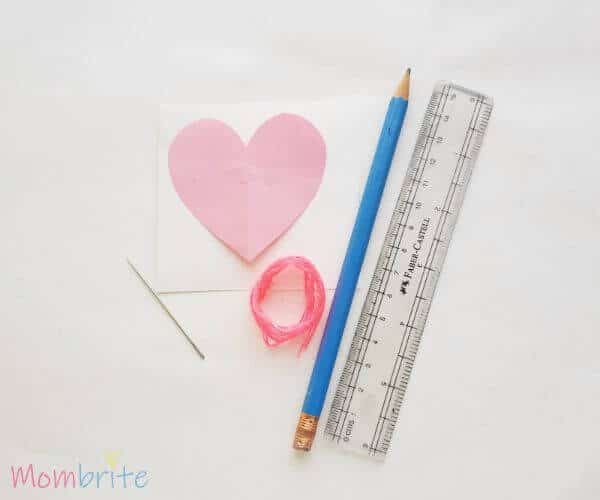
Supplies:
- Colored craft or construction paper: You want to choose the same color or complementing color to the color of your thread or string. This piece of paper will cover up the back of the heart string art.
- Cardstock paper: This is the paper you would be running the strings through. Therefore, choose a contrasting color to the color of your string. White is a safe choice for most color strings.
- String or thread: What string you use for your string or thread is up to you. For younger kids using plastic needles, you might want to use yarn. If you do use a thinner thread, you may want to make more holes so that the string heart looks more full. A crochet thread is also a good option.
- Needle: As mentioned above, for younger kids you may want to stick with large eye plastic needles. For older kids you can use any hand sewing needle.
- Pencil
- Scissors
- Free heart template (head to this post to pick out the style you like)
- Nails (optional): You don’t need to use nails for this heart string art, but it’s a popular tool for these type of crafts We use the needle to poke holes in the paper for this heart string art craft. However, you may opt to use a nail and hammer to make the holes. Just be careful to have something underneath the paper so you don’t damage your table or floor.
- Painter’s tape (optional): If you have painter’s tape around, you can use it to tape the heart template to the cardstock. This will ensure that the heart template doesn’t move while you are drawing dots around it.
Instructions
Create the Heart Shape with the Needle
Download and print out the heart template you decide to use. Cut out the heart shape.
Prepare a piece of square cardstock. Place the heart pattern on the cardstock and use painter’s tape to tape it in place if you have it. Using the pencil, make evenly-spaced dots around the heart template on the cardstock. Remove the heart template.
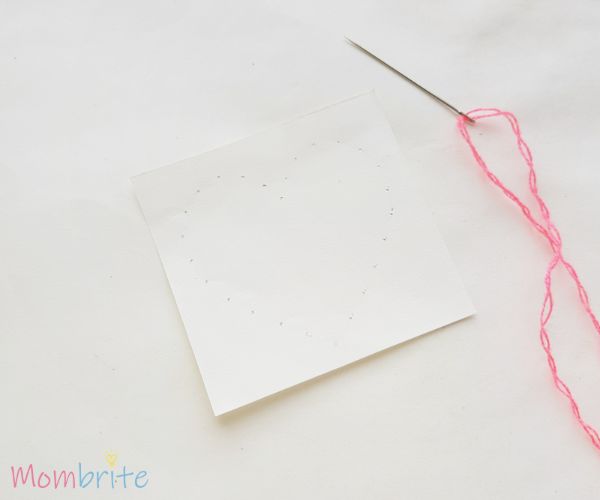
Poke the needle through all the dots you drew. This would make threading the needle through the dots easier for the kids. As mentioned above, you can do this step with a nail and hammer. You would want to choose a thicker nail if you are working with plastic needles and yarn.
Prepare the Needle and String
Thread the string through the eye of the needle. Tie a knot at the open ends. For younger kids, I recommend doubling the knot. They tend to pull too hard and a small knot could easily go through the hole, which could be frustrating for the kids.
Form the Heart with the String
Thread the needle from the backside of the paper through any hole. This ensures that the knot is at the back and will be covered by the piece of colored craft paper.
Thread the needle through a hole that is on the opposite side of the first hole and pull it all the way through.
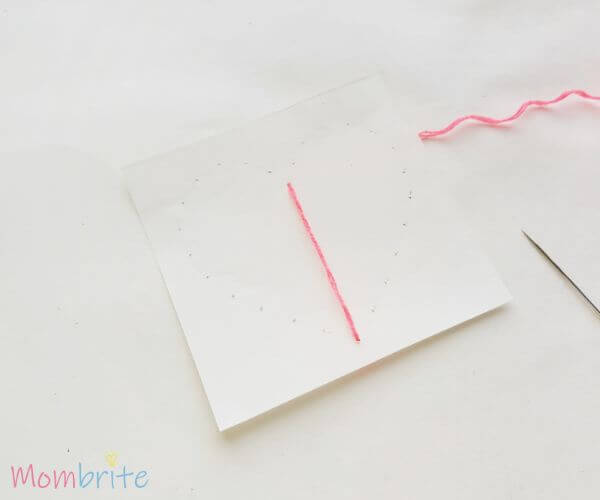
Now the needle should be at the backside of the cardstock.
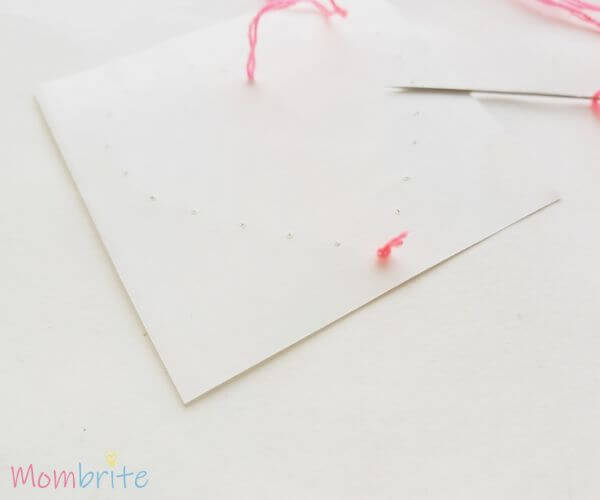
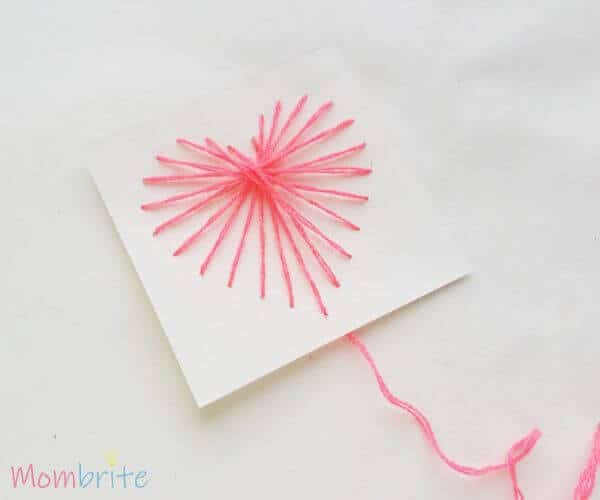
Spot the hole next to the last one you threaded through, moving clockwise around the heart (you can also do counterclockwise, as long as you stay consistent). Thread the needle to the front and pull the string all the way through.
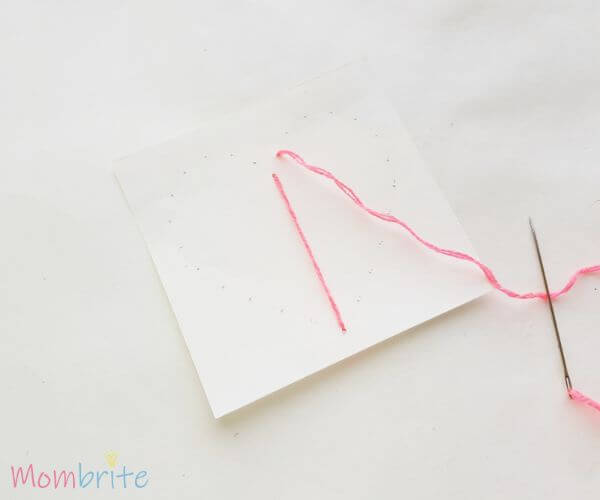
Thread the needle through the hole on the opposite side. This hole should be next to the original hole with the knot.
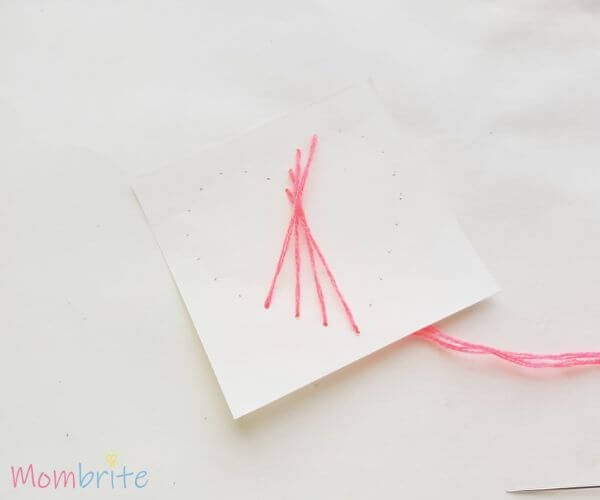
Continue this pattern until you have completed all the holes.
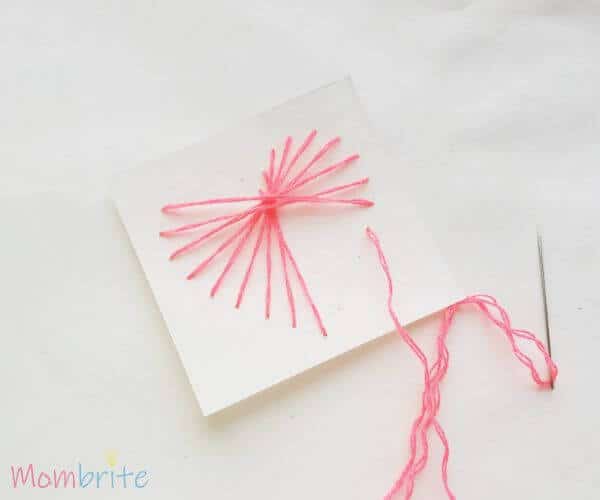
Finishing the Heart String Art
When all the holes have been threaded through, pull the needle with the thread to the backside of the paper. Tie a knot and cut off the extra string.
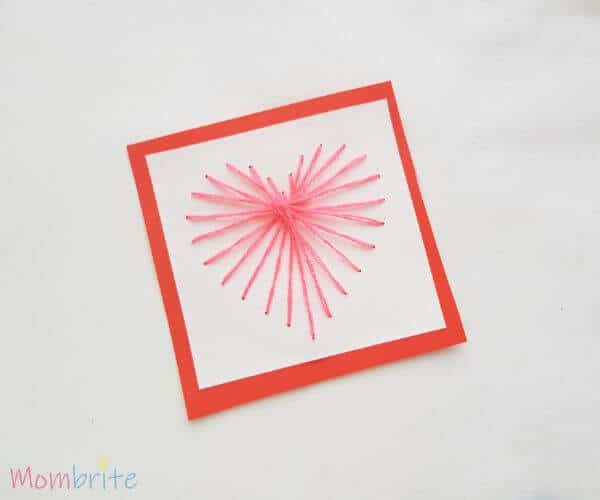
Cut a piece of paper slightly bigger than the cardstock out of the colored craft paper. You can make it the same shape as the cardstock so that it looks like a frame, or you can cut a different shape (perhaps a bigger heart?).
Glue the craft paper to the backside of the cardstock. Let the glue dry and display!
Tips for Making the Heart String Art
- Since the heart is not a regular shape like a square or circle, it’s difficult for kids to determine which hole is opposite which one. You can ask them to make a guess and adjust if necessary.
- If you are worried about the knot going through the hole, you can use tape to help hold it in place.
- You don’t have to follow the pattern described above. You can let your kids use their creativity and make their own! Just make sure that every hole has a thread through it by the end.
- You can use multiple color strings to make this heart string art even more interesting! Just simply tie a knot after your kid is half way though with sewing and use another color string to finish off the rest of the heart.
Related Posts
