Moon rocks are rocks from well, from the Earth’s moon. They look similar to gray rocks you find on Earth. Unlike the rocks you find on Earth, moon rocks contain no water and no traces of life.
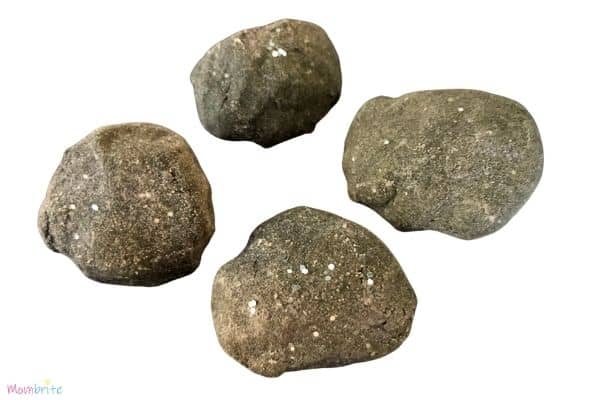
Making moon rocks was supposed to be an easy activity. Like the moon sand, there aren’t that many ingredients, and all you have to do is mix them all and roll them into balls. But alas, it turned into a color experiment with really cool results!
Don’t worry, we got through the difficult part of the activity and figured things out. Now you can just learn from our mistakes and make your own beautiful moon rocks!
DIY Moon Rocks
Materials:
- 4 cups baking soda
- ¼ cup water
- Glitter
- Black, blue, and purple food coloring
- Optional: vinegar
Instructions:
1. Pour baking soda into a large mixing bowl.
2. Slowly add water, mix as you pour.
3. Add glitter. We used silver, but you can use any color you like.
4. Add black food coloring. This is where things got a little confusing. Black food coloring turned our baking soda green, but I know that’s not always the case. If you see green instead of grey or black, add some blue and purple food coloring until you get to the desired color.
5. Mold the baking soda by pressing it tightly between your hands. If the baking soda is too crumbly, then add a little more water. **Wear gloves if you don’t want you or your kids to have grey hands!
6. Allow the rocks to dry overnight.
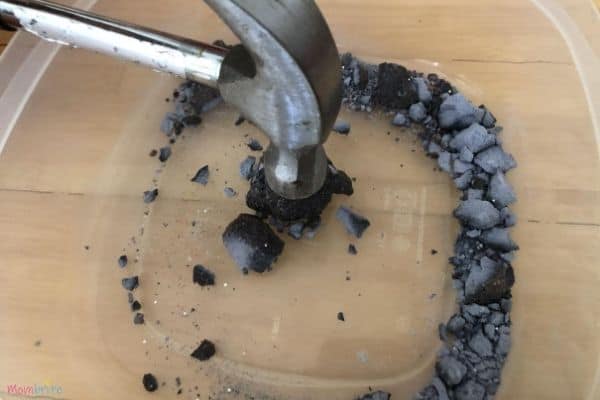
7. Let your kids play with the moon rocks! We ended up taking a hammer to them and smashed them open as well as squirt vinegar on them.
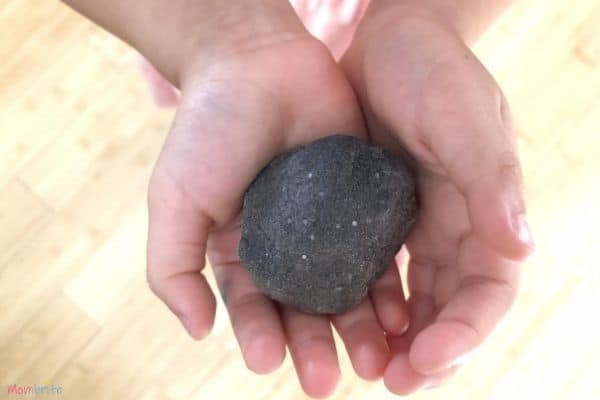
Did you have trouble with getting your rocks to be grey? Let me tell you the whole story:
As I mentioned above, the black food coloring turned the baking soda puke green. No matter how much I tried mixing it, the baking soda continued to remain green. I thought about just adding more black food coloring to the mix, but my guess was that it would just turn it darker green.
Upon some research, I found that you can make black food coloring by mixing red, blue, and green food coloring. Somehow the red and blue must have gotten diluted with the baking soda and water and left the green to be the dominant color.
Since red and blue make purple, it made sense to add more purple food coloring. Although the mix was no longer green, the purple food coloring made the mix way too purple. So how do you make purple blacker? Add more blue. Hence, the recommendation of adding black, blue, and purple food coloring in the instructions above.
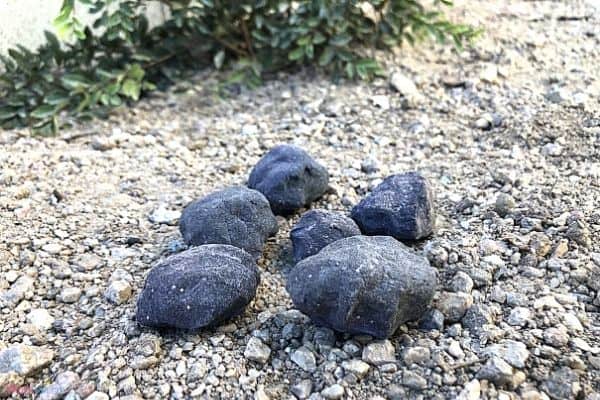
If I had some white food coloring, I would have added that to make the overall color lighter grey. But in the end, we got dark grey rocks that looked like moon rocks, so I call this one a victory.
The kids loved taking a hammer to the moon rocks. You can really see that the moisture inside had evaporated and you are left just colored baking soda. They just kept smashing the rocks until all that was left was moon sand.
We saved a couple of rocks for baking soda and vinegar experiment. My kids know exactly what to expect when they squirted vinegar on the moon rocks because we have done plenty of baking soda and vinegar activities. Their favorites include the LEGO volcano and the exploding sandwich bag.
What was interesting was the texture of the moon rocks when you pour vinegar on them. Usually, you just see fizzy bubbles and the baking soda slowly dissolving. The moon rocks, however, had a honeycomb-like appearance after the fizziness stopped. Look how cool!
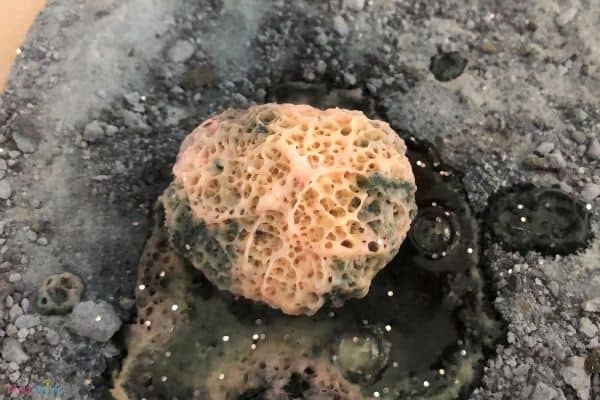
My guess is that the sun really dried everything out and the baking soda in the moon rocks had less moisture in them than the baking soda sitting in the box from the store. It was really awesome to watch the moon rocks react with vinegar.
You can also see the different colors coming out of the moon rock. Before all the baking soda dissolved, the mixture almost looked volcanic. It looked like molten lava in the process of hardening.
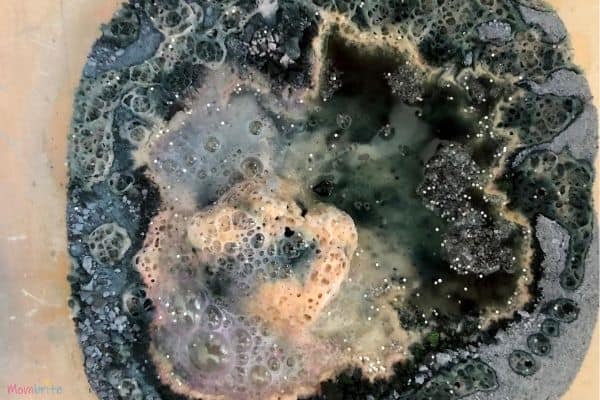
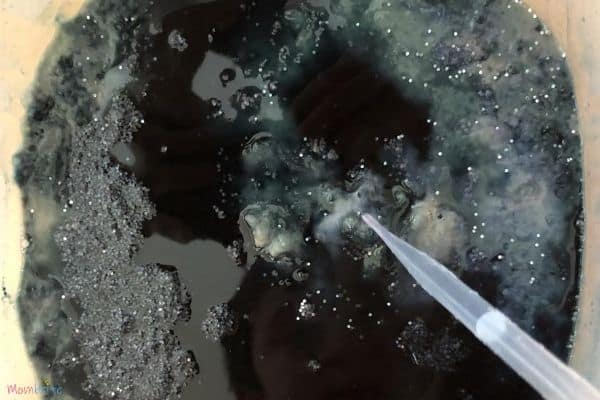
As you continue to squirt vinegar on the moon rock, the rest of the baking soda completely dissolved. I thought we were just going to end up with a black puddle.
But instead, in combination with the glitter, the end result resembled a galaxy with different swirls of colors and shiny stars in the distance. So I guess our moon rocks turned into galaxy rocks? It was definitely a nice surprise.
So the DIY moon rock activity took an unexpected turn. But that’s what science experiments are all about right? If we knew all the answers, it wouldn’t be an experiment. Sometimes, great discoveries happen because of these happy accidents.
Let me know how your moon rocks turn out and make sure to tag me if you share it on Facebook or Instagram!

Why did my moon rocks crumble? I followed the recipe and the rocks would not form so I had to add more water. When I finally managed to form rocks, it took three days to dry and they crumbled. 🤔
Hi! That’s so strange. It might depend on the baking soda? Another thing is that it might depend on the humidity. I am sorry it’s not working out, it’s a very simple recipe so all I can suggest is try a different brand of baking soda and perhaps leave them out (if it’s hot enough) to dry faster. Hope it works out!