Making a worm farm in a jar is a fun and easy way to teach kids about the importance of earthworms and how they help improve soil health.
Earthworms are an important part of a soil ecosystem. From building a worm habitat to observing how worms create compost, studying earthworms makes a fascinating biology lesson for preschoolers and elementary school kids.
We visited a local worm farm and the kids had so much fun digging through the soil to find worms. It was also amazing to see how the farm separates the worm casting. I highly recommend visiting one!
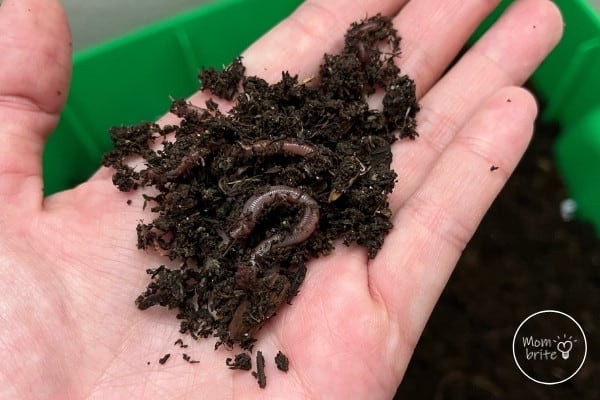
Creating a worm farm in a jar is a simple science experiment that allows your children to study how worms turn over our soil. By using a glass jar, some soil, sand, pebbles, and worms, you can create a small ecosystem that will help break down your organic waste material and turn it into nutrient-rich compost for your garden!
How to Make a Worm Farm in a Jar
Materials:
- Glass jar (I used a 16 oz mason jar) or plastic bottle
- Gravel or pebbles
- Soil
- Sand
- Organic materials
- Red wiggler worms
Directions:
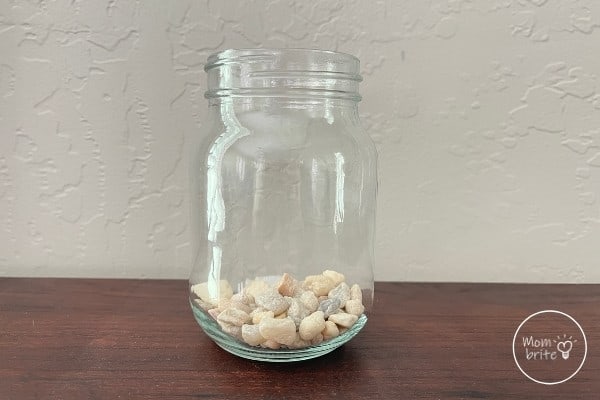
1. To make a worm jar, start by adding a layer of gravel or pebbles to the bottom of the jar. This will help stabilize the container (especially if you are using a plastic bottle) and allow excess water to drain from the soil.
2. Next, add a layer of soil, followed by a layer of sand.
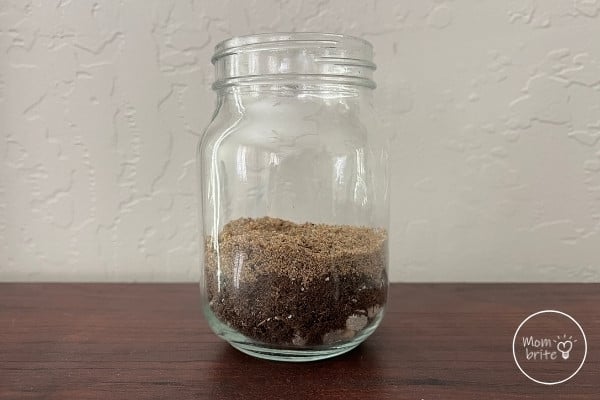
3. Continue to layer the soil and sand until your jar is about ¾ full. We need space at the top of the jar to add organic materials. Make sure the top layer is soil.
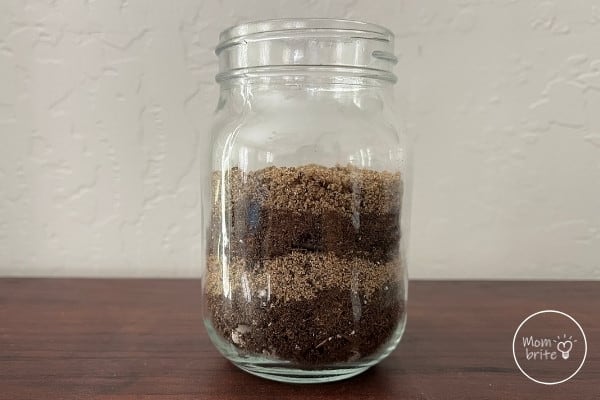
4. Add a few drops of water to the soil. Worms like moist soil and the moisture in the soil helps them breathe.
5. Add the worms to the soil.
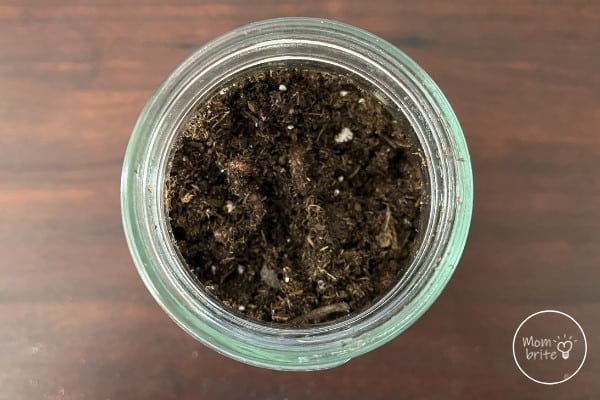
6. Add some organic materials to the jar. This can be things like vegetable scraps, coffee grounds, or dead leaves.
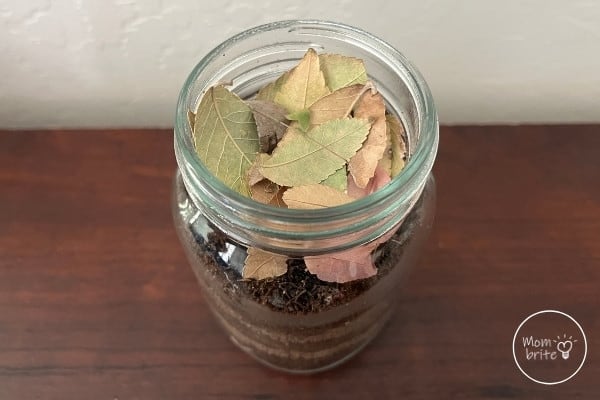
7. Once you’ve added the organic material, just cover the opening and place the jar in a cool, dark place. I used a stretch wrap to cover the jar and a rubber band to secure the wrap in place. Then I took a toothpick and poked a few holes to allow for oxygen.
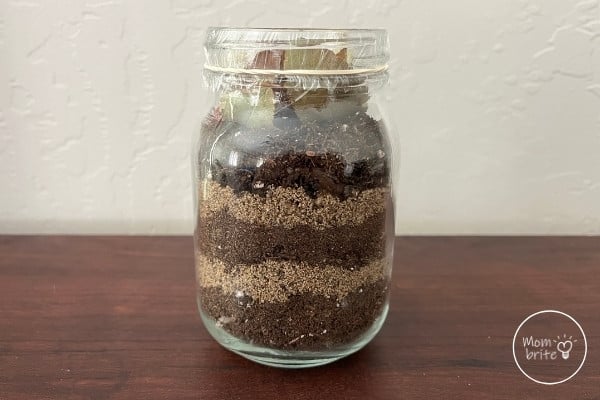
If you want to leave the worm farm out, then wrap a piece of dark construction paper around the jar and secure it with tape. Worms are sensitive to light and will slither into the dark soil if you expose the wormery to sunlight. Keeping the jar in a dark place or covering it with paper will allow the worms to venture to the side of the jar so you can observe them better.
8. Check on the worm jar every few days and notice any changes. Can you see the soil and sand starting to mix? Can you locate any of the worms?
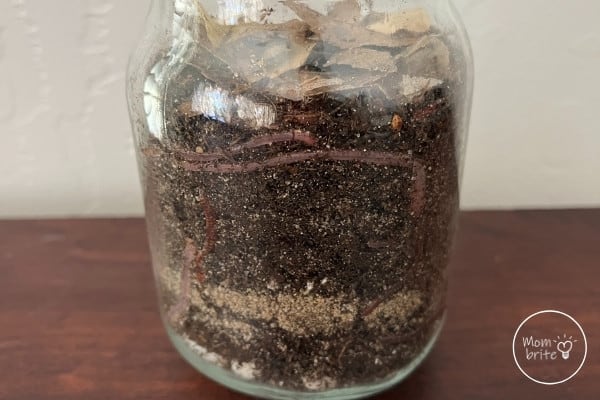
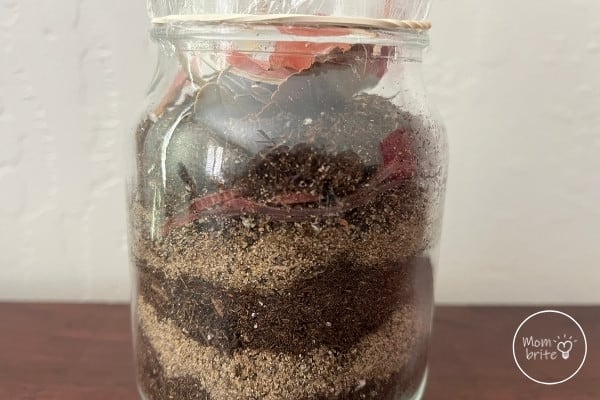
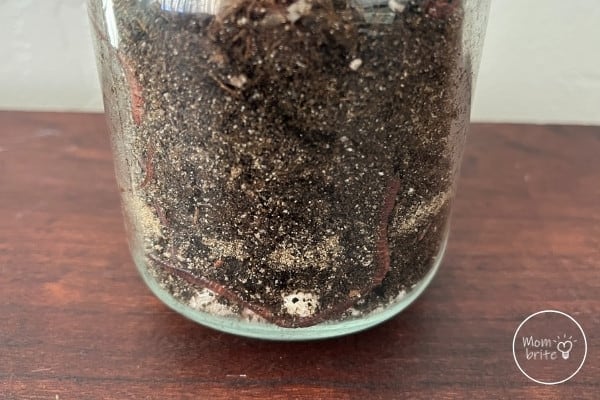
After a couple of weeks, the worms had traveled through all the layers and reached the bottom of the jar. All the layers of soil and sand have been mixed up. And if you look closer, you can see all the tunnels and burrows the worms have created. Pretty cool, huh?
FAQs about Worm Jars
Q. What kind of worms should I use in my worm farm in a jar?
A. You can use any type of worms in your worm jar, but redworms or red wriggles are typically the best choice because they are able to break down organic material quickly.
Q. Where should I keep my worm jar?
A. Your worm jar should be kept in a cool, dark place. A cellar or garage is a great spot for it. I keep mine in a closed cabinet and take it out a few times a day for observation.
Q: How do earthworms move?
Earthworms burrow through the earth, leaving behind a trail of air pockets. But how do earthworms move?
Their bodies are made up of a series of segments, each with its own set of muscle bands. By alternately contracting and relaxing these muscle bands, earthworms are able to inch their way forward. They also secrete a slimy mucus that helps them to move more easily through the soil.
In addition, earthworms have special structures on their undersides that help them to grip the soil as they move along. As a result of these adaptations, earthworms are able to travel through even the tightest spaces in search of food.
Q: What are worm castings?
Worm castings, also known as vermicompost, are nutrient-rich fertilizer that is made from the waste material of worms. Worm castings are high in nitrogen, phosphorus, and potassium and contain beneficial microbes, which makes them a great choice for fertilizing plants.
Worm castings can be used in the garden to help fertilize plants or they can be used in potted plants or around trees and shrubs. They are a great alternative to chemical fertilizers, and they are safe for use around people, pets, and plants.
YOU MAY LIKE:

What type of sand did you use? Can I use colored sand – would be a good visual for my students to see…..
I used soil and play sand. As long as the colored sand don’t have chemicals that would harm the worms I think that’s okay.
Should I add more organic materials, ie food, over time? And how wet does the soil need to be?
yes if you keep adding then it’s basically like a mini compost bin! The soil just needs to be slightly moist.
How many worms do you put in the jar?
We only had 2-3 worms in a jar!