Learn how to build a simple DIY rain gauge at home from a plastic bottle. Leave it outside the next time it rains to measure the precipitation in your area.
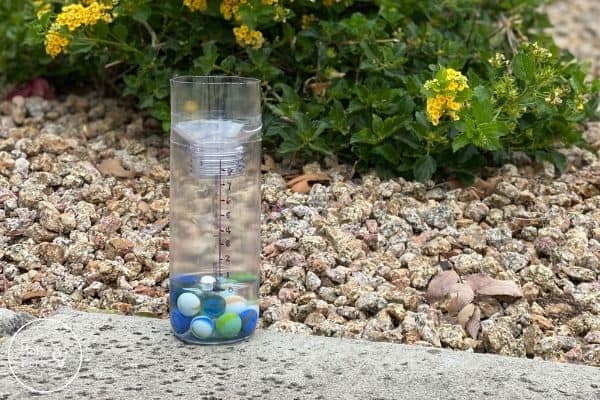
When someone asks me about living in Arizona, they always wonder if it rains here in the desert. Surprisingly, there is quite a bit of rainfall here during the monsoon season!
Around July and August, we experience the monsoon season. Powerful storms would randomly hit us with heavy rain, strong winds, and lots of thunder and lightning. And since we don’t really have rainfall the rest of the year, the kids love it when it rains!
How much does it rain during one of the storms? We decided to make a DIY rain gauge to measure the rainfall. It’s simple to build at home and uses materials you probably already have.
This easy DIY rain gauge is also reusable, so you can take it out to use every time it rains!
What is a Rain Gauge?
A rain gauge is a device that measures the amount of precipitation in a given time period.
The top part of the device has a funnel-like opening that collects the rainfall and sends it down to an empty container below where it can be measured.
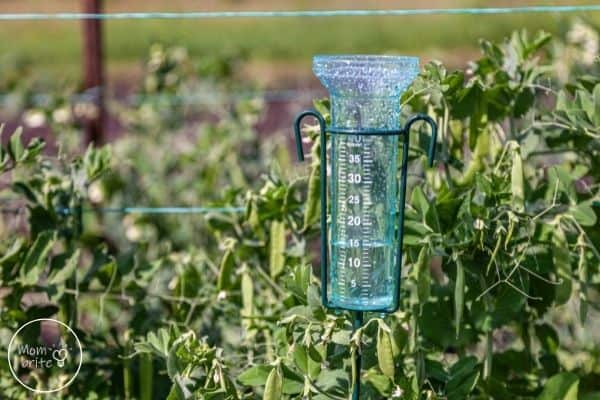
Rain gauges can collect data in various ways, such as how much water was collected, the rate at which it was collected, and the time it took to collect the rainwater. The rate at which precipitation accumulates is measured in inches per hour or millimeters per hour.
How to Build Your Own DIY Rain Gauge
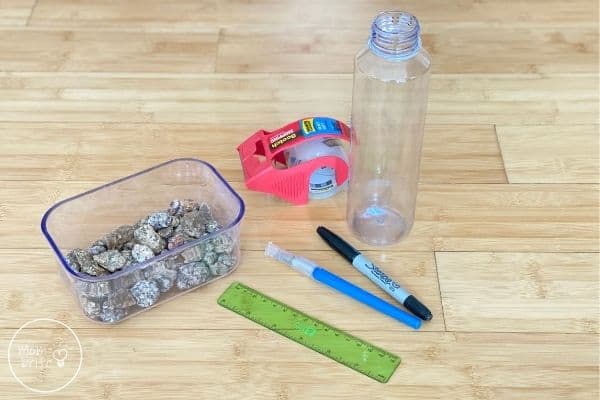
Supplies:
- Empty plastic bottle
- Pebbles or marbles
- Permanent Marker
- Ruler
- Pair of scissors or an X-Acto knife
- Tape
Instructions:
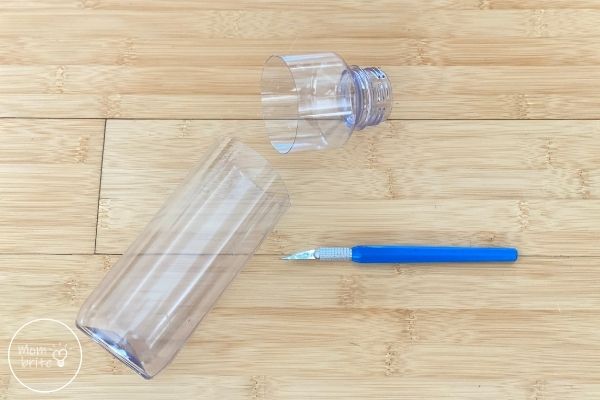
1. Cut the top off the bottle.
Use a pair of scissors or an X-Acto knife to carefully cut the top off the empty plastic bottle. Cut about 2 inches down from the top.
- Depending on the age of your child, you may want to do the cutting. If your child wants to cut, I highly recommend having him or her wear a cut-resistant glove to prevent any hand injury.
- We used a 500 ml bottle for our rain gauge because that was what we had at home. Depending on how much rain you predict to have, you may want to use a bigger bottle such as a 2L soda bottle or a 1L water bottle.
- It’s very difficult to cut perfectly around the water bottle. If you have frayed edges, you can trim them slightly.
2. Place pebbles or marbles in the bottom of the plastic bottle.
Whether you are using water bottles or soda bottles, the bottom of the bottle most likely is not flat. Filling up the bottom part of the bottle with pebbles or marbles will help even it out.
The weight of the pebbles will also keep the DIY rain gauge upright when there are strong winds.
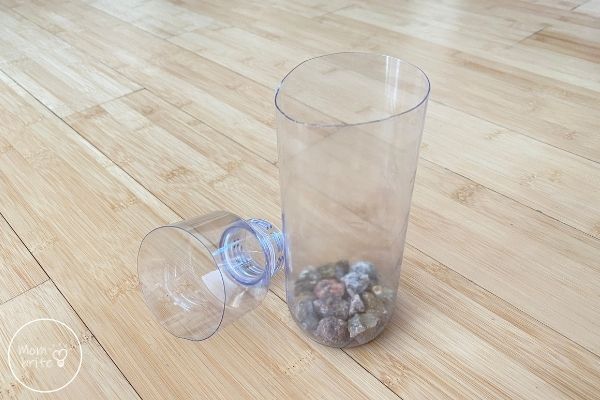
3. Invert the top of the bottle and place it over the bottle opening.
Turn the top part of the bottle upside down so that when you put it over the bottle opening, the top is pointing downward. It will act as a funnel for the rain.
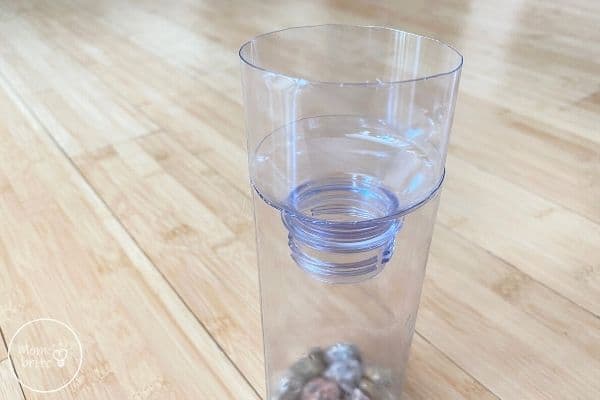
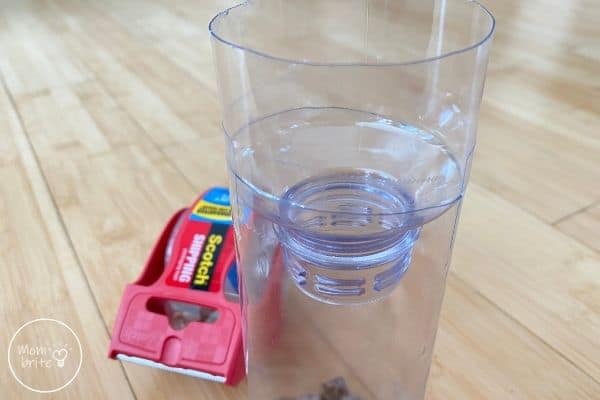
4. Tape the funnel to the bottle.
Use tape to secure the top of the bottle to the bottle. I recommend doing this step even if it feels like the funnel is fitting quite snugly in the bottle because if the rain gauge tips, it might still fall off.
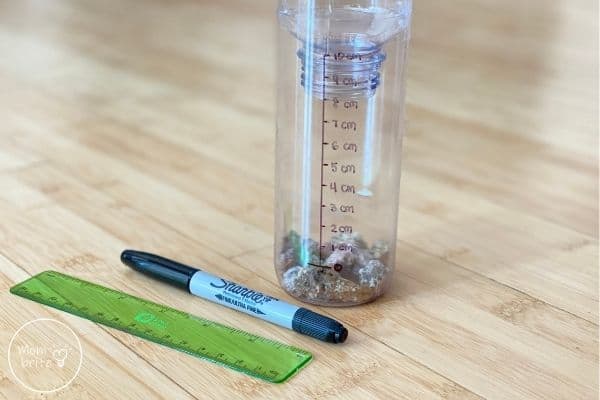
5. Label the measurements on the bottle.
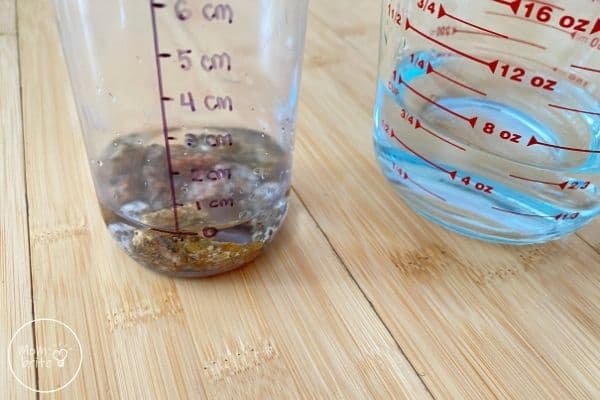
Set the bottle on a flat surface. Mark the “0” line, which should be slightly above the top of the pebbles.
Place the ruler against the bottle and line up the “0” line to the 0 cm or 0 in mark on the ruler. Draw a vertical line. Use the permanent marker to mark off every centimeter or inch until you reach the top of the bottle.
Note: Depending on the height of your bottle, you may choose to mark off every half-inch, quarter-inch, etc. You can decide the right unit of measurement for your DIY rain gauge.
6. Pour water to the bottom mark.
Pour some water into the bottle until the water reaches the 0 mark.
7. Check the weather.
Now the most difficult part of this experiment – predict the weather!
During the monsoon season, the weather can change at any second. Check the news or websites like weather.com to get an idea of when rainfall might be arriving in your area.
This is also a good opportunity to go outside with your kids and observe the clouds. Sometimes, you can even see a storm on the way with lightning on the horizon.
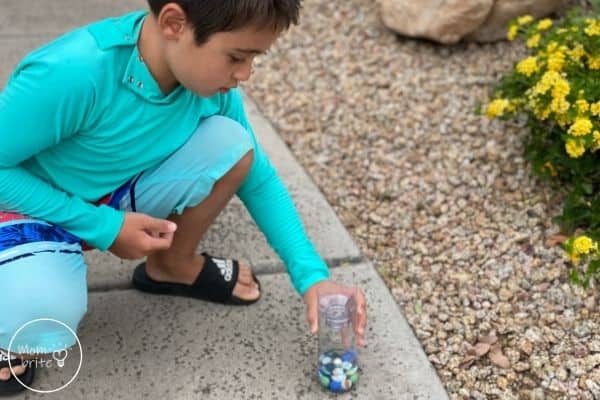
8. Place the rain gauge outdoors to collect rain.
Go outside and put the DIY rain gauge in a nice, open area. You want to make sure that there are no overhead obstructions such as the roof that would block the rainfall.
If your rain gauge has been outside for a while without rain, you may want to double-check to see whether or not the water on the bottom is still at the 0 mark. On a hot day in Arizona, water can evaporate quickly. Pour more water into the bottle if necessary.
9. Record the amount of rain.
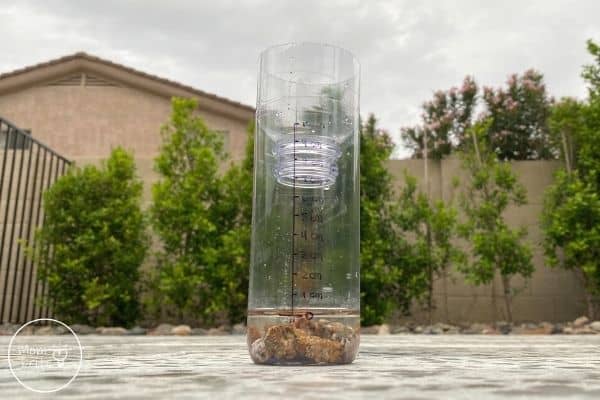
After the rain stops, check the rain gauge to see how much rain has fallen!
Record your observations and measurements on a piece of paper. Repeat this weather experiment anytime it rains and continue to record the amount of rain each time.
For older kids, you can compile the data at the end of the rainy season and make a line graph. Can you spot any patterns?
Final Thoughts on the DIY Rain Gauge
We tested it out with one of the storms we got recently, and we were impressed! The rocks on the bottom were heavy enough to withstand the strong winds, and we were able to collect quite a bit of rain.
If your kids are really into measuring precipitation and you want to buy a rain gauge, here is a good option. You can see that it uses the same concept as the DIY rain gauge but has acrylic construction and different mounting options.
For more fun weather activities, check out:

I can’t wait for the results of my rain gauge! Thanks for the instructions.