Here is a simple seed germination activity that will allow your kids to watch the bean seeds go through the plant life cycle. All you need are some seeds, water beads, and a jar!
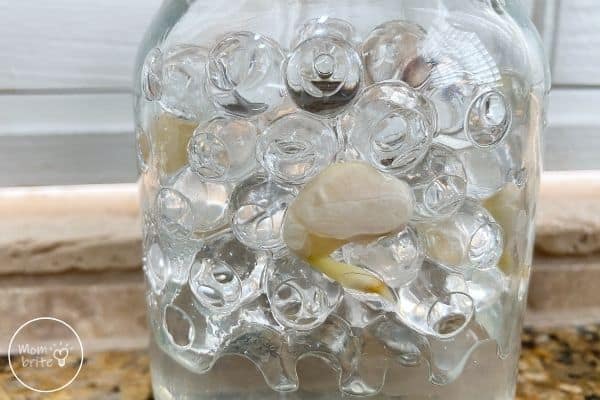
We know that when we plant a seed in soil and give it water, eventually the seed will sprout. But what happens to the seed underneath the soil?
We learned a lot about the life cycle of plants by growing seeds in cotton balls in a jar. But since we are having so much fun playing with water beads these days, we figured that we will try germinating seeds with clear water beads!
Before water beads become one of the most popular toys for kids, did you know that people used them for household plants? Because the gel beads absorb water and gradually release it to the plant’s roots, they were ideal for houseplants that do well in water. For someone like me who tends to forget to water my plants, water beads have kept many of my plants alive.
Beans are one of the easiest plants to grow, so we are going to use bean seeds for this germination science project. Your kids will be able to watch the seed go through the germination stage, so it’s a great gardening activity to do for your homeschool plant unit study.
Seed Germination in a Jar
Materials:
- Clear water beads
- Clear jar
- Bean seeds
Instructions:
1. Soak your water beads in water for 5-6 hours or overnight until the water beads are nice and plump. Drain off the remaining water.
If you are using rainbow-colored water beads, pick out the clear ones for this plant science experiment. It’s much easier observing the seeds go through the plant life cycle with the clear beads.

2. Take out the bean seeds you want to grow. We are using lima bush bean seeds because they are big enough for us to observe the seeds sprouting when they are ready.

3. Place the bean seeds in the jar with the water beads. I recommend putting them close to the side of the glass so you can see them easily.
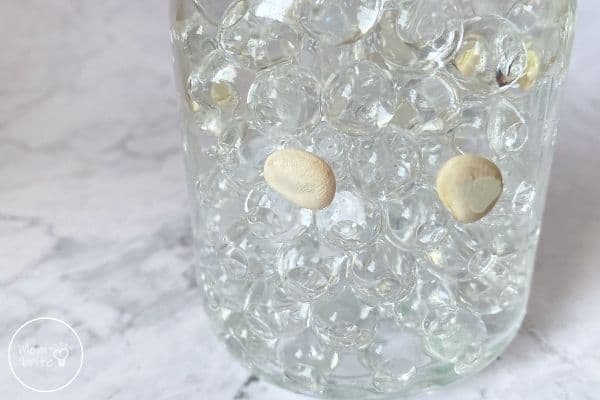
You are done setting up the bean seeds to grow in the jar. Now it’s just a waiting game!
Nothing much happened the first two days. When we woke up on day 3, the kids were excited to see that the radicle, or the root of the bean embryo, had broken out of the outer coating. This little root will help absorb water and minerals that the seed needs to continue to grow.
Our bean seeds at this point have entered the germination stage.
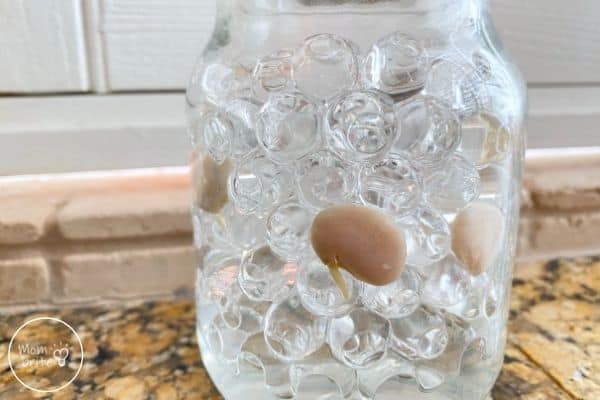
On day 4, the root continues to grow.
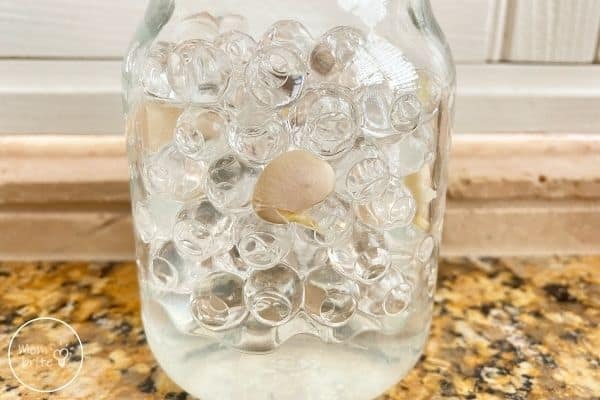
Finally, on day 6, you can see that the seeds are ready to be transplanted in soil. You can actually put some of the water beads in the soil if you are living in a hot environment, like me in Arizona! The water beads will help plants retain water and keep them hydrated.
Here are how some of the bean seeds look in the jar on day 6:
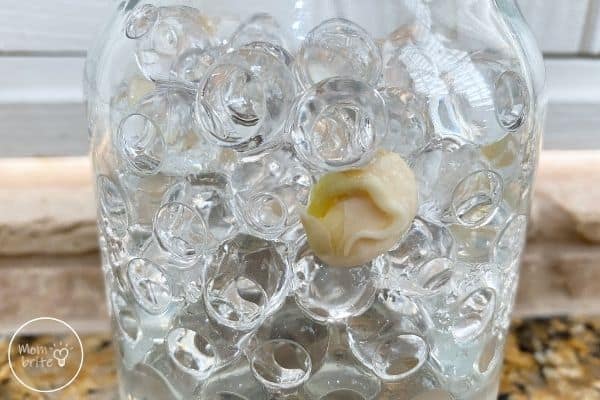
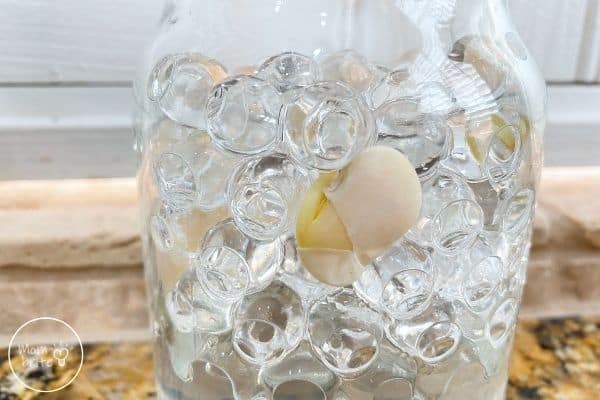
After you transplant them in soil, you need to wait some more for the seeds to enter the sprouting stage.
I suggest taking one of the seeds out for further experiments. For example, your kids can cut open the seeds to examine what’s inside. If you have a microscope, put the opened seed underneath to take a closer look at the different parts of the seed.
Are your kids eager to see other stages of the plant life cycle? Make sure you try growing seeds on paper towels in a bag. You can hang up the bag on a window and watch the seeds sprout and grow leaves!
Related Posts:

Thank you kindly for the lesson.I have got water beeds and will start when my kids arrive from school.