Here are the step-by-step instructions on how to grow seeds in cotton balls at home. You can do this science experiment any time, and your kids will love watching the seeds go through the plant life cycle.
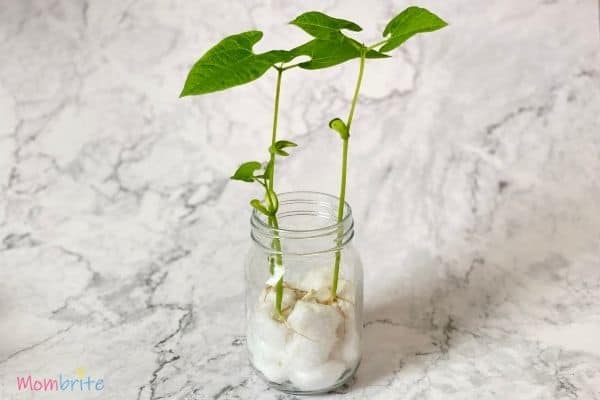
Growing seeds in cotton balls always bring back a fond memory of mine. I remember doing this as part of a science experiment when I was in elementary school, and I just loved watching my bean sprout and grow bigger every day.
Germinating seeds at home is so simple to do. Growing the bean plant in cotton balls in a clear jar allows your kid to see the portion of the bean plant that is normally covered by soil. They can watch the roots grow and dig into the cotton balls. What a great way to demonstrate the life cycle of a plant!
You can use any dried bean you find at the grocery store, but there is a small chance that the beans are not able to germinate and grow. The viability of the beans depends on how old the beans are and how they were stored. I didn’t want to risk disappointing my kids, so we ended up purchasing lima bush bean seeds.
Our beans ended up growing beautifully with just cotton and water. Read on to learn how you can do this with your kids or in a preschool or kindergarten classroom.
How to Grow Beans in Cotton Balls
What You Need to Grow Seeds at Home
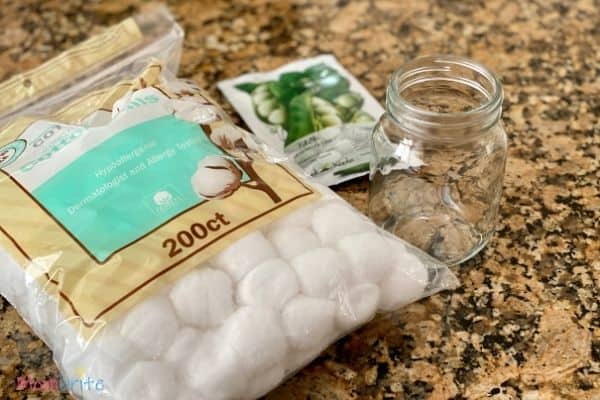
- Bean seeds
- Cotton balls
- Cup or mason jar
Instructions
Step 1: Prepare the Cotton Balls
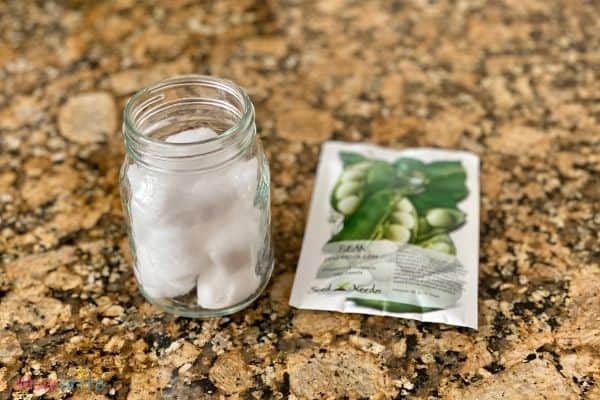
Place cotton balls into a clear cup or jar. You can pull the cotton fibers apart slightly to make a nice, soft bed for the seeds. Leave some room on the top to let your bean plant grow, about 1-2 inches.
Step 2: Water the Seeds
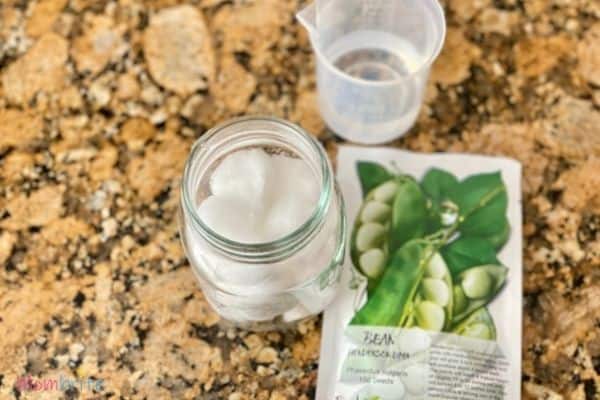
Water the cotton balls well, but make sure they are not soggy. You should not be soaking the cotton balls. You can use a spray bottle to water the seeds, or if you don’t have a spray bottle, simply drip water onto the cotton balls with your fingers.
Step 3: Plant the Seeds
Use your fingertip and make small indentations in the cotton balls, about 1 to 2 inches apart. The larger the seed, the farther apart they should be planted.
Place the seeds on the indentations you made.
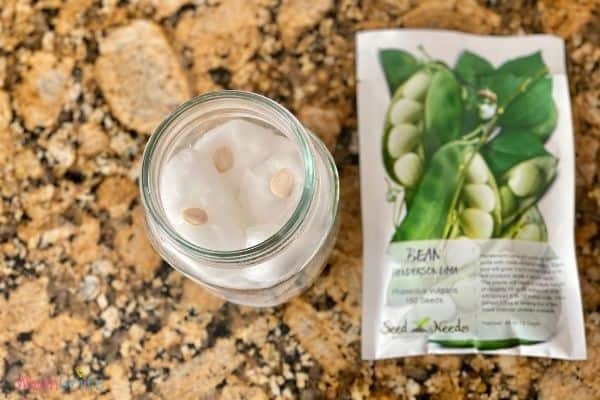
Step 4: Seal the Container
If you are using a mason jar, seal the container with lid. If you are using a cup, then cover the opening with a clear, plastic wrap or bag. This creates a greenhouse for the beans and ensure that the seeds stay moist and warm.
It may take your beans 2-10 days to start growing. This is our beans when we woke up on the 3rd day. I was relieved to see that the beans have started germinating in the cotton balls!
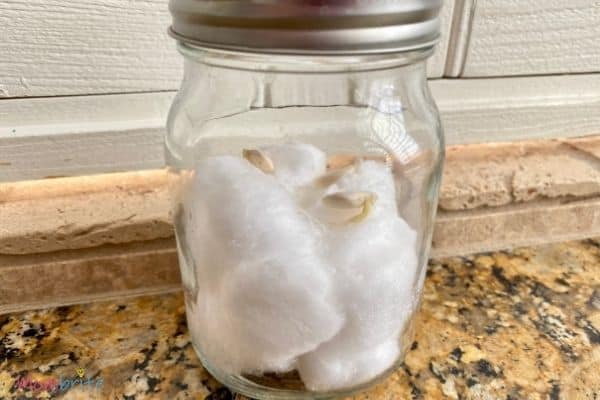
Step 5: Set the Correct Environment
You should place your jar in a location where the seeds get indirect sunlight during the day. The daytime temperature should be between 68 to 75 degrees Fahrenheit, so just about room temperature.
Once the beans germinate, they start growing quite fast. This is our bean plant on the 4th day.
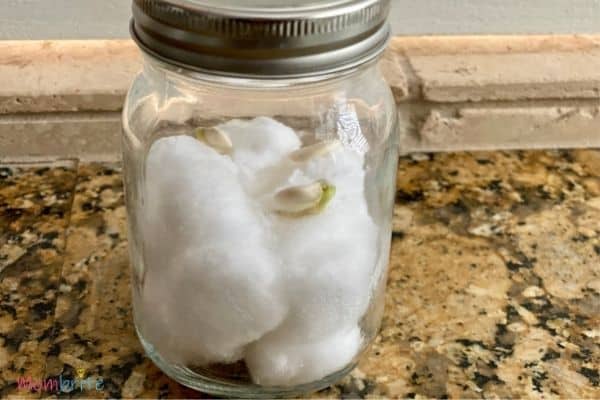
Step 6: Monitor Your Plant’s Growth
The beans started to grow roots on the 5th day. You can also see the stem had started to grow.
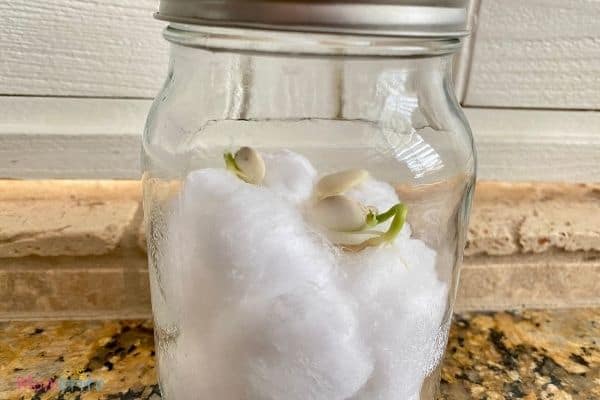
On the 6th day, the stem continued to grow longer.
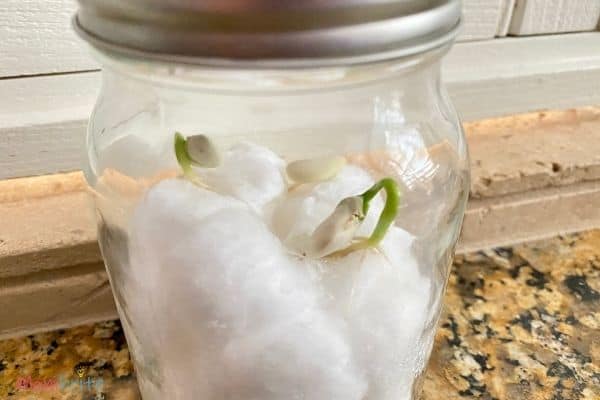
On the 7th day, the bean seed swelled big enough to burst out of the hard outer shell. We opened the lid for a closer look.
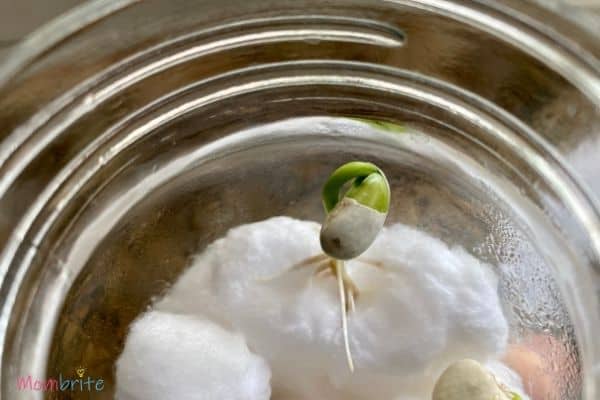
The 8th day was a big surprise! The bean plant had grown so much overnight. At this point, we took off the lid and left it off since it would be hindering the plant’s growth. We had moved on to the next stage of the life cycle of a bean plant – the sprout!
After the lid or plastic wrap comes off, make sure you continue to water and keep the cotton balls moist.
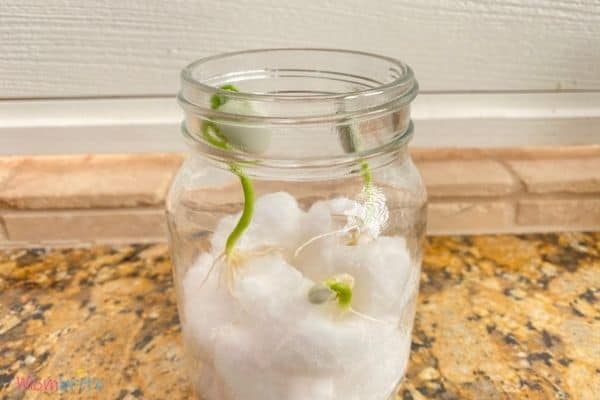
Just hours later, the leaves were starting to make an appearance.
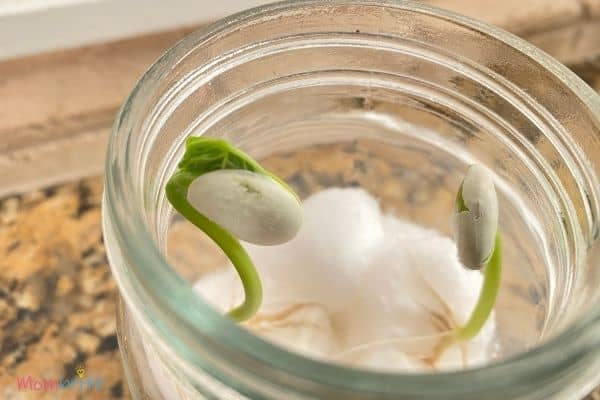
On the 9th day, we also woke up amazed at the bean plant’s growth. One of the bean plant’s leaves had come out of the bean seed and started opening up. Another bean plant’s leaves were just emerging. The stems on the plants straightened out and the plants were growing upward.
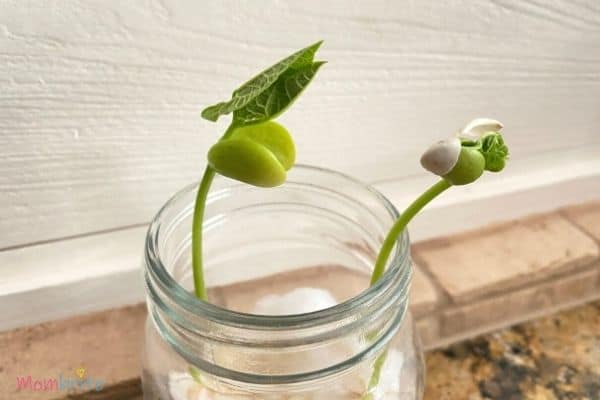
The next day, you can see the leaves on one plant completely opened up. The leaves on the other bean seedling made progress and were slowly growing out of the bean seed. It was so cool to watch!
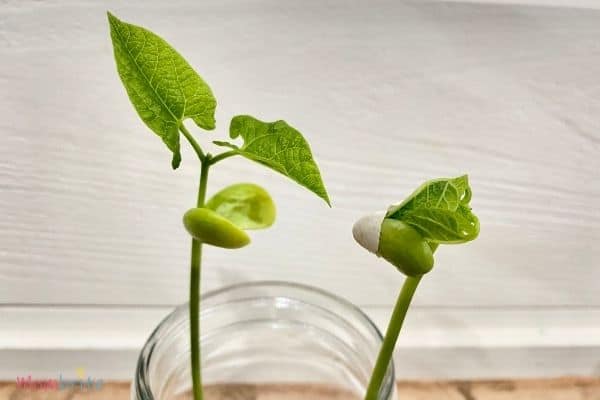
On the 11th day, the leaves had come out of the second bean plant. They were looking so beautiful! I am not sure what happened to the third bean that was in the cotton balls. It had germinated and grown slower than the other bean plants.
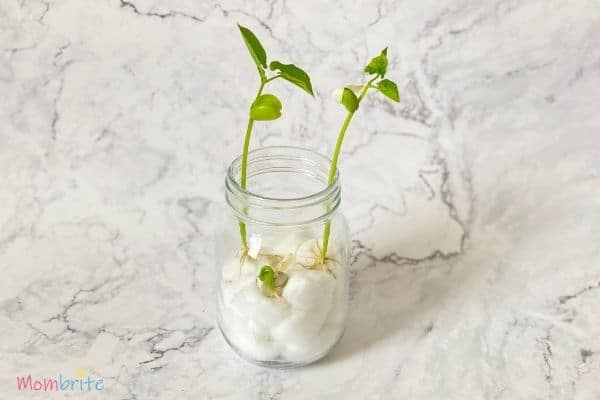
At this point, we were going to move the seedlings to a pot with soil. However, I wanted to wait for the third bean to sprout.
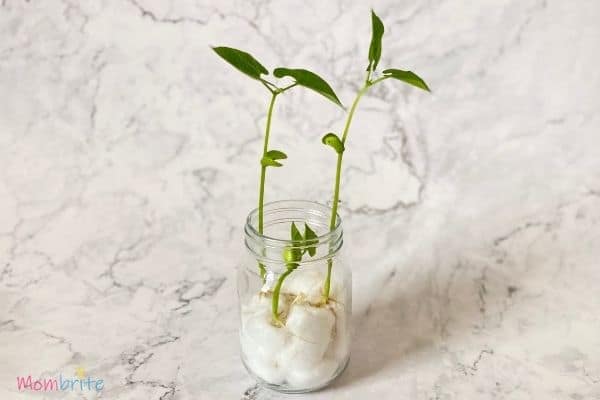
Two days later, it did! The other two bean seedlings were still growing well, and the third one’s leaves were just started to open up. All three bean seeds that were planted in cotton balls grew successfully and the kids were amazed through the whole process.
Step 7: Plant the Seedlings in Soil
You can now give your seedling a permanent home by replanting them in soil. You can either plant the seeds in pots or directly in the ground outdoors.
You might have noticed that the roots are quite entangled in the cotton balls. Don’t worry, you can plant the cotton balls along with the seedlings! Simply dig a small hole in the soil, plant the seedlings with the cotton balls, and cover the plants and cotton balls with soil.
Final Thoughts on Growing Beans with Cotton Balls
I hope you and your kids or students have a lot of fun watching the beans go through the plant life cycle. It’s so great to be able to show your kids how plants grow and teach them where their foods come from.
My kids were so interested in the root system and just how much the roots were entangled in the cotton balls. That’s why the plants are able to stay erect even in strong winds!
For kindergarteners or first graders, you can use this plant science experiment as an opportunity to teach your kids about measurements. Have a recording sheet where the kids can write down how tall the bean plant has grown every day. They can also draw the bean seed’s progress every day next to the height.
We will continue to take care of the bean plants and hope to eventually be able the eat the beans that they produce!
Related Posts

Thank you so much for such a great interactive activity. I will be using it for my students who have autism. I will do this in preparation for the world Earth day. I would be very grateful if you could please share some of your activities. Many thanks once again.