Learn how to create DIY melted crayon stones that are perfect for handmade gifts.
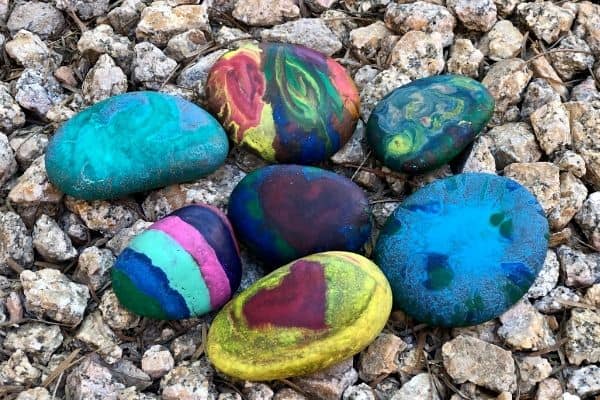
Now that the kids are older, we really don’t have much use for crayons.
But of course, we have tons of broken crayons left from birthday party goodie bags and restaurants.
So naturally, we decide to melt the crayons!
We happen to have a lot of landscaping rocks in the front yard, and they are perfect for creating melted crayon rocks. My kids had a lot of fun going through the rocks to find the smoother, rounder ones for this art project. And they even loved washing the rocks to get all the dirt off and make them nice and clean!
This art activity requires adult supervision. Adults should be handling the rocks after they are heated in the oven.
How to Make Melted Crayon Rocks
Materials:
- Smooth rocks (avoid using river rocks)
- Crayons (I recommend longer ones for safety reasons)
- Baking tray
- Oven mitt
- Oven
- Paper plates
- (Optional) Newspaper, cardboard, or towel to protect your table or floor
Instructions:
- Wash the rocks to get them nice and clean. **Do NOT let your rocks sit in water for a long period of time. Rocks with water trapped inside may explode at high temperatures.
- Lay the rocks out to air dry.
- Pre-heat your oven to 350 degrees F while waiting for the rocks to dry.
- Lay the stones on the baking sheet.
- Bake the stones for 10-15 minutes in the oven after the temperature reaches 350 degrees F.
- Cover the work surface with newspaper, towel, or cardboard.
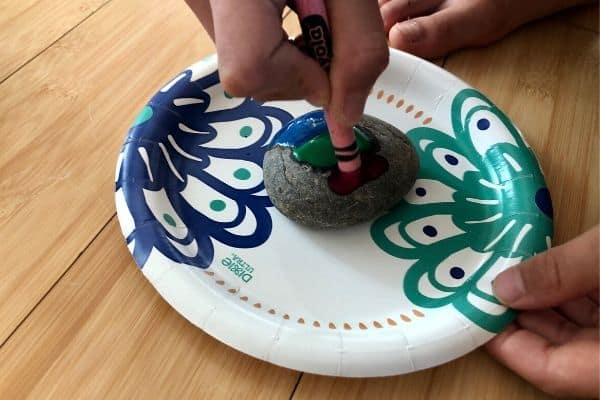
- Take one rock out of the oven one at a time and place them on the paper plates.
- Carefully move the paper plate with the rock to the work surface.
- Draw on the rocks with crayons. If you let the crayon rest on the stone in one place, you can see the crayon melt and pour down the sides.
- Let the melted crayon rocks cool and dry.
Aren’t these rocks beautiful? My kids couldn’t get enough so we went back out the next day to grab more rocks!
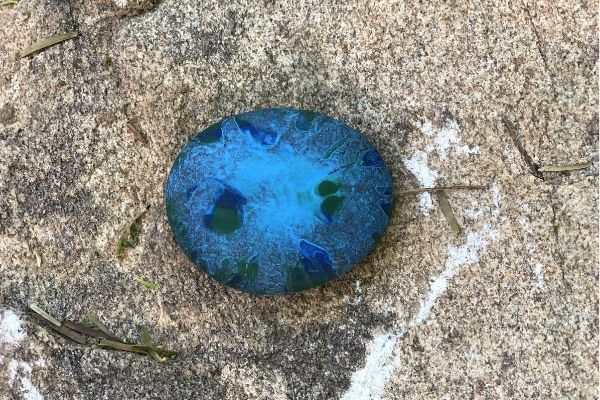
Here are a few tips to ensure safety and fun with this rock art activity:
- You may want to have an ice pack or ice water nearby just in case your kid’s little fingers touch the heated rock.
- I had each kid work on one rock at a time. If there are multiple hot rocks on the work surface, there is a higher chance of someone touching the hot rocks by accident.
- Don’t attempt to turn the stones over to draw on the other side. There is no need because the crayon that has run down the sides will collect there and form its own pattern.
- Make sure your rocks are completely cool before handling them.
Final Thoughts on the Melted Crayon Rocks
The melted crayon rocks craft is a great art project for kids because the melted crayons form beautiful patterns, shapes, swirls, etc. on the stones. And you can use them as paperweights afterward, or place them out in your yard for decoration.
The painted rocks are the perfect gifts for Mother’s Day and Father’s Day. Just pair it with a card that says “You Rock!”
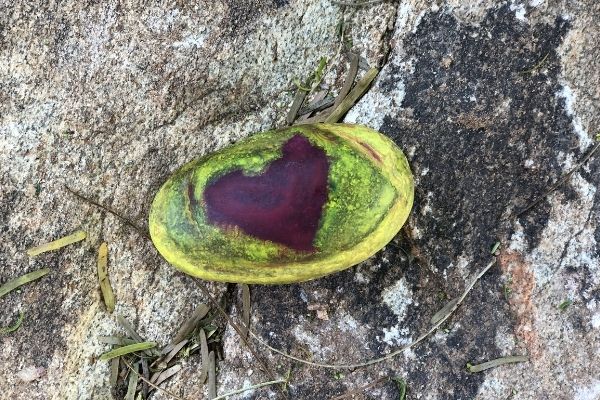
With how much fun the kids had melting crayons on rocks, I have a feeling we will be doing this one quite often!
YOU MAY ALSO LIKE:
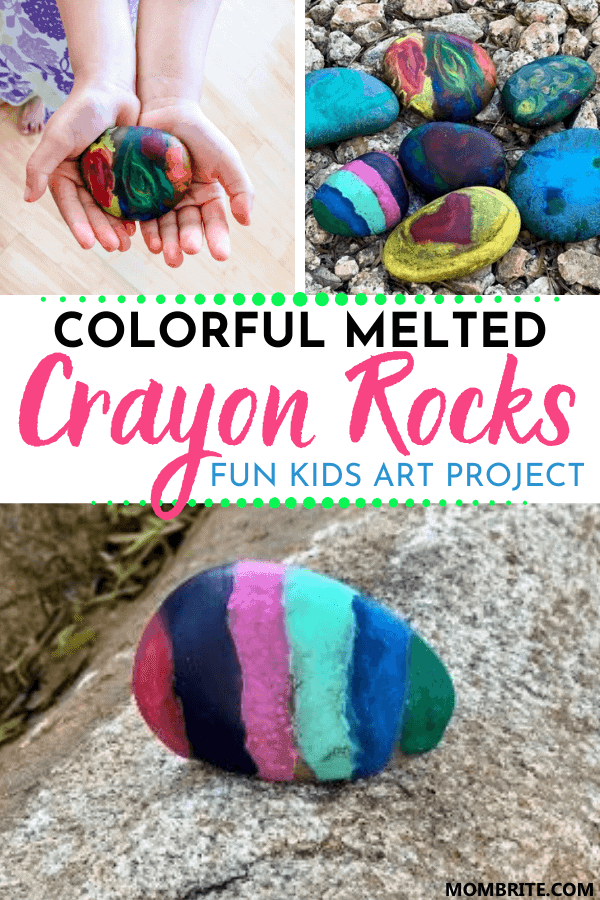

Do you need to seal the rocks before leaving them outside?
We did not, the wax itself is pretty weather resistant unless you live in a high temperature area. We actually live in Arizona and the rocks are still good after being outside for a couple of years!