Learn how to grow salt crystal snowflakes with common household items. Your kids will be amazed when they see “ice” crystals forming on the snowflakes!
Let’s face it, Frozen is not going anywhere. Many princesses tried, but none can top Elsa and Anna. So might as well enjoy our children’s love for Frozen and take the opportunity to do some winter STEM activities!
Snow is rare in Arizona, so the idea of snowflakes really intrigues my kids. Good thing beautiful salt crystal snowflakes are easy to make so that you can enjoy this winter science activity any time of the year!
DIY Salt Crystal Snowflakes
Materials:
- Salt (we used Epson salt because we have a lot of it in the house, but you can use table salt as well)
- Tall containers (clear if possible so you can see the crystals forming)
- Pipe cleaners
- String
- Pencil
Instructions:
- Make the saturated salt solution:
- Boil about 2-3 cups of water per snowflake.
- Add salt to the boiling water until crystals start to appear at the bottom of the container.
- Pour the saturated salt solution into each container and let it cool.
- Make pipe cleaner snowflakes:
- Cut a pipe cleaner into 3 equal pieces.
- Gather the 3 pieces together, aligning them on both ends. Twist the pipe cleaners in the middle to tie them together.
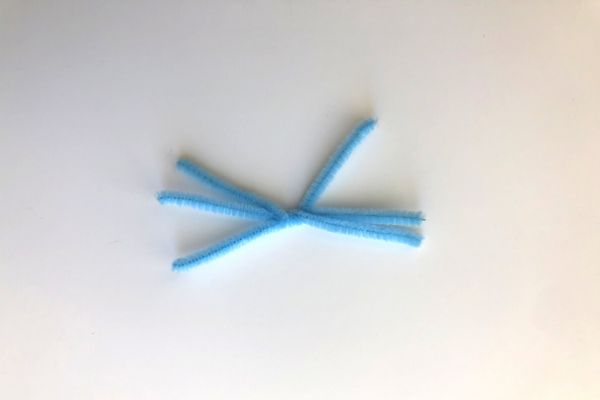
- Spread out the snowflake’s 6 arms so that they are equally spaced.
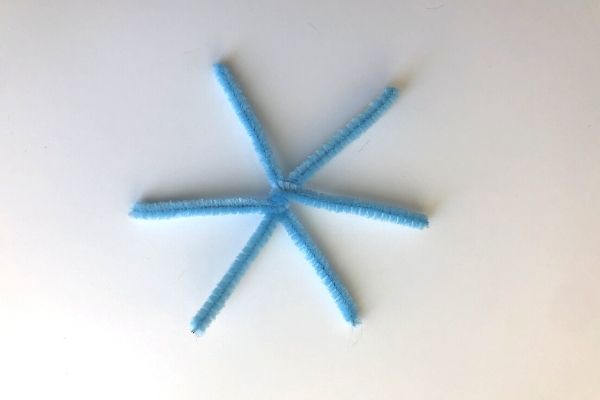
- Cut another pipe cleaner of the same color into 6 equal pieces.
- Place the middle of one of the small pieces behind a snowflake arm. Fold the right side up towards the left and fold the left side up towards the right so that the small piece forms a V.
- Repeat with all the remaining small pieces.
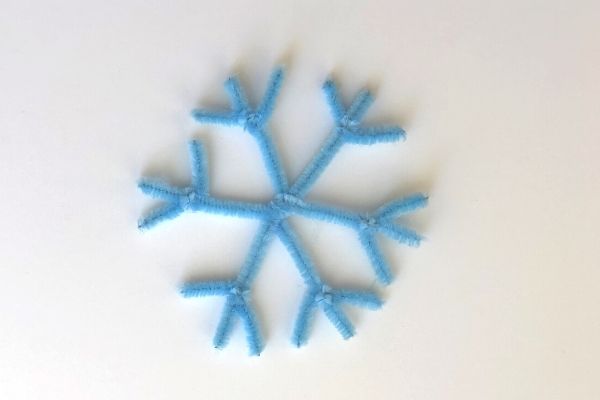
- Optional: If you are using small containers and need smaller snowflakes, just trim the pipe cleaners to the desired lengths first and follow the above directions.
- Tie the string around one snowflake arm.
- Roll the other end of the string around a pencil and use a small tape to hold it in place.
- Place the pencil at the top of the container so that the snowflake is suspended in the salt solution in the middle of the container. Try not to have the snowflake touch the sides or the bottom.
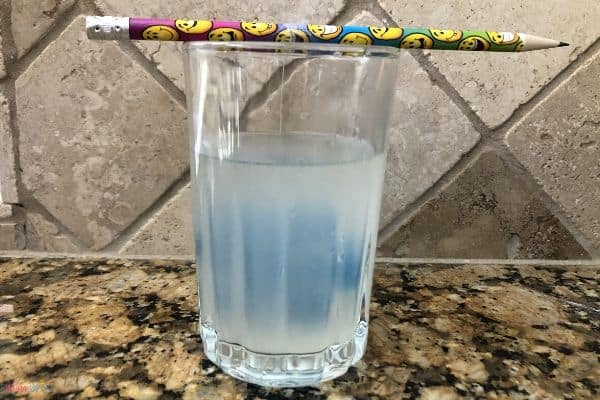
- Let the snowflakes sit for 2-3 days.
- After 2-3 days, remove the snowflakes from the salt solution and let them dry.
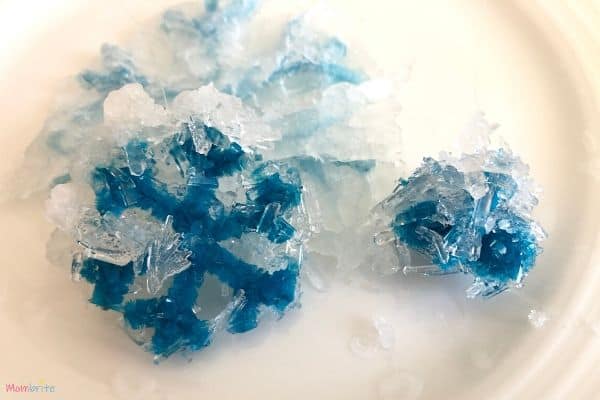
Aren’t the crystal snowflakes pretty?
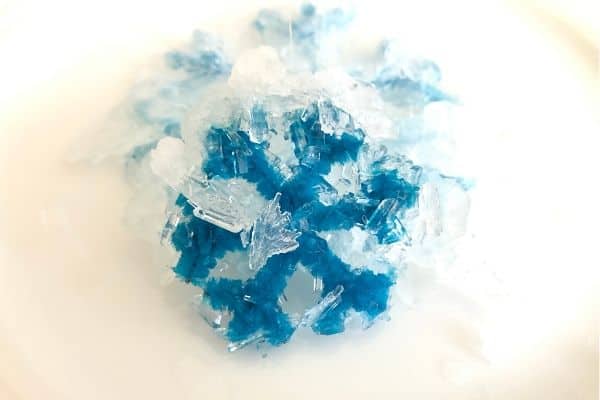
When my son saw the salt crystals on the snowflakes, he yelled, “Mom! Look! Ice is forming on the pipe cleaners! How is it doing that?” Don’t you just love the magic of science?
You can hang the crystal snowflakes from the window, or even use them as Christmas ornaments. If you have a magnifying glass, show your kids how to examine the salt crystals closely and see the cool shapes and patterns.
Science Behind Salt Crystal Snowflakes
When you add salt to water, the salt dissolves. You can dissolve more salt in hot water than room temperature water because heated water molecules move farther apart to make room for the salt crystals to dissolve. When no more salt can be dissolved, you have reached saturation.
As the salt solution cools and evaporates, the water molecules move closer again. You can see that some of the salt crystals start to gather at the bottom of the container due to gravity. Others start to attach to the pipe cleaners and begin to build on one another.
If you tried this experiment with table salt instead of Epson salt, your crystal snowflakes will look different than mine. Table salt and Epson salt are chemically different, therefore the crystals that they form will have different structures.
Science Extensions to Try
- As mentioned above, try using table salt versus Epson salt. You can even try iodized salt versus non-iodized salt to see if there is a difference in the crystals they form.
- Try filtered water versus tap water. Does the type of water make a difference in how the salt crystals are formed?
- Try adding food coloring to the salt solution to make colored salt crystals.
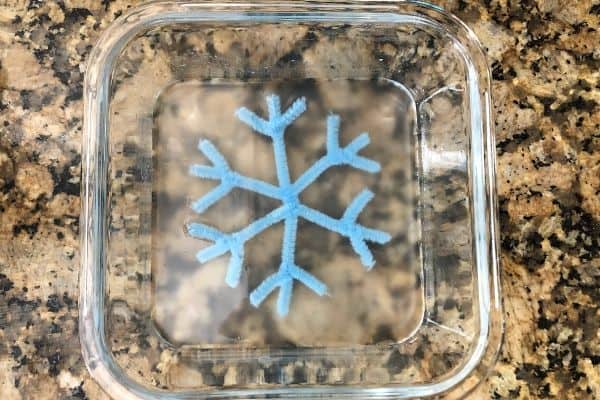
- Try placing the pipe cleaner snowflake in the container and pouring the salt solution over it instead of suspending it in the solution.
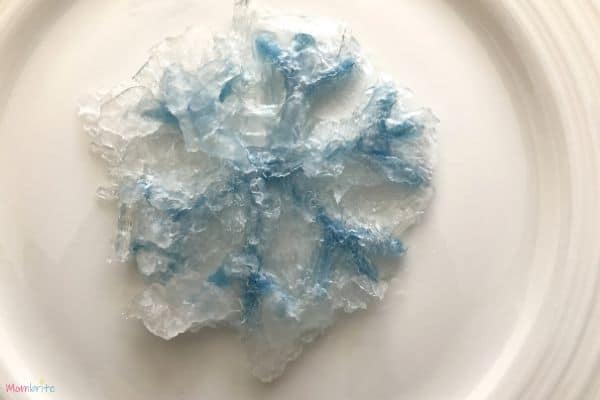
We actually tried having the pipe cleaner snowflake placed on the bottom of the container instead of hanging it from a pencil. Interestingly, a lot more crystals formed on the pipe cleaners, but the crystals were not as pretty. You can’t really see the distinct edges of the crystals. Due to gravity, all the salt crystallized around the pipe cleaner snowflake, so you just get a huge clump of salt rather than pretty salt crystals.
Final Thoughts on the Salt Crystal Snowflakes Experiment
We made the salt crystal snowflake as part of our Disney themed summer camp. To celebrate my kids’ love of Frozen, we made fake snow and started on the salt crystal science experiment on the same day. However, it took a few days for the crystals to form, so we did not see the results until after the Disney week!
Make sure you check out Mom for All Seasons’ 8-week summer camp program. We used it to set up the educational and fun activities for the Disney week, and can’t wait to start on the other themed activities. As a reader of Mombrite, you can get $7 off with the code BETTY123.

How much salt is needed? to make these crystals
I added enough salt so that it becomes supersaturated, but you can try about equal part of water and salt. For example, 1/2 cup of water and 1/2 cup of salt.