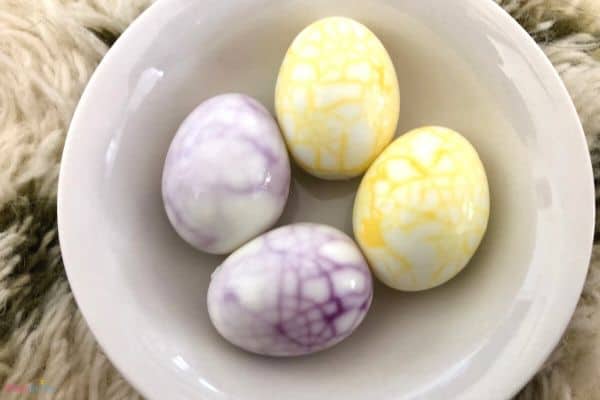
Have you heard of Chinese tea eggs? I grew up eating these delicious, savory eggs that are full of flavor. But I never thought much about the tea egg’s marbled surface until I was planning the dinosaur summer camp for my kids (get $7 off with the code BETTY123). Wait a minute, these Chinese tea eggs look like dinosaur eggs!
This DIY dinosaur egg project is super easy and fun for the kids. Plus, you get to eat the eggs afterward. Entertained and well-fed kids equal happy kids in my book.
How to Make Colorful Dinosaur Eggs
Materials:
- Hard-boiled eggs
- 3 jars or cups
- Food coloring
- Water
- Ice
Directions
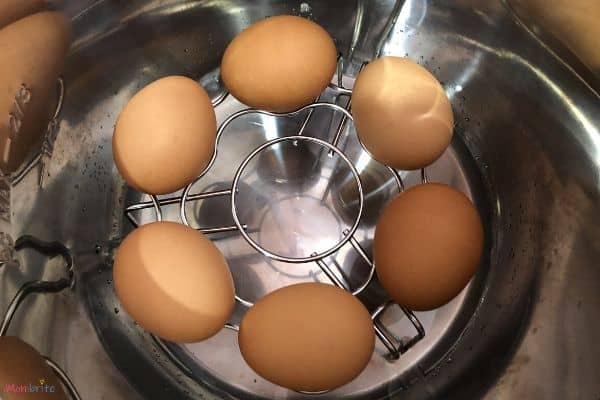
- Hard-boil your eggs. I know there is a lot of different ways to hard-boil your eggs, but I prefer to do it in an instant pot. Simply add a cup of water to the bottom of the Instant Pot and place the eggs on a trivet. Manually set the cook time to 5 minutes, and then let the pressure release naturally for 5 minutes.
- After your eggs are done (no matter what method you use), carefully place the eggs in an ice bath. The eggs will be very hot, so using a potholder is recommended.
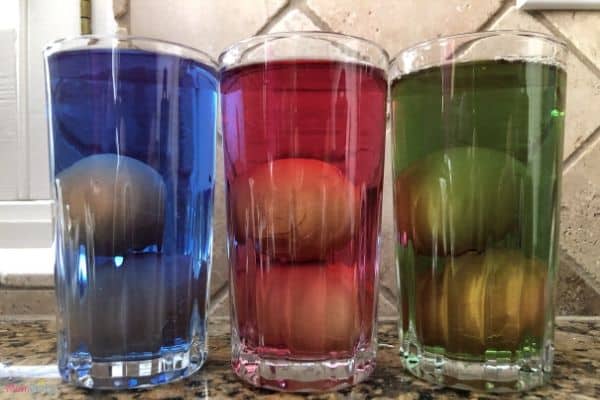
- Meanwhile, fill the jars or cups about ¾ full of water and add a few drops of food coloring to each. I used blue, green, and red but you can use whatever color you would like.
- After the eggs have been in the ice bath for 5 minutes, remove the eggs from the ice bath.
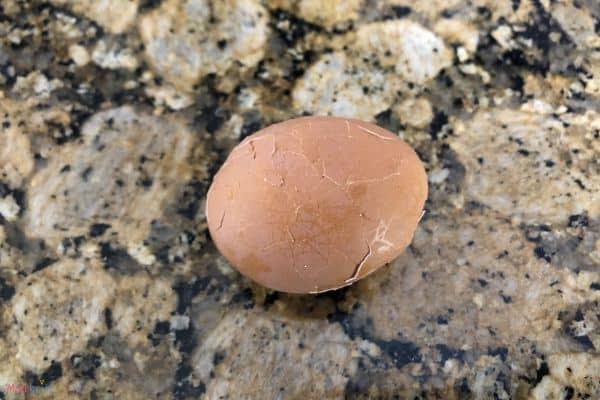
- Gently rotate and knock the eggs on a hard surface. You can also use the back of a spoon to crack the eggs. You want to crack the eggshells to crack enough to let the food coloring in, but not have big chunks fall off.
- Gently drop the cracked eggs into the cups with colored water.
- Let the eggs sit in the dye overnight.
- Carefully drain the water out of the jars or cups and take out the eggs.
- Peel the eggshells off.
- Voila! You have a set of colorful dinosaur eggs!
Note: Do NOT skip the ice bath for the eggs. It makes the eggs so much easier to peel later. If you skip it, you might risk taking chunks of the egg white off with the eggshell when you peel.
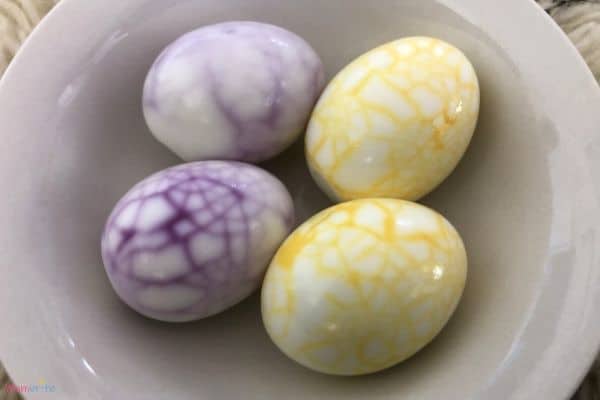
Aren’t the eggs pretty? You might be wondering why there were only 4 eggs when I dyed 6 eggs. For some reason, the eggs in the blue dye had only a very slight hint of blue, but the eggs mostly remained white.
Another interesting thing is that the green eggs came out yellow! Considering that the blue food coloring did not dye the eggs, and that blue and yellow make green, my guess is that the blue dye takes longer to penetrate the eggs. This is consistent with the results we saw in the M&M experiment where the blue shell was the last one to dissolve.
Also, we used natural food coloring that is made with vegetable juices and spices. From experience, I can tell you that these food colorings are not as strong as ones with artificial dyes. Even though the red ones turned out well, you can see that the color is more purple than red.
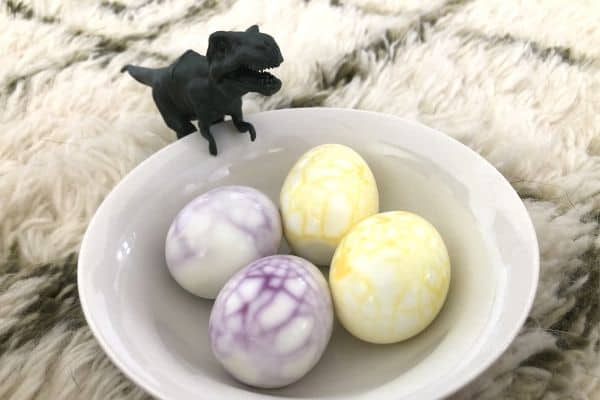
Even though the colors did not turn out as expected, the ones that did get dyed are so pretty! My kids were amazed at the colors and the patterns on the eggs. They both ate all of the dinosaur eggs in one sitting – yup, that’s 3 eggs each ladies and gentlemen.
I hope you get a chance to try this dinosaur egg craft with your kids. They will love helping you crack the eggshells and peeling them off. And most of all, they will love eating these special dino eggs for a healthy snack or meal!
Want more yummy dinosaur treat? Make you check out dinosaur footprint cookies!
And for more lessons on fossils, learn how you can make your own from salt dough!

Thank you for posting this neat activity! My son was all over it as he LOVES dinosaurs and could ‘help’ me in the kitchen with prep work. He had the eggs for breakfast the next day so they didn’t go to waste 🙂
Love your blog xx
aw I am so happy to hear this! Thank you for visiting the blog! <3