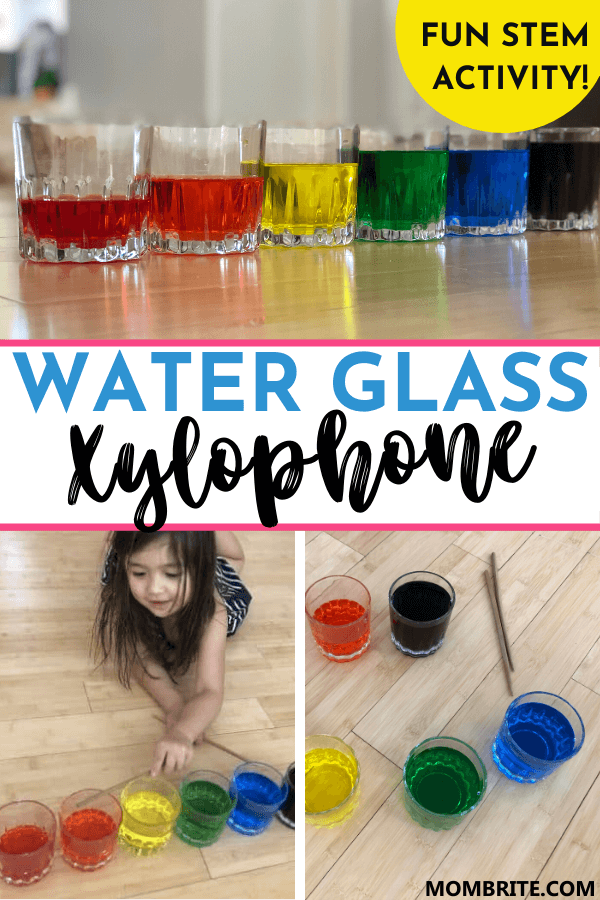
Your kids will love playing music on this simple water xylophone. Learn how to make the water xylophone and the science behind the different sounds.

Today, we revisited one of our favorite STEM activities: the walking color water experiment.
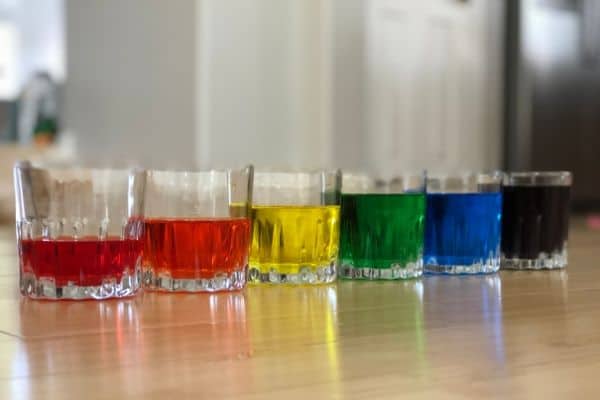
After the water walked from one cup to another and formed different colors of the rainbow, we are left with 6 different cups of pretty colored water. It seemed like a waste to just dump them, so we decided to make a water xylophone and explore how sound works.
I initially thought the activity would be too simple for my kids, but they ended up loving it!
How to Make a Water Glass Xylophone
Materials:
- Water
- Glass cups or mason jars
- Wooden sticks or plastic spoons (something to hit the glass with)
- Optional: Food coloring
- Optional: Measuring cups
Instructions:
- Line the glass cups up next to each other without touching.
- Have your child tap on the empty cups. Do they all sound the same?
- Fill the glass cups with different amounts of water. You can just eyeball the water levels, or you can be precise and use measuring cups.
- Optional: If you are using measuring cups, start by adding ¼ cup of water in the first cup. Then the amount of water in each up will go up by ¼ cup. So the second cup will have ½ cup of water, the third cup will have ¾ cup of water, and so forth.
- Optional: Add food coloring to each cup of water to make the water xylophone nice and colorful!
- Have your child tap on the glass cups now. Do they still all sound the same?

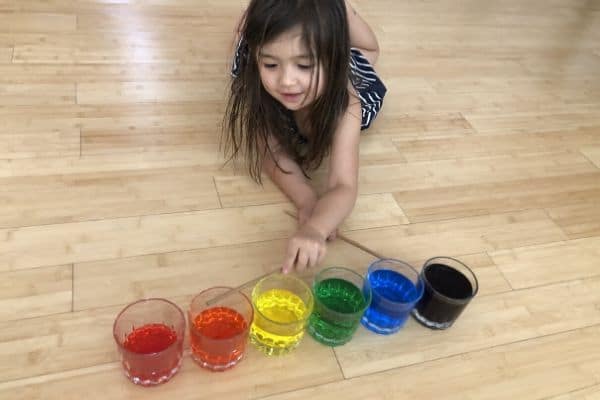
My 6 years old son plays the piano and we have been working on training his ear. This water xylophone experiment was exciting for him because he was able to identify the different pitches when we hit the cups with a chopstick.
And as for my 3 years old daughter, she just loved playing on the water xylophone and pretending she is performing in front of a crowd.
The Science Behind the Homemade Water Xylophone
When you tap on an empty glass with a stick, you are creating small vibrations in the air. These vibrations are called sound waves. The pitch of the sound depends on how fast the vibrations travel through the glass cup.
When you fill the glass with water, the water slows down the sound waves. Therefore, the more the water is in the glass, the slower the vibration and lower the sound. On the other hand, the glass cup with the least water produces the highest pitch because the sound waves have to travel through less mass.
You can relate this to a string instrument like the violin or guitar. The thicker strings produce lower sounds because the thickness of the strings slows down the vibrations.
Final Thoughts on the Water Xylophone
Did you ever think that your kids would have so much fun just tapping on glass cups filled with water?
If you wish, you can even fine-tune the water level so that your kids can play simple songs like “Mary Had a Little Lamb” on the water xylophone.
If your kid liked the water xylophone and you haven’t tried the walking water experiment yet, you have to check it out! Prepare to be amazed!
YOU MAY ALSO LIKE:
- Simple Water Balloon Yoyos
- Salt & Pepper Static Electricity Experiment
- Ice Fishing Experiment
- Magic Milk Experiment

