Earlier this week, we made light and fluffy cloud bread. After that, we embarked on a space-themed week that started with a deep dive into the moon. Since my kids loved the cloud bread so much, they asked, can we bake moon bread?
We were discussing the surface of the moon and how the craters are formed, so I wanted to make bread with holes. I envisioned a spherical bread where I prop the dough ball up with a stick and then we throw stuff at it to make the craters. But that doesn’t sound appetizing.
Then the focaccia bread came to mind. The traditional focaccia bread has a dimpled appearance, made by fingers or the end of a wooden dowel. And guess what those dimples look like? Moon craters!
Below you will find a modified version of focaccia bread with holes made by my kids pretending like their fingers are asteroids and meteorites crashing into the lunar surface. The moon bread recipe is easy so your kids can help you out in the kitchen!
How to Make Moon Crater Bread
Ingredients:
- 2 cups all-purpose flour
- 1 teaspoons salt (we used Himalayan salt)
- 1 teaspoon instant yeast
- 1 cup lukewarm water
- Olive oil
- Salt for topping
- Optional toppings: Parmesan, rosemary, garlic, olives, etc.
Instructions:
- Add the flour, salt, instant yeast, and water in the bowl of a stand mixer.
- Using the dough hook, mix the dough on medium speed until the dough starts to pull away from the sides of the bowl.
- Rub the surface of the dough lightly with olive oil.
- Cover the bowl with a damp towel or plastic wrap and place it in the refrigerator for at least 12 hours. I ran out of time to bake the bread the next day so I let my dough sit in the fridge for a total of 36 hours and it was fine.
- Brush a cake pan with olive oil.
- Take the risen dough out of the fridge. Using a fork, fold the edges of the dough toward the center to deflate it.
- Transfer the dough to the oiled cake pan. Let it sit at room temperature for 3-4 hours.
- Preheat the oven to 425°F.
- Lightly brush more olive oil on the bread.
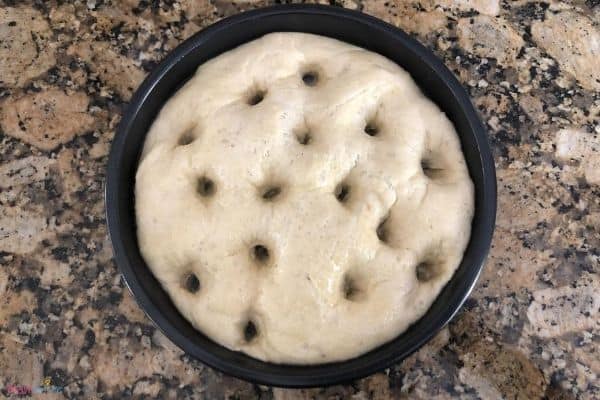
- Coat your finger(s) with olive oil and press straight down to create holes. Your finger(s) should go all the way until you touch the bottom of the cake pan.
- If your dough has not expanded enough to fill the cake pan, gently stretch the dough as you create holes so that the dough covers the entire pan.
- Sprinkle with additional salt. If you are using other toppings, you can also add them to the top of the dough at this point.
- Bake for 15-20 minutes until the top of the bread is slightly golden and crisp.
- Remove from the oven and let it cool for 5 minutes before serving it nice and warm.
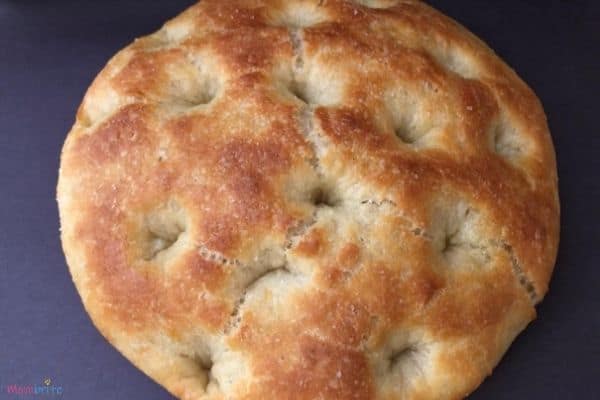
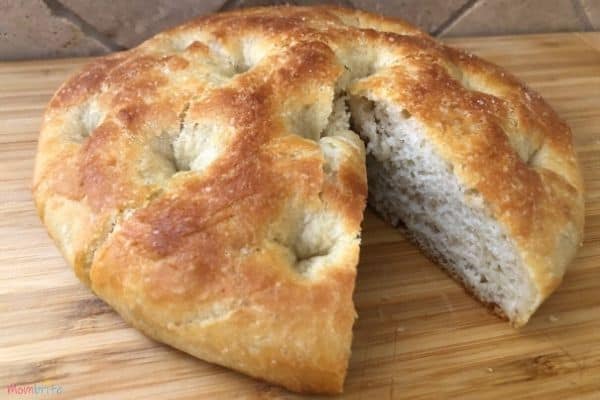
I am no professional baker, so this easy, pretty much failproof moon bread recipe was perfect. The bread turned out nice and crusty on the outside, and moist and chewy on the inside.
Most people like to bake focaccia bread on a sheet pan, but since we are making moon bread, we used a cake pan instead. When the dough sat at room temperature, it will increase in volume and take the shape of the cake pan. Using the cake pan also allows the edge of the moon bread to be crispy as well.
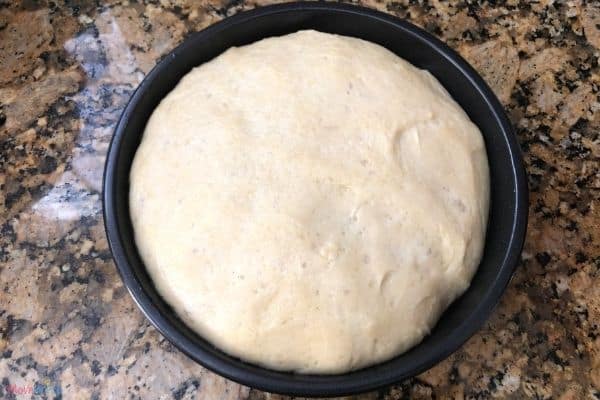
The kids had a lot of fun pretending that their fingers are asteroids crashing into the moon. Since the bread requires big holes, you don’t have to worry about the kids getting too excited and poking too many deep holes in the dough.
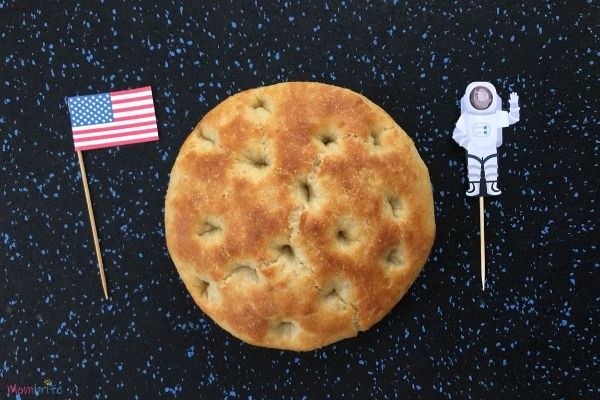
To make the moon bread even more moon-like, we added a picture of an astronaut and the American flag. I just printed out pictures of them and cut them out, taped them on skewer sticks, and inserted them in the bread.
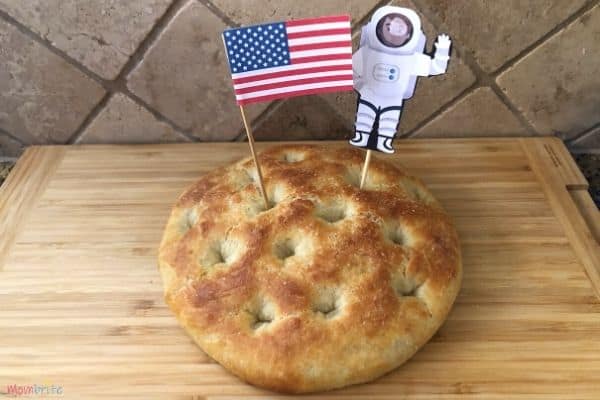
I made baked ziti for dinner and the kids dipped the bread in the sauce. Verdict? The kids were over the moon!
Science Behind Yeast and How It Makes Bread Rise
My kids often bake with me, but this is the first time we made bread together (unless you count the cloud bread). They are used to the usual ingredients when we make pastry: flour, sugar, and baking soda or baking powder. So naturally, they wanted to know why we are not using baking soda for the moon bread and using yeast instead.
Yeast feeds on the sugar and expels carbon dioxide in the process. The gas slowly fills up the bubbles in the dough, and that’s how hte bread rises. Without yeast, the bread would be very hard and tough to eat. The air bubbles formed by the yeast is what gives bread its airy texture.
It blew their minds that yeasts belong to the same taxonomic group as molds. They are both fungi! At first, the kids didn’t want to eat the bread because they didn’t want to eat the yeast, but after trying it they decided that yeast is yummy.
For more mind-blowing food science, make sure you check out how to make choux pastry and whipped cream.
Food science is fun, and it’s even better when you can combine it with another science topic. The moon bread was the perfect beginning of our space week!
FOR MORE SPACE ACTIVITIES FOR KIDS, CHECK OUT:
