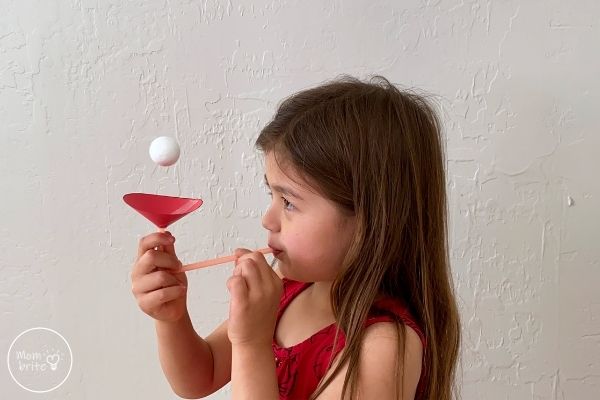
With just paper, bendy straw, scissors, and tape, you can make a ping-pong ball, styrofoam ball, or foil ball levitate in mid-air! Your kids will love doing this Floating Ball Experiment that demonstrates Bernoulli’s Principle over and over again!
A levitating ball is what you expect to see in movies on TV or a magic show. What if I tell you that you can make this levitating ball trick happen with just a few household items? And as with most magic tricks, this one is made possible by science!
Your kids will love this floating ball activity. It only takes minutes to set up and it’s so easy to do that even my preschooler can assemble the floating ball toy all by herself.
Ever since we have done this magical floating ball experiment, my kids have performed the experiment by themselves multiple times. Since all you need is a piece of paper, straw, tape, and of course, a ball, they can recreate this fun toy anytime. What I love is that every time my kids make one of these floating ball devices, they change the size of the cone or the length of the straw to experiment with what parameters would work best.
We used a styrofoam ball for this Bernoulli’s Principle experiment, but you can also use a ping pong ball or even a foil ball. Simply crumble up a piece of foil and make a ball! As long as the ball is light enough, you can use it for this activity.
Levitating Ball Experiment
Materials:
- Free paper cone template
- Styrofoam ball or ping pong ball
- Bendy straw
- Paper
- Tape
- Optional: hot glue
Instructions:
1. Download and print out the paper cone template. There are two sizes for your kids to try. Select one size and cut out the pattern, including making a slit along the black line to the middle of the circle.
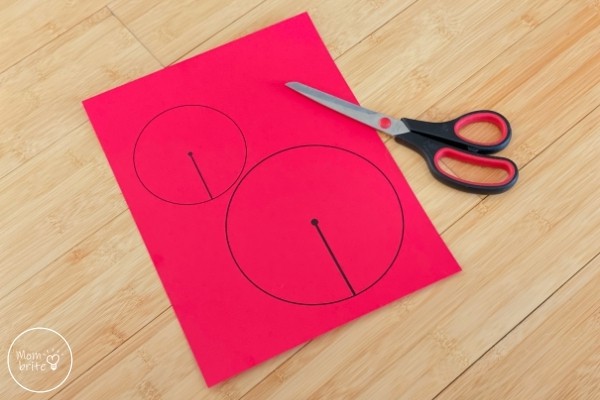
2. Cut a small circle in the middle of the circle. Make sure you don’t cut it too big or else you will have trouble making a seal between the straw and the cone. You can always trim it later if it’s too small.
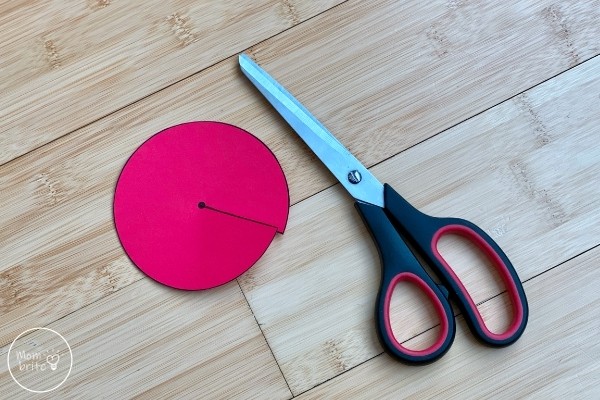
3. Bring one cut end of the circle over to the other in a cone shape. You should have a small hole at the tip. Tape the inside and outside of the cone closed.
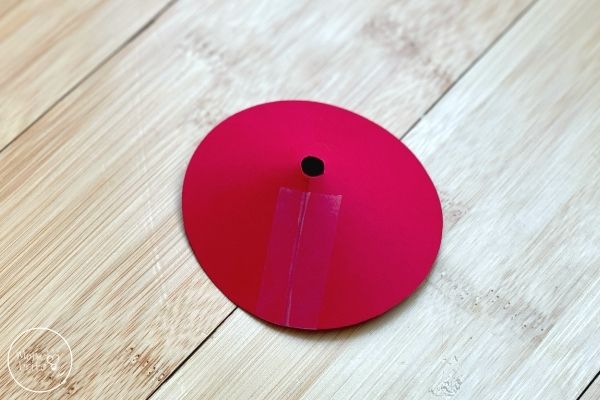
4. Insert the short end of the bendy straw (the part where you would put your mouth if you were using it to drink) in the hole in the cone. If you look inside the cone, only a small section of the straw should be visible.
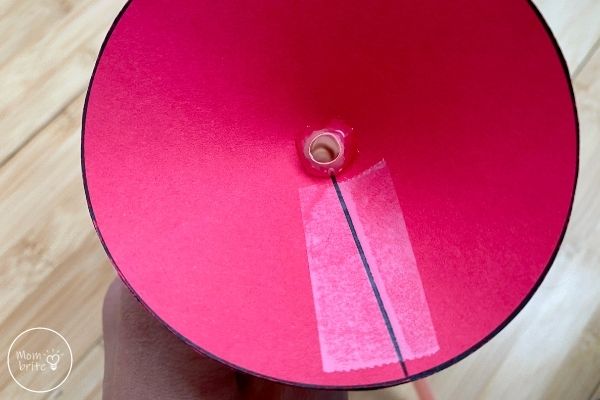
5. Use hot glue or tape to secure the straw to the cone. I used hot glue the first time we did the experiment, but my kids have repeated this experiment many times after that and they always used tape. As long as there are no gaps between the straw and the cone, it doesn’t matter what you use to form the seal between the two.
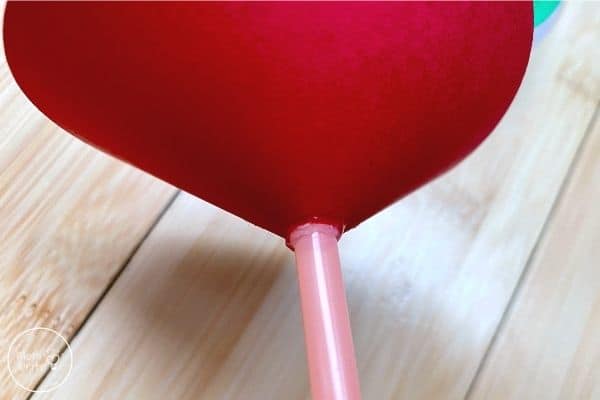
6. Bend the straw so it’s 90 degrees and place the ball inside the cone. Blow into the long end of the straw. At first, your kids will probably have trouble controlling their breath and lifting the ball. After some practice, your kids will learn that a steady supply of air is the key to keep the ball floating in mid-air.
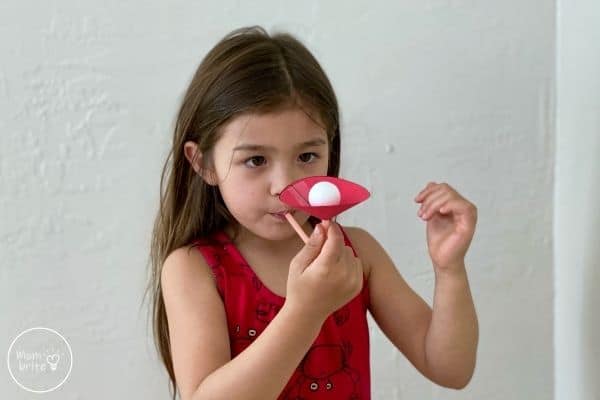
The wonderful thing about this floating ball experiment is that there are so many variations. Some things we tried are:
- Use a ping-pong ball (we discovered that our ping-pong ball at home was too heavy and didn’t work well).
- Use a foil ball.
- Use a pom-pom.
- Make different-sized cones.
- Use a non-curved object like a light block and see if you can make it float like the ball.
- Use straws of different lengths. We also cut the one we have shorter to test out if it would be easier to make the ball float.
Alternative Floating Ball Science Experiment
Instead of using a cone and straw, you can use a hairdryer instead for the experiment! If you are doing it with a hairdryer, make sure you use the cold air setting. If you have to use the hot air setting, use caution because the air and the ball can get really hot.
To do the experiment, simply point the hairdryer up and turn it on at high speed. Place the ball in the blowing air and watch it levitate in the air! You may even be able to get multiple balls floating at the same time.
A heavier ball like a ping-pong ball might work better with the hair dryer. Try doing it with different balls and see which one works best!
Bernoulli’s Principle for Kids
How do birds and airplanes fly? They are heavier than air, but somehow their wings are able to create enough lift to allow them to fly through the air.
A long time ago a mathematician and scientist named Bernoulli studied this phenomenon and discovered that as air moves around an object, it creates different pressures on that object. Faster air means less pressure, and slower air means more pressure. Now we can use Bernoulli’s principle to know why birds and airplanes can fly.
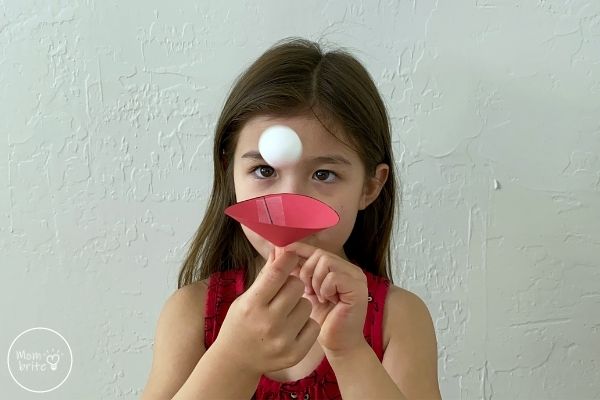
For this floating ball experiment, we create an area of low pressure around the ball by blowing into the straw. When you blow in a fast thin stream (because the straw makes it thin), the fast air is able to move around the sides of the ball instead of simply pushing it upward from below.
If you observe the ball closely as it levitates in the air, you will see that it wobbles in the low-pressure area. This is because the ball is trying to escape the low-pressure air. The high-pressure air does not allow the ball to escape and pushes the ball back into the low-pressure area.
This only works if you blow hard enough so that there is a steady fast stream of air around the ball. If you blow slowly, then the pressure goes back up and the ball falls.
Related Posts:

