The anatomy of our hands is complex and intricate. Made up of many different bones, muscles, and ligaments, our hands can move in ways that other parts of our body can’t.
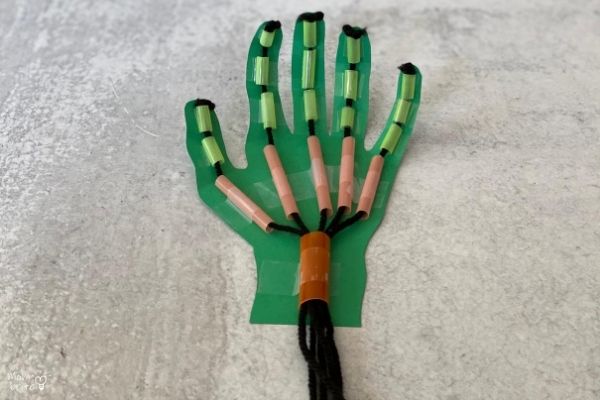
The model robot hand demonstrates just how important it is for all the different parts of our hands to work together for movement. It will highlight how the bones, muscles, and tendons allow us to move each individual finger separately or together at the same time.
How to Make a Robotic Hand Model
Materials:
- Cardstock paper
- Pencil
- Drinking straws
- Jumbo-sized straw (smoothie or boba tea straw)
- Scissors
- Yarn
- Tape
Instructions:
1. Trace your hand and the wrist on a piece of cardstock paper. You can also use your child’s hand (we did!) but do note that the robot hand is easier with a bigger hand.
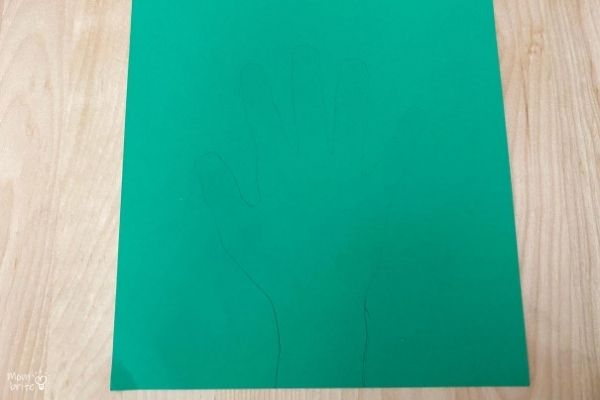
2. Cut the hand outline out with scissors.
3. Place your hand back onto paper hand and lightly mark the location of the joints.
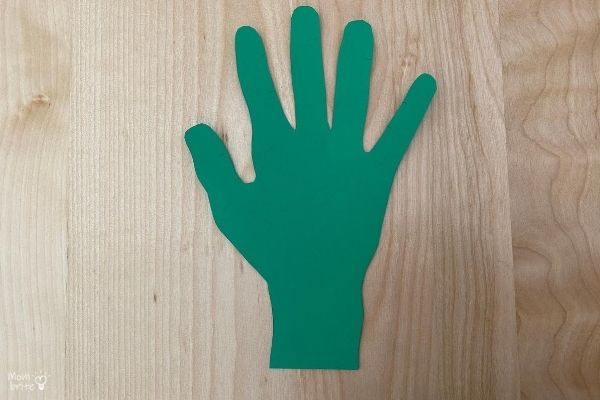
4. Bend the paper at the joints. Erase the marks on the paper if you wish.
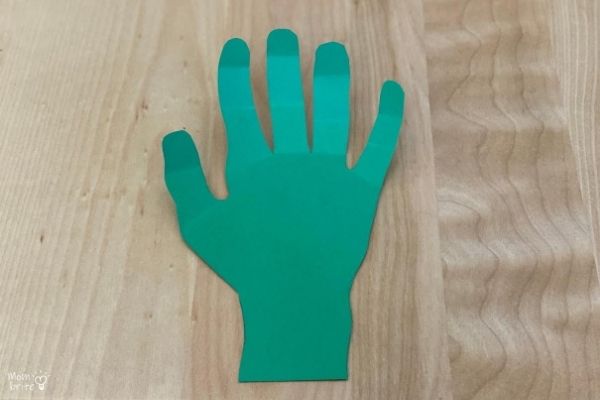
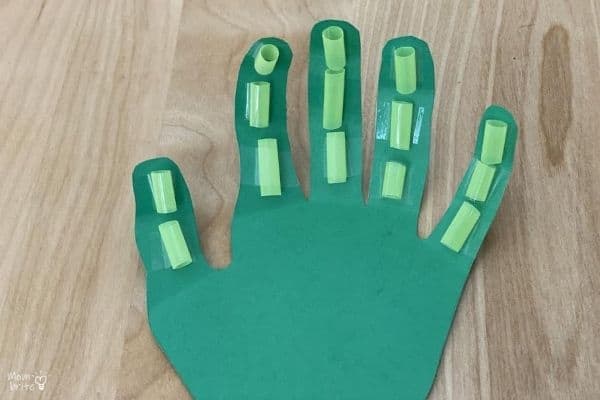
5. Cut the drinking straws into small pieces so they fit in the areas between the joints.
6. Tape the straw pieces to the fingers. Make sure you leave a gap between the straws.
7. Cut the drinking straws into 5 longer pieces (one for each finger) and tape them on the palm.
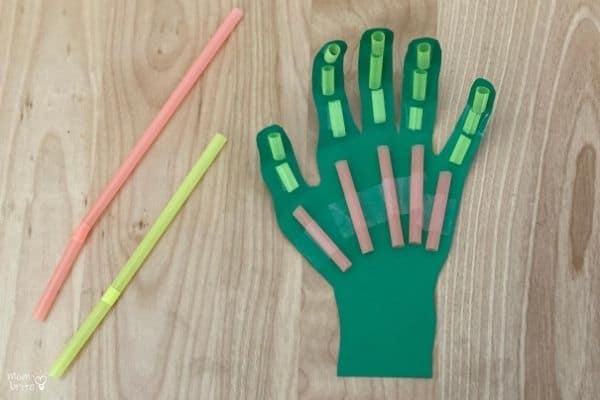
8. Cut one section from the jumbo straw and tape it to the wrist.
9. Cut a piece of yarn and run it through the straw sections of one finger through the palm and then the jumbo straw at the wrist.
10. Knot the end of the yarn at the fingertip.
11. Repeat steps #9-10 for all fingers. If you have various colored yarn at home, use a different color for each finger.
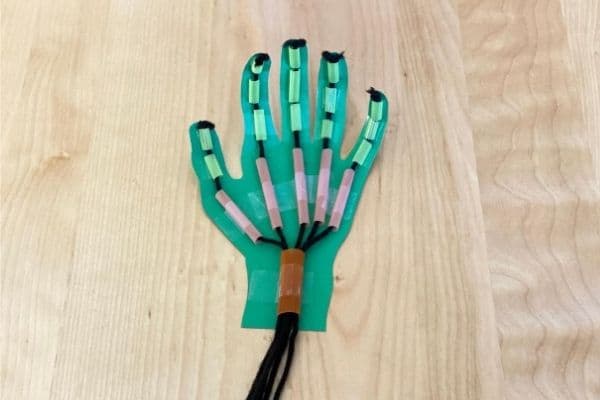
12. Pull the strings to make your robotic hand move!
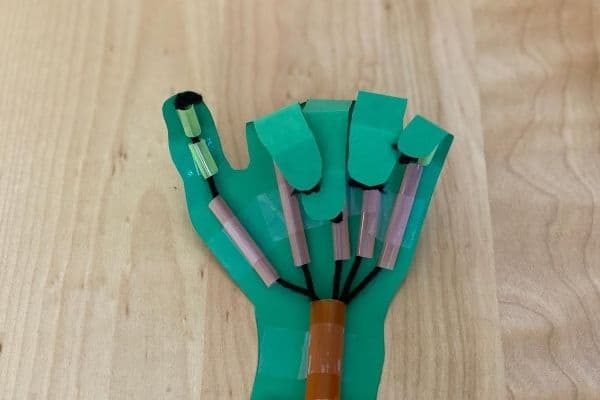
The robot hand turned out super cool! We made our hand hang ten, give a thumbs up, and even rock out. So fun!
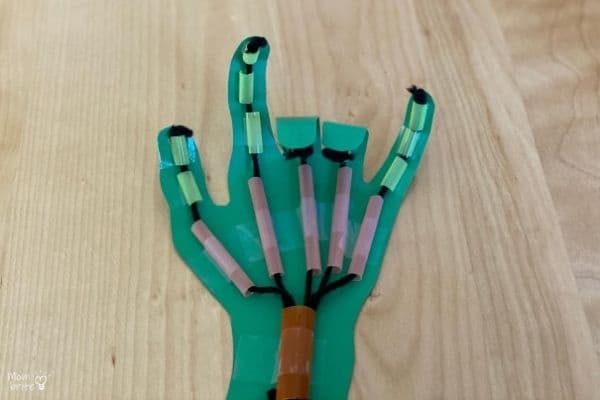
I wish we had different colored yarns to distinguish which yarn is for which finger. It would make pulling on the right yarn a lot easier. If you are stuck with the same color yarn, you can always make tags to attach to the bottom of the yarn for each finger.
If you use your child’s hand for the robot hand, it might be harder to tape the straw segments to the hand. You have to work with smaller straw pieces and need a delicate touch to apply the tape to the fingers. So if you are having trouble, I recommend starting off with an adult hand.
For more fun human anatomy activities, check out:

Love your stems projects will be doing it with my afterschool program 😀 👍
aw I am glad to hear that, thanks for sharing 🙂
Its is ver easy and interesting… i’m a teacher. im going to make my children to do.
I did this experiment for my stem project im in grade 6 so i needed to actioually change it a little but this was very helpfull thanks for making this!
This is a cool project
Agreed 😀