Magic wands are a great way to add fun and excitement to your magic routine. They can be made with simple materials that you may already have at home.
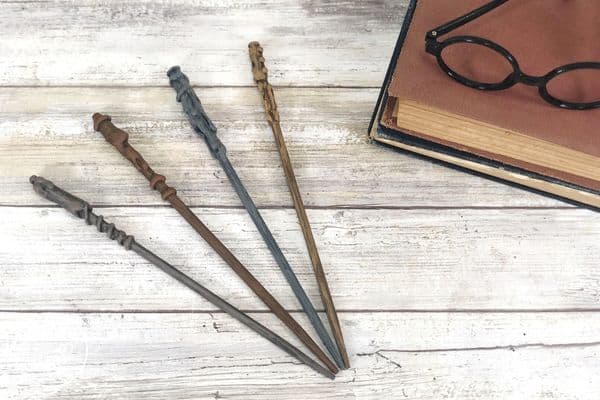
Do you like magic? Who doesn’t? It’s so cool to see things happen that you can’t explain. And what’s even cooler is being able to do magic yourself.
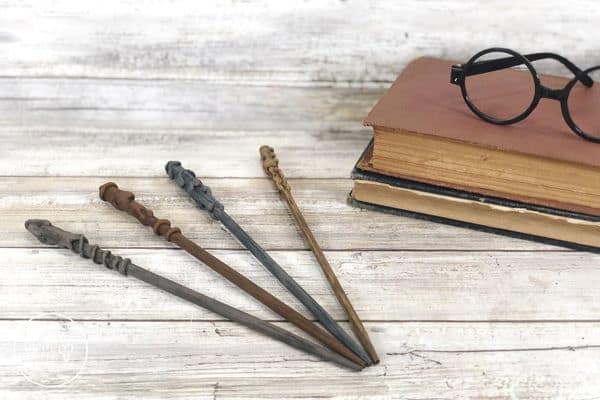
If your children are fans of the Harry Potter and Fantastic Beasts books, then they will love making this DIY magic wand. This is the perfect Harry Potter craft and your kids will love practicing new spells with the wands afterward!
We will show you how to make your very own magic wand in just a few easy steps. The best part is that you can customize it however you want. Let’s get started!
How to Make a Harry Potter Magic Wand
Supplies:
- Wooden sticks (disposable chopsticks work great!)
- Acrylic Paint (metallic sets like this one work the best)
- Hot glue gun
- Hot glue sticks
- Sandpaper
Instructions:
1. Take out the wooden chopsticks (you can also do this with small sticks collected from outside). Use sandpaper to smooth out any rough edges.
2. Use the hot glue gun and glue sticks to carefully create the handle of the magic wand. You can make whatever pattern you like, so use your imagination!
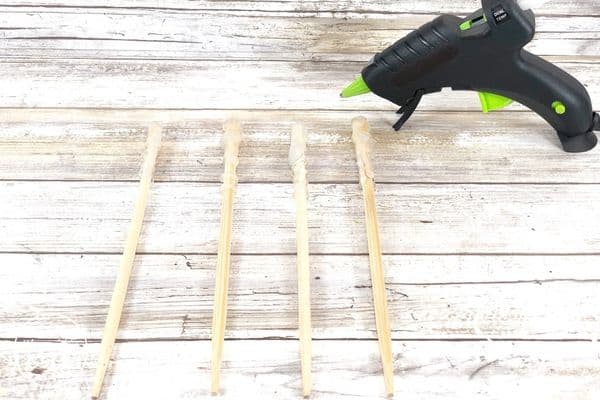
Instead of holding the chopstick steady and trying to apply the hot glue around it, I recommend doing the opposite. Hold the hot glue gun in one hand and slowly rotate the chopstick to create the pattern. Trust me, after several burns from the hot glue later, this is definitely the better method.
I like to put my glue gun on the low temp setting for making the homemade magic wand. The hot glue doesn’t come out as fast and is therefore easier to control.
Feel free to layer the glue to make a thicker handle. And don’t be afraid to make some parts thick, some parts thin. Anything goes! The fun part of this Harry Potter craft is that each wand will be unique.
3. Apply the base coat. Use a darker color for the base coat, such as dark brown, charcoal grey, or black acrylic paint. Make sure you get into all the nooks and crannies of the dried glue – you may need to switch to smaller paintbrushes to get in the small holes.
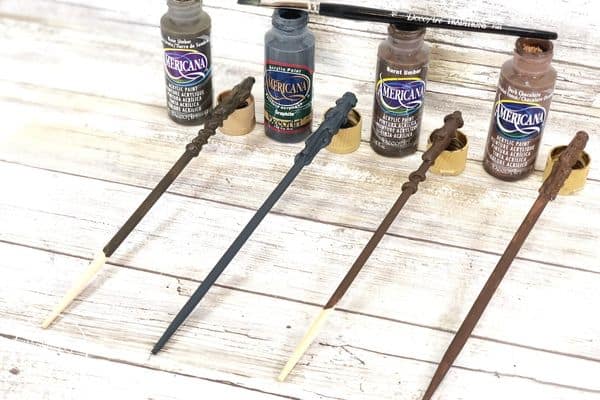
Set aside the magic wands to let them dry. I found that after only one layer of paint, you can still see through the paint and see the chopstick. Apply a second coat if necessary. I actually applied three coats on the wand before the paint completely covers the hot glue and the chopstick.
4. To give the wands more depth, dip the tip of the bristles of a dry paintbrush in a lighter tone of brown or grey acrylic paint. Lightly brush the paint on the wand, covering just the raised areas.
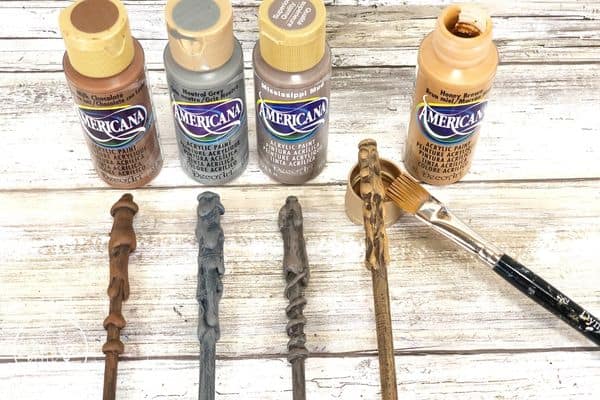
This is an optional step but highlighting the wand with the lighter paint colors will make the wand more realistic.
5. To ensure the paint doesn’t chip off during play, you can seal the wands with mod podge or spray on a clear sealer.
As a bonus, I have a free downloadable copy of the Beginner’s Guide to Wand Motions for you! Follow the instructions and practice lots.

And if you want to add glitter, feathers, jewels, charms, and other materials to embellish your wand, go right ahead! It’s your own personal wand, so use your creativity and imagination to make it a wand suitable for a powerful wizard like yourself.
YOU MAY LIKE:
