Oil and water do not mix, but when used together, you get some cool science experiments. And making your own lava lamp is one of the most exciting experiments for kids.

I remember when I was in high school, the lava lamp was one of the most coveted items. People often own more than one and we would just be mesmerized at the globules floating up and sinking down.
The DIY lava lamp is a simple activity for kids of all ages. You can set it up within minutes and relax while the kids set off the reaction. Even as an adult, I like watching the bubbles bounce and move around in the bottle.
How to Make Your Own Lava Lamp
Materials:
- Clear bottles or jars (we used VOSS plastic bottles)
- Water
- Baby oil or vegetable oil
- Alka Seltzer tablets
- Food coloring
Directions:
- Fill about ¼ of your bottle with water.
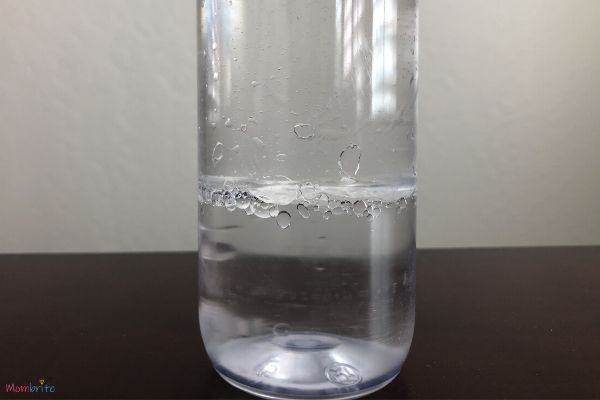
- Fill the rest of the bottle with baby oil or vegetable oil, leaving a little space on top for bubbles to form.
- Wait until all the water sinks to the bottom.
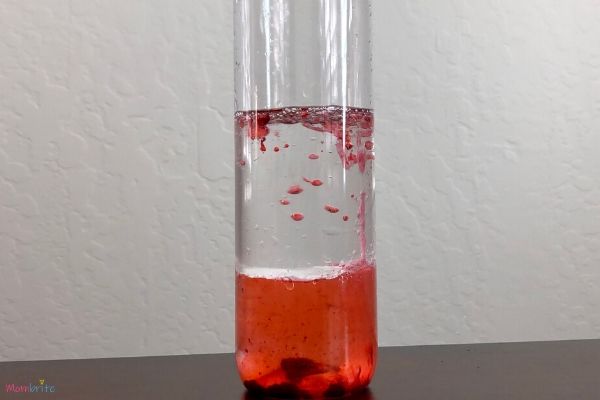
- Add a few drops of food coloring.
- Break up the Alka-Selzer tablet into four pieces that are roughly equal in size.
- Drop one of the pieces into the bottle.
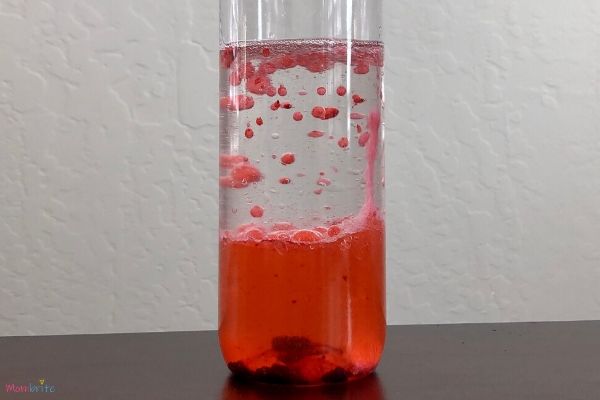
- Watch the bubble blobs float to the surface and sink back down!
- Add more Alka-Selzer tablet pieces for more bubbly fun.
We used gel food coloring, and you can see that it didn’t disperse well. I recommend using liquid food coloring instead so you don’t get chunks of food coloring in your emulsion.
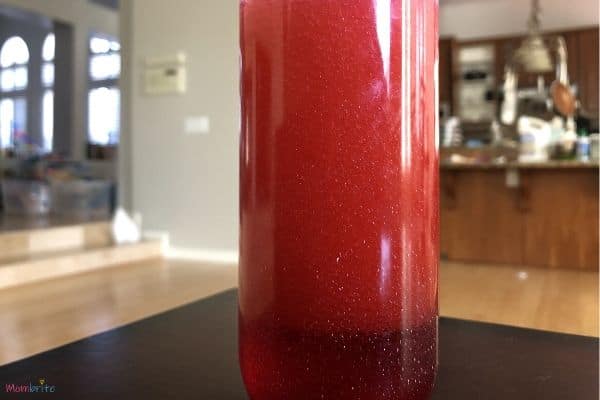
My kids wanted to keep this lava lamp going forever. We went through three packets of Alka Seltzer (6 tablets) and they still wanted to drop more in the emulsion to make more bubbles. So I let them open one last packet and we dropped one complete Alka Seltzer tablet right after another!
What happened? There were so many bubbles that it looked like the colored water was just shooting up to the surface. The bubbles started to collect up top and if we didn’t leave enough room in the bottle above the oil to handle the extra bubbles, the bubbles would have overflown!
Another experiment we did was trying to vigorously shake the bottle (with the cap on of course) to try and mix the water and oil. My kids loved that they could go nuts and shake the bottle as hard as they want. Then they watched carefully as the water and oil separated into two different layers. So cool!

Science Behind the DIY Lava Lamp
There are several science concepts you can discuss with your kids with this experiment.
First, oil and water don’t mix because they have different properties. Water molecules are made up of oxygen atom and two hydrogen atoms (hence H2O). Water molecules are also polar, meaning that they have a small positive charge at one end and a small negative charge at the other. Therefore, they act like magnets and stick to each other.
Oil molecules, on the other hand, are nonpolar. They are not attracted to the polarity of the water molecules and rather stay together with each other instead.
Since oil is less dense than water, it floats to the top. No matter how much you shake the bottle, the water and oil will eventually separate and the oil will float back up to the top.
Food coloring is water-based and remains intact until it sinks through the oil and reaches the water. It’s fun to watch the drops of food coloring travel through the oil until they hit the water, at which point they disperse and mix with the water.
When you add a piece of the Alka Seltzer tablet, it sinks to the bottom and starts to dissolve. The tablet releases gas, which is lighter than water so it floats to the top along with some water mixed with food coloring. Those are the blobs that you see. At the top, the gas bubbles pop and the water droplets get heavy again, making it sink back to the bottom. This continues until the entire tablet is dissolved.
Final Thoughts on the Homemade Lava Lamp
I think this might be the 5th time we did the lava lamp experiment. The kids were as excited to do it as the first time we did it. Instead of food coloring, we added some white paint and made a snowstorm in a jar during the wintertime. So you can experiment with adding different sources of colors in the emulsion as well!
If you like this experiment, you should try:


