This easy, festive, and mess-free paper 3D Christmas tree craft for kids comes with a free template. It’s perfect for moms and teachers this holiday season!
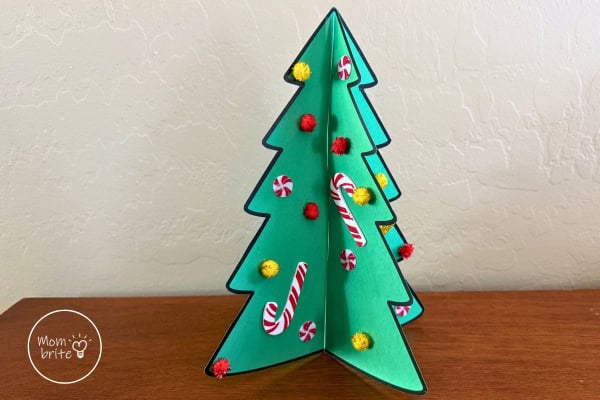
Looking for a fun, creative activity to keep your kids entertained this holiday season? Whether you’re a mom organizing a fun craft day at home or a teacher looking for a classroom project, this 3D Christmas Tree Craft is the perfect choice!
This simple craft is easy to set up, requires minimal supplies, and lets kids unleash their creativity. Your kids get to work on their fine motor skills and spatial awareness while you wrap presents and prepare for the holidays.
Plus, we’ve included a free downloadable 3D Christmas tree template to make things even easier!
How to Make a 3D Christmas Tree Craft
Materials:
- Free 3D Christmas Tree Template (scroll down for download instructions)
- Cardstock or heavy construction paper
- Scissors
- Tape
- Optional decorations: stickers, glitter, pom-poms, sequins, markers, crayons, or colored pencils
Step-by-Step Instructions:
1. Download and Print the Template
Grab the free template and print it on cardstock for a sturdy base. If you’re a teacher working with a large group, you can print multiple copies and pre-cut the pieces for younger kids.
Since this is a 3D, standing Christmas tree, thinner printer paper will NOT work. The tree will end up falling over and your kids will be quite disappointed.
If you don’t have cardstock, you can print the template on regular printer paper and cut the pieces out to use as a stencil. Then use the cutouts to trace on thicker construction paper for the 3D tree craft.
2. Cut Out the Pieces
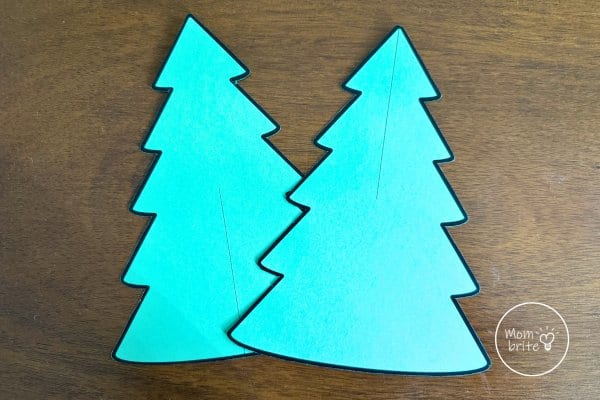
Carefully cut along the lines of the template. You’ll end up with two tree shapes with a slit in each.
3. Assemble the Tree
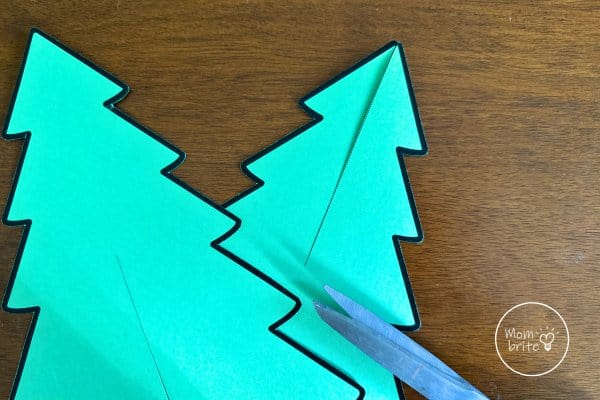
Slide the two tree pieces together using the slits to create a 3D effect. The tree should stand upright on its own.
4. Secure the Tree
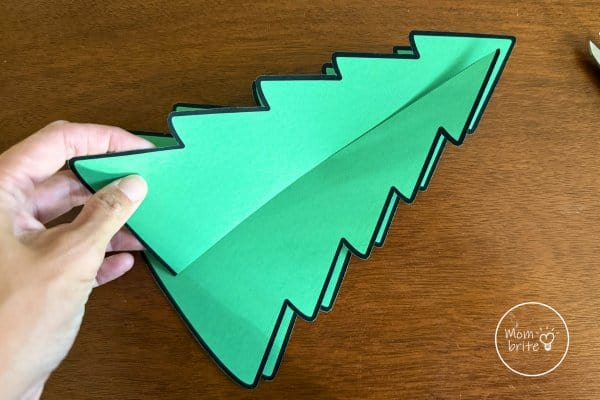
Tape along the slits to ensure the tree shapes don’t come apart. You don’t have to tape the entire length of the tree, but at least tape the top and bottom of the slits.
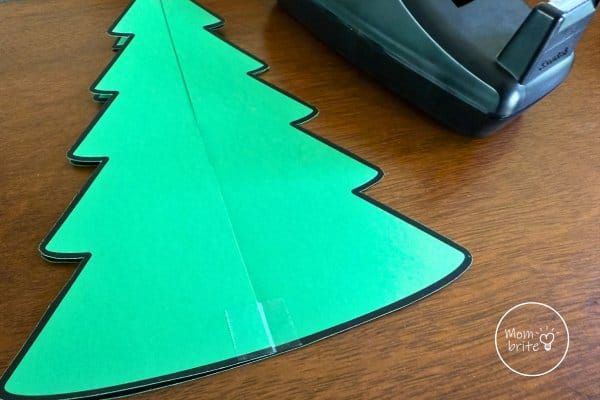
5. Stand Your Tree
Position the cutouts so they are perpendicular to each other. The paper Christmas tree should be able to stand upright without any support. I recommend doing this step before decorating to ensure you don’t need to adjust anything before all the decorations are on the tree.
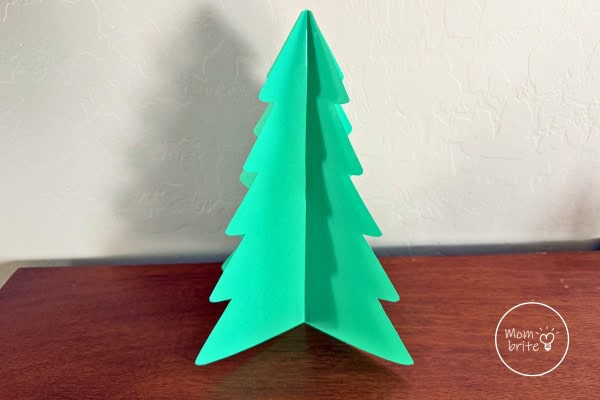
6. Optional: Decorate Your Tree
Let the kids go wild! Use markers, pom-poms, stickers, or whatever their hearts desire to decorate the tree.
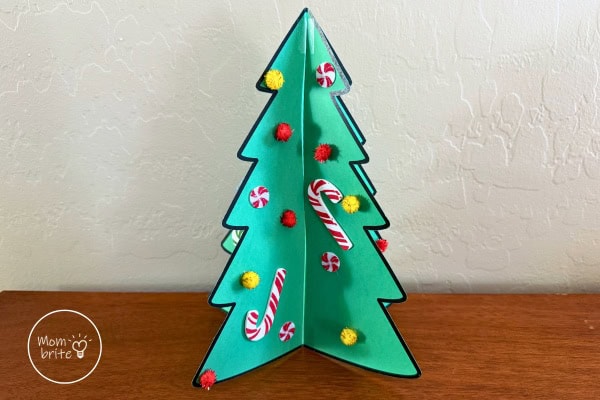
Once complete, display the trees as table decorations, hang them with string as ornaments, or use them to decorate a classroom bulletin board.
How to Download the Free 3D Christmas Tree Template
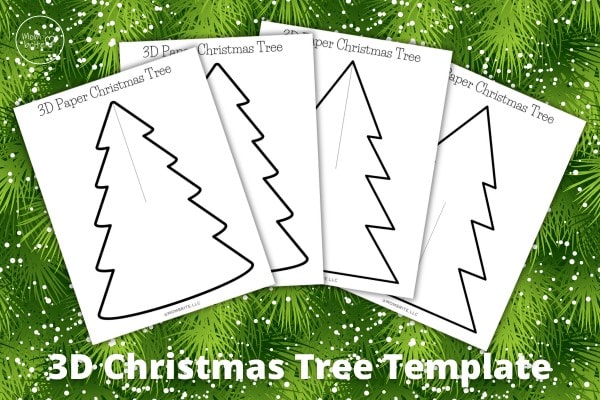
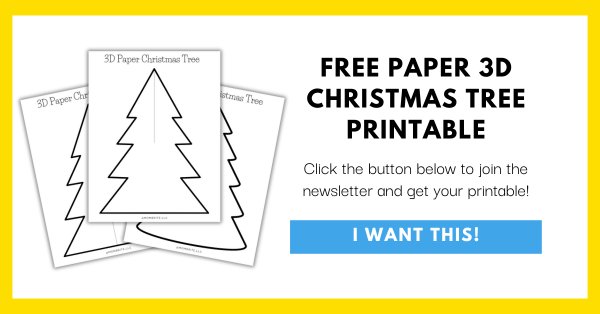
The free printable 3D Christmas Tree template includes two options for your tree craft. Note that one does not have a flat bottom, which I prefer, but it does not sit flat on a tabletop.
YOU MAY LIKE:

love your projects and the printable. the children love when they get to make a project.
thank you for the patterns, they are easy and loys of fun
.
Hi Betty,
Thank you for all you do.
Sharing your wonderful crafts is so appreciated. I tried the paper turkey bookmark craft, and it was awesome. I gave them out to the parents of my students as my Thanksgiving gift, and they so appreciated it.
With regards,
Marian