Discover how to make stunning shaving cream eggs for Easter. Your child will love using their creativity to make vibrant colors and swirling designs on their Easter eggs.
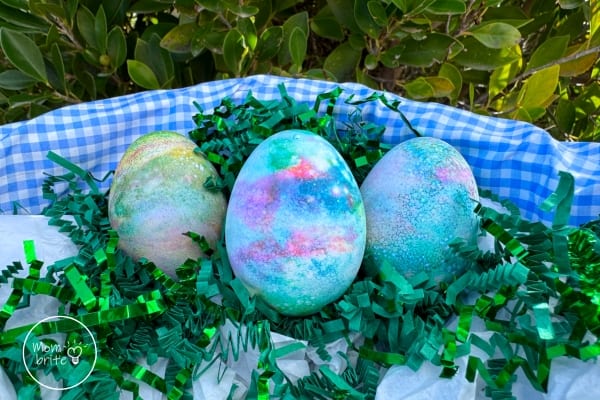
Easter is just around the corner, and what better way to celebrate than by getting creative with your little ones? Decorating Easter eggs is a timeless tradition that brings joy to families everywhere, and this year, we’re taking it to the next level with a fun and easy craft: shaving cream Easter eggs!
Perfect for preschoolers and elementary school kids, this Easter activity combines sensory play with vibrant colors to create stunning egg designs that delight kids and adults alike.
So, gather your materials, put on your gloves, and get ready for an egg-cellent Easter adventure with your little ones.
Materials:
- Eggs
- White vinegar
- Shaving cream (or whipped cream if you want to eat the eggs)
- Food coloring
- Toothpicks or skewers
- Disposable gloves
Instructions:
1. Make hard-boiled eggs. I like to make them in the Instant Pot, but you can choose to boil the eggs.
2. Once the eggs have cooled, soak them in white vinegar for about half an hour. The vinegar helps the dye stick to the shell, making the color brighter.
3. Cover the bottom of a container with shaving cream. Make sure you have a nice, thick layer so that there is enough shaving cream to cover the eggs. If you wish, you can smooth out the shaving cream with a spatula.
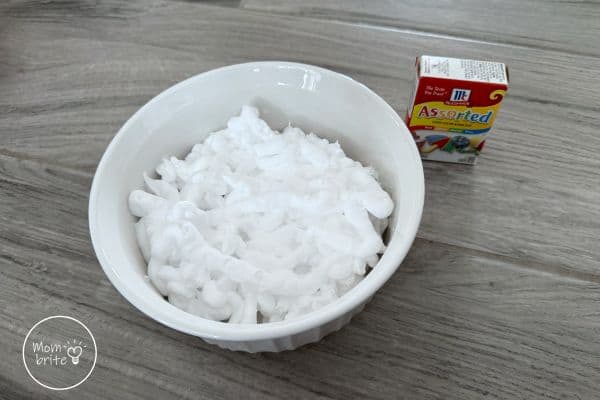
If you want to eat the eggs after dyeing them, substitute the shaving cream with whipped cream.
4. Add drops of food coloring to the shaving cream.
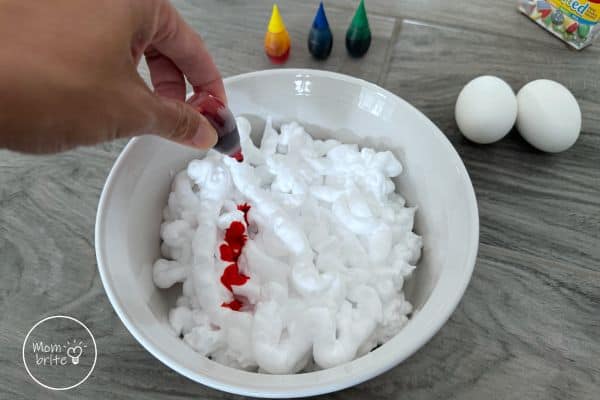
You can play with different color combinations and patterns. We used a toothpick to swirl the colors and make a marbled pattern.
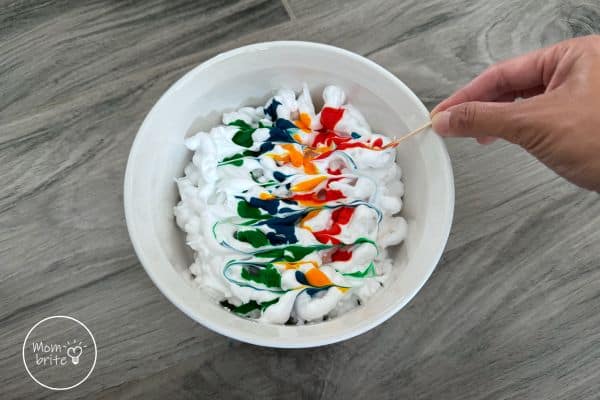
5. Gently roll the hard-boiled eggs over the surface of the shaving cream. Make sure you wear gloves for this step to avoid getting food coloring on your hands. I had forgotten to put on gloves before sticking my hands in the shaving cream and ended up with colorful fingers for days.
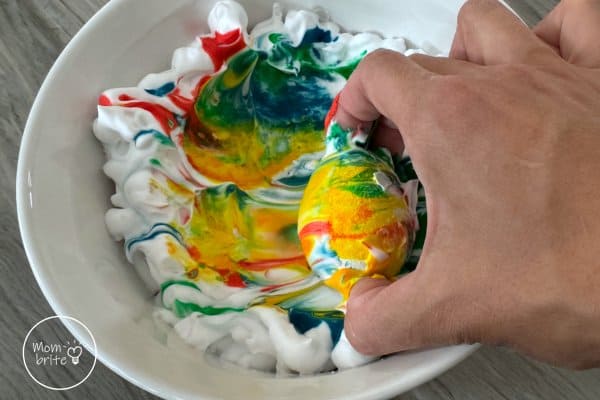
For this step, it’s important not to drop the eggs in the shaving cream or mix the colors too much. When you blend too many of the colors together, you end up with a brownish color and that’s probably not what you would like on your shaving cream egg.
Make sure to cover all the white surfaces of the egg with the colored shaving cream mixture.
Depending on the amount of shaving cream and food coloring in the container, you may be able to dye several eggs without adding additional shaving cream or food coloring.
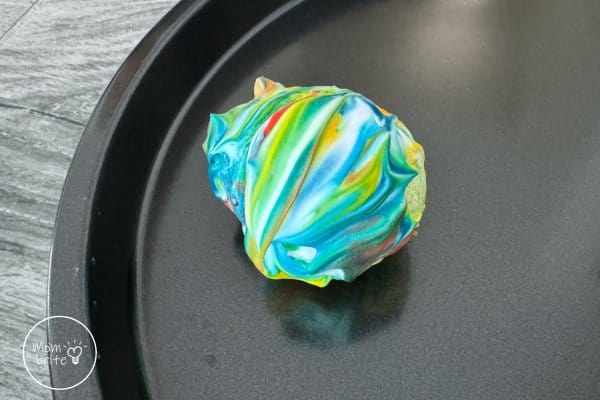
6. Carefully place the shaving cream Easter egg on a paper towel or pan to dry for at least 30 minutes. We left ours for a few hours as we headed out for family activities.
7. Wash the colored shaving cream off with water. Carefully pat the eggs dry with a paper towel, but do not rub off the dye from the shell. I gently dabbed at the colored eggs with a paper towel but left them on the counter to dry completely.
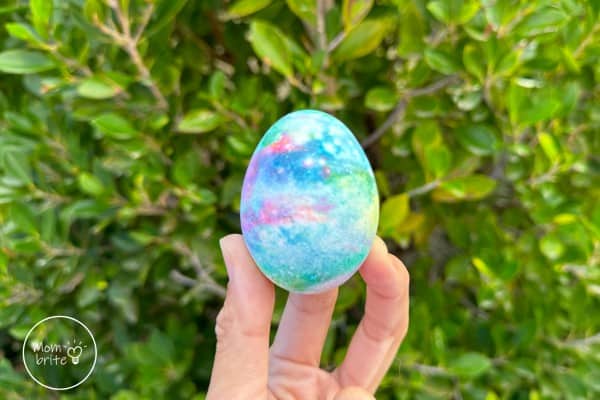
And voila! Your shaving cream eggs are done! I love how no two eggs are the same; they are all so colorful and beautiful!
Final Thoughts on Shaving Cream Eggs
I hope you and your kids had fun dyeing eggs with shaving cream. It’s an easy way to dye eggs for Easter, especially if you have younger kids like preschoolers who would love to roll their eggs in the shaving cream.
YOU MAY LIKE:
