Explore why leaves change colors in the fall and the different types of plant pigments in the leaves with this simple leaf chromatography science experiment.
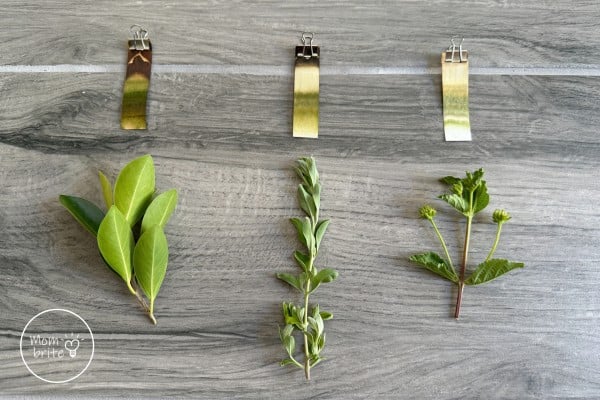
Are you ready to embark on a colorful adventure with your kids? We’re going to explore the hidden world of pigments in leaves through a fun and engaging experiment: leaf chromatography!
This hands-on leaf chromatography activity is perfect for kids who are curious about nature and want to learn more about why leaves change colors during different seasons.
This plant experiment is a good opportunity to take the kids on a nature walk around the neighborhood or park and observe the different types of leaves in your area. We live in Arizona so we have many drought-resistant plants that remain green all year round. But if you are in a state that experiences all 4 seasons, try picking leaves that do change colors in autumn!
How to Do the Leaf Chromatography Science Experiment
Materials:
- Different types of leaves
- Small glasses or jars, one for each leaf
- Fork or spoon
- Isopropyl alcohol (I used 70%, but higher proof or percent is even better for separating the pigments inside the leaves)
- Plastic wrap or cling film
- Chromatography paper or coffee filter
- Pencil or stick
- Tape or binder clips
- Optional: Mortar and pestle
- Optional: Bowl or container for hot water
- Optional: Hot water
Instructions:
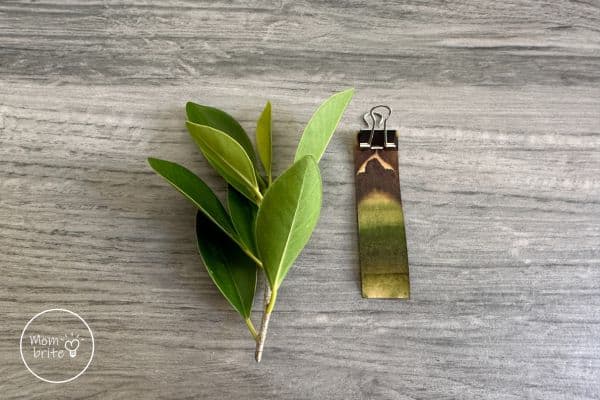
1. Collect the leaves: Go outside and pick a few leaves from different trees or plants. Make sure they’re not too dry or brown.
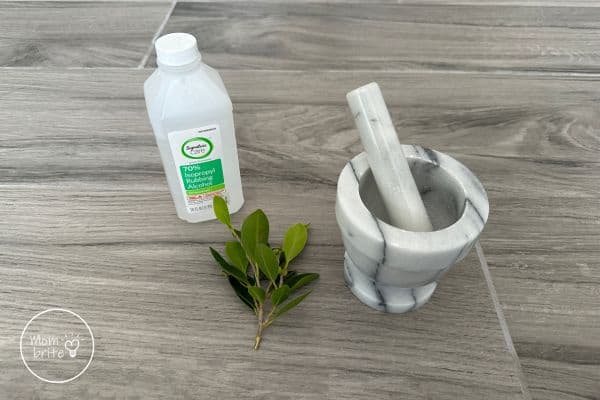
2. Tear or cut the leaves: Use your hands to tear or use scissors to cut the leaves into tiny pieces. The smaller the pieces, the better!
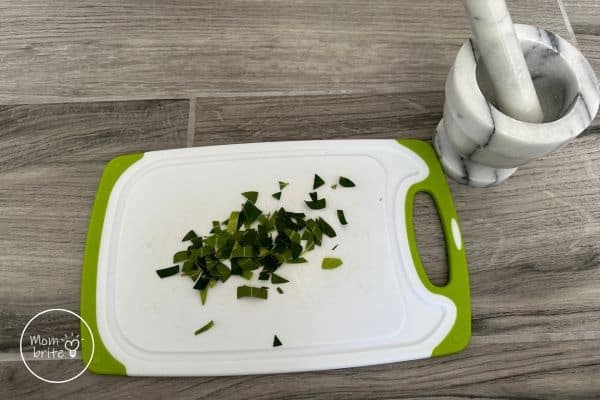
3. Mash the leaves: Use a mortar and pestle to crush the leaf pieces into even smaller pieces. If you don’t have a mortar and pestle, you can use a fork or spoon to mash them up.
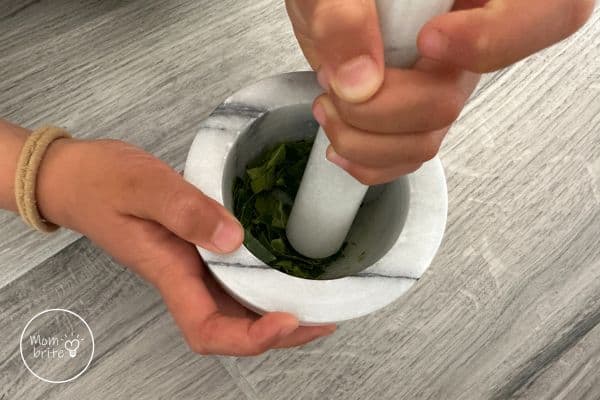
4. Place the leaves in glasses: Gather the mashed-up leaf pieces and place them into a glass.
5. Add rubbing alcohol: Carefully pour enough rubbing alcohol into the glass to cover the leaf pieces. You may want to ask an adult for help with the rubbing alcohol.
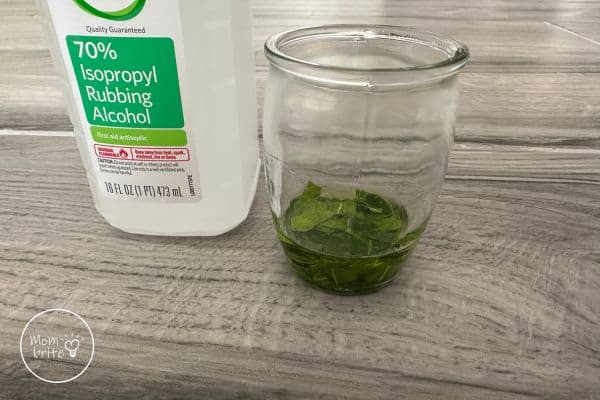
6. Wait for the magic: Let the cup sit overnight to allow the colors to dissolve into the liquid. You can cover the cup with plastic wrap to prevent evaporation.
If you are rushed for time, you can heat up water until boiling. Gently place the glass with the rubbing alcohol and leaf pieces into the bowl. Then very carefully pour the boiling water around the glass to warm up the rubbing alcohol.
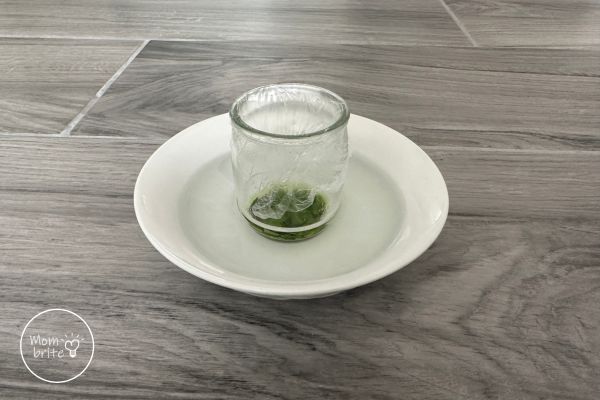
The boiling water will speed up the process of extracting pigments from the leaves. The heat from the boiling water increases the movement of molecules, which helps the pigments dissolve faster in the rubbing alcohol. The boiling water also helps break down the cell walls of the leaf tissue and allows the pigments to dissolve more effectively in the solvent.
7. Prepare the filter strip: Cut a few long strips from the coffee filter. The strips should be long enough to reach the bottom of the glass when it’s suspended from the pencil or stick.
We happen to have chromatography paper around, so we will use those for this leaf chromatography experiment.
8. Attach the chromatography strips: Tape the top of the filter strips to the stick, or secure the top of the stripes to the stick with a binder clip. Make sure the bottom of the strips touches the liquid in the glasses.
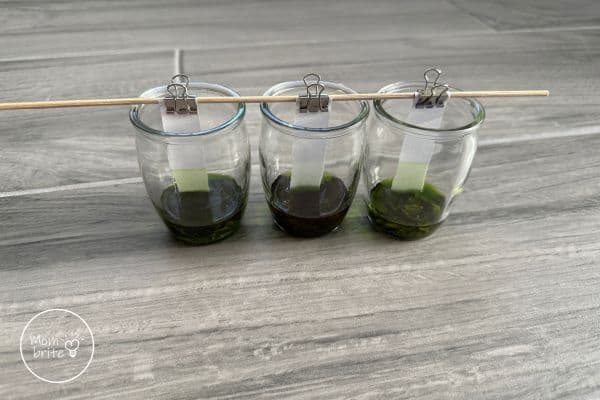
9. Watch the colors separate: As the liquid travels up the filter strips, you’ll see the colors from the leaves start to separate. This might take a couple of hours, so be patient!
We left ours overnight since we started this chromatography experiment late afternoon.
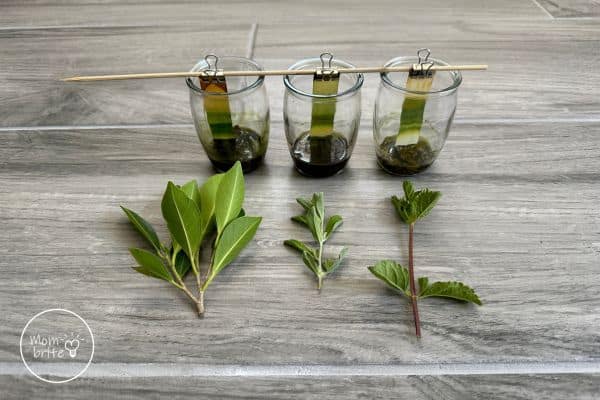
10. Examine your results: Once the liquid has reached the top of the filter strip, carefully remove it from the stick and let it dry. You’ll see different colors on the strip, showing the hidden pigments in the leaf!
Why Do Leaves Change Colors in the Fall?
Leaves are like little food-making factories for trees and plants. They use sunlight, water, and a gas called carbon dioxide to make food through a process called photosynthesis. In this process, leaves have a special green pigment called chlorophyll, which helps them capture sunlight.
During spring and summer, there’s plenty of sunlight, and the leaves are busy making food. Because of all the chlorophyll, the leaves stay green. But when fall comes and the days get shorter, something interesting happens!
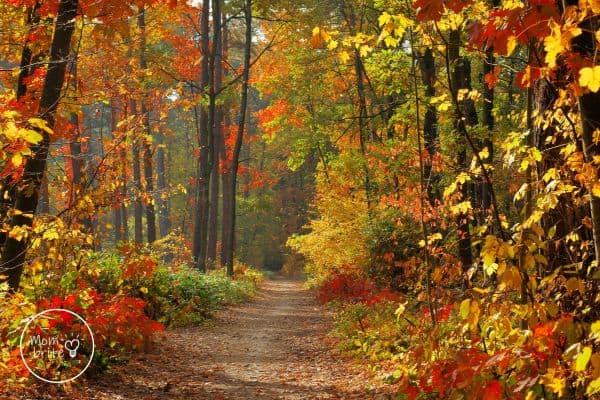
As the days become shorter and cooler, the trees and plants start getting ready for winter. They know they won’t be able to make as much food during the cold months, so they slowly stop producing chlorophyll. When this happens, the green color starts to fade away, and other pigments in the leaves become visible. These pigments were always there, but the green chlorophyll was so strong that it covered them up.
There are two main types of pigments that show up when the green color fades:
- Carotenes: These pigments give leaves their yellow and orange colors. You might recognize the word “carotene” from carrots, which also get their orange color from this pigment!
- Anthocyanins: These pigments create red, purple, and blue colors in leaves. They’re formed when sugars in the leaves mix with other compounds, especially when the nights are cool and sunny days follow.
So, as the chlorophyll disappears, these other pigments shine through, creating the beautiful shades of yellow, orange, red, and purple that we see in the fall. Eventually, the leaves dry up and fall off the trees, preparing them for the winter months.
And that’s why leaves change colors in the fall! It’s a fascinating process that shows us how nature prepares for the different seasons.
Using paper chromatography, a scientific technique used to separate the different components of a mixture, we were able to see the different pigments in a leaf. Some pigments adhere to water molecules better than others, so they travel further up the chromatography strip before sticking. You can observe that the darker green chlorophyll stuck to the bottom of the strip, while the brown and yellow pigments moved up to the top.
Leaf Chromatography Activity
As we’ve seen, chromatography is a powerful tool for unraveling the mysteries of mixtures, offering valuable insights into the composition of substances in our everyday world. In the case of leaf chromatography, we’ve uncovered the presence of different pigments like chlorophyll, carotenes, and anthocyanins that contribute to the beautiful array of colors we see in fall foliage.
In addition to its educational value, this experiment serves as a reminder to appreciate and marvel at the intricate processes occurring in the natural world around us. So, the next time you go for a walk and admire the changing colors of leaves with your kids, remember the leaf chromatography experiment and the hidden secrets it has unveiled.
YOU MAY LIKE:
