This sun suncatcher craft made from a paper plate would look gorgeous hanging in front of any window—and it’s so simple to make that even toddlers can participate!
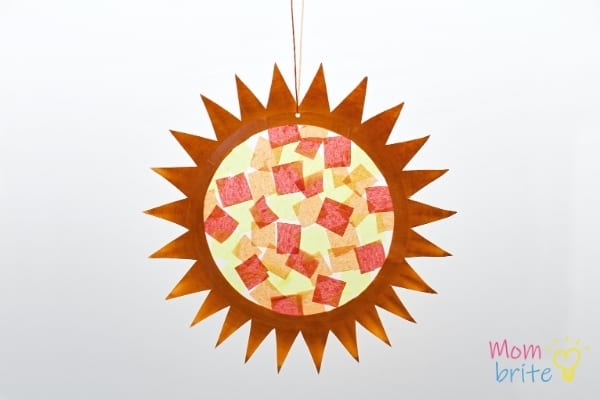
Spring is almost here, which means it’s the perfect time to start crafting flowers, rainbows, and sunny skies (assuming you need an excuse to do so)!
And what better craft to showcase the sun than a suncatcher that lets actual rays of sunshine shine through into your house?
Paper plate suncatchers are such a fun craft to make with kids, and they involve several steps that can be completed by younger children like toddlers or preschoolers. So if you’ve never made one, this sun suncatcher craft is the perfect excuse to try!
How to Make a Sun Suncatcher
Supplies:
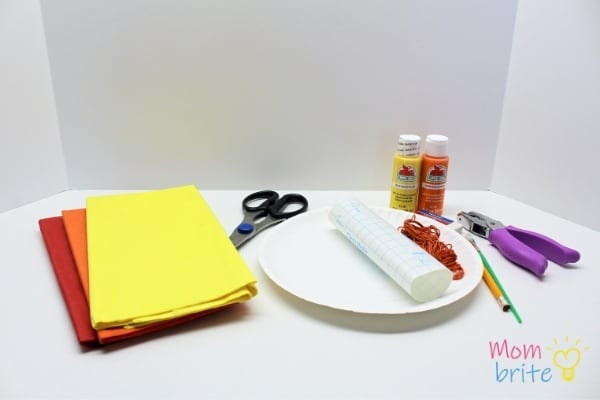
- Paper plate
- Scissors
- Yellow and/or orange acrylic paint (or washable kids’ paint)
- Paintbrush
- Contact paper
- Pencil
- Compass (optional)
- Tissue paper
- Hole punch
- String or embroidery thread
Instructions:
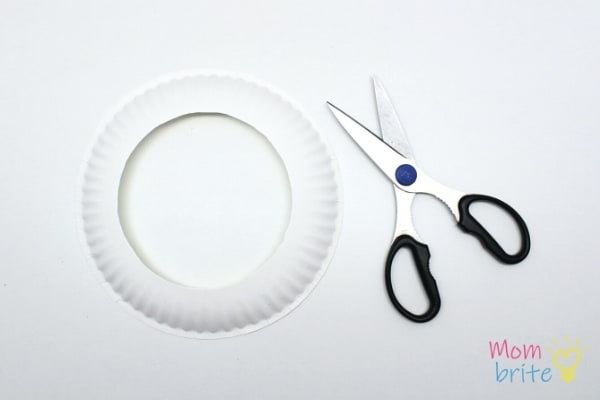
1. Start by cutting a large circle in the middle of a paper plate. To make things easier, cut along the line inside the border of your paper plate.
2. Paint the inside of the paper plate using yellow and/or orange acrylic paint (or washable kids’ paint). I wasn’t a fan of the orange color I had, so I mixed equal parts yellow and orange paint to create the shade that I wanted.
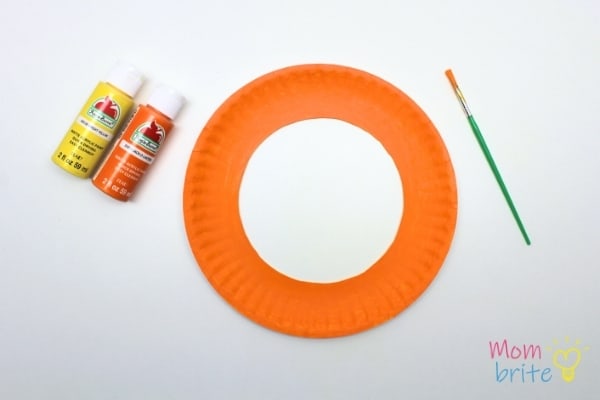
3. Wait for the paint to dry fully.
4. Trace a circle on the back of the contact paper and use scissors to cut along the line you’ve traced. I happened to have a bowl that was just a little bit larger than the hole in the paper plate (about 6.5 inches in diameter), but you can always use a compass if your bowls aren’t the right size.
I also have some free printable circle templates that you may be able to use if you don’t have a compass!
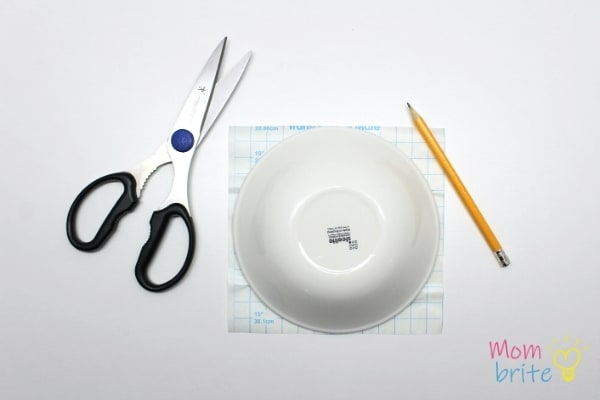
5. Peel off the backing and press the contact paper down onto the front of your paper plate. The sticky side of the contact paper should be pressed against the side you painted, and it should be visible through the hole when you turn the plate upside down.
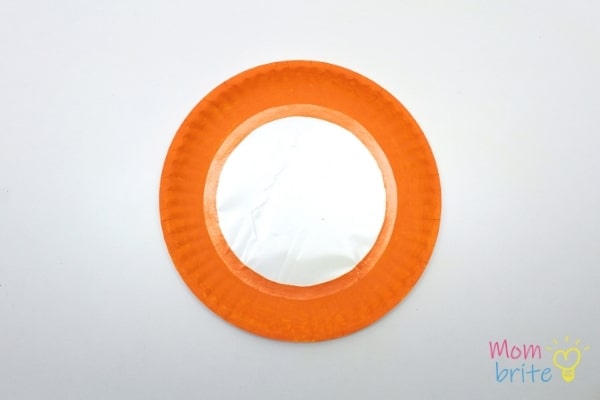
6. Cut some tissue paper into small squares. (Young children can simply tear it up instead of cutting.) You can choose whichever colors you like, but I opted to use yellow, orange, and red to complement the orange of the paper plate.
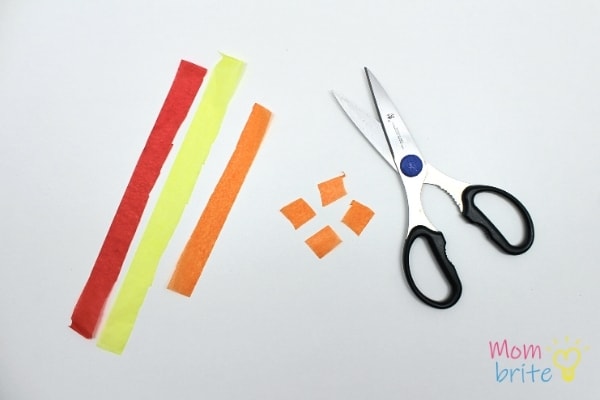
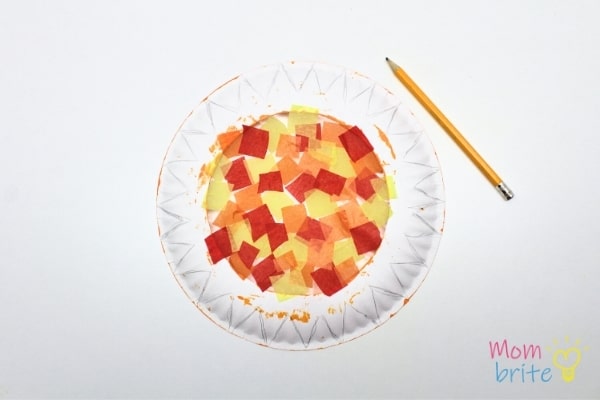
7. Turn over your paper plate and press the squares of tissue paper onto the sticky side of the contact paper. Aim to cover the entire circle with pieces of tissue paper.
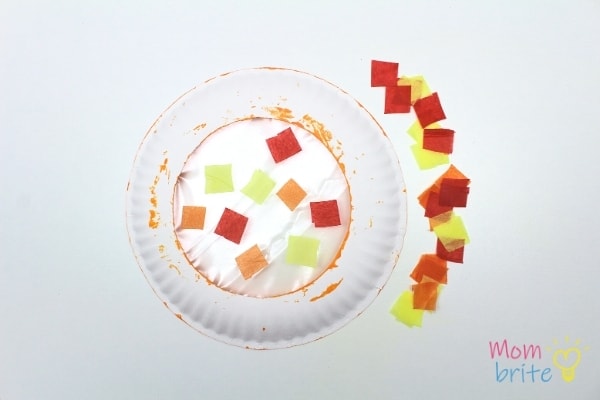
8. Once the contact paper is covered with tissue paper squares, use a pencil to draw triangles on the bottom of the paper plate, right along its edges. To make things easier and more symmetrical, start with the 3 o’clock, 6 o’clock, 9 o’clock, and 12 o’clock positions before filling the spaces in between.
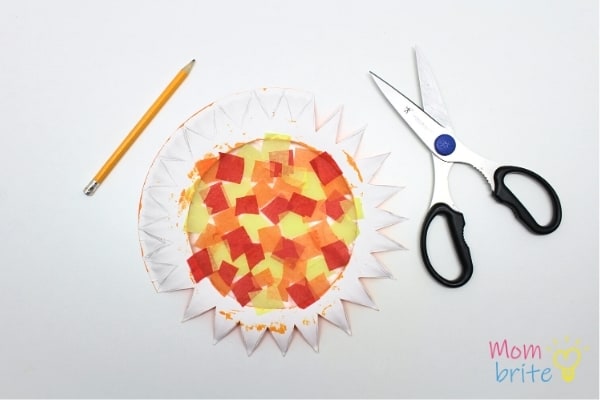
9. Cut along the lines you’ve traced in order to create the sun’s rays.
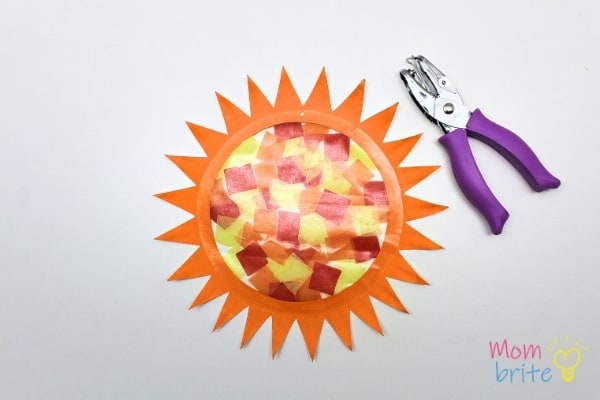
10. Use a hole punch to create a small hole in between two of the sun’s rays. (You can make the hole at the top of one of the triangles if you prefer, but this will make it more difficult to tie a knot.) I used a ⅛-inch hole punch, but you can use whatever you have on hand.
11. Pass a piece of string or embroidery thread through the hole and secure it with a small knot. Then, hang the suncatcher in front of a window and watch as the sunlight shines through the squares of tissue paper!
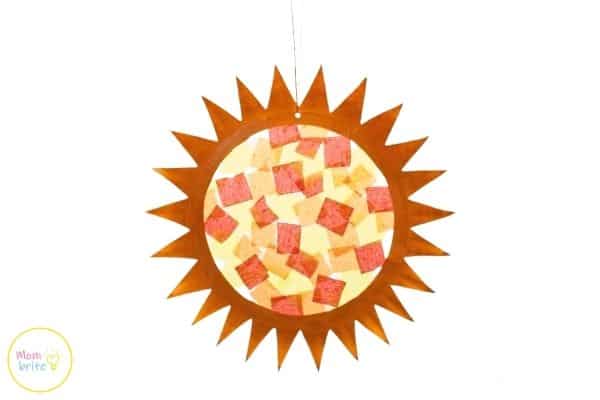
Doesn’t this sun suncatcher just look gorgeous? What a great craft to celebrate the arrival of spring!

This is a guest post by Sacha, the owner of The Craft-at-Home Family. Sacha is a former teacher turned stay-at-home mom of four young kids. When she’s not busy taking care of her little ones, she likes to share fun crafts, kids’ activities, and recipes on her blog.
Related Posts:
