The different phases of the Moon fascinate kids. One of the common misconceptions that kids have is that the Moon changes shape throughout the month.
To explain why the Moon looks different every night, you need to show your kids how the Moonlight that we see is the Sun’s light reflected off the Moon’s surface.
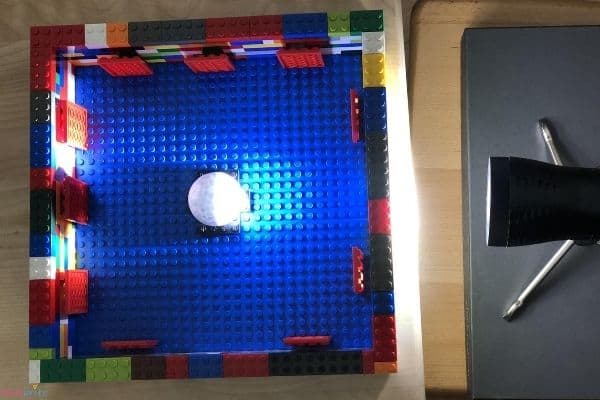
To demonstrate how the Moon changes shape depending on its relation to the Sun, we built a LEGO moon phase box. You might have seen this moon phase activity done before with a shoebox. But instead of playing with a cardboard box and a sharp knife, I rather do the science activity with LEGO bricks!
LEGO Moon Phases Demonstration
You need:
- LEGO bricks
- 2 LEGO baseplates
- Styrofoam ball
- Flashlight or other light sources
As far as the LEGO construction, the objective is to build a box with windows on all sides. One window will be for the light source, and the others will be for you to peek in to see the different moon phases.
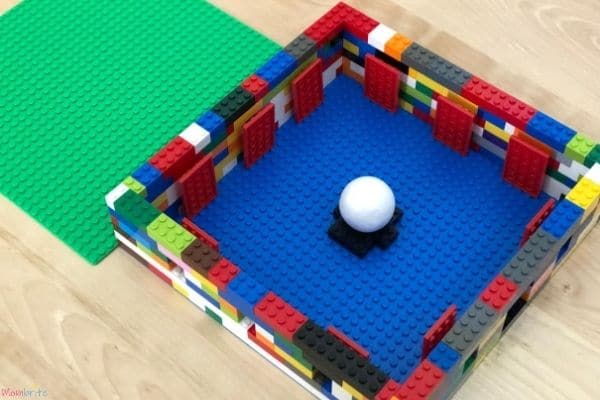
We started with stacking LEGO bricks along the four edges of the baseplate. Then for 3 of the sides, we left three gaps in the walls for the observation holes.
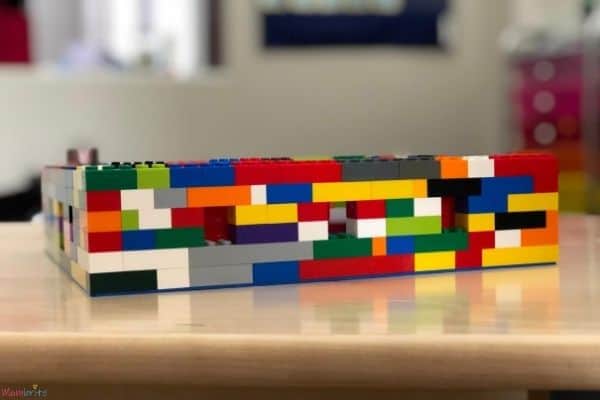
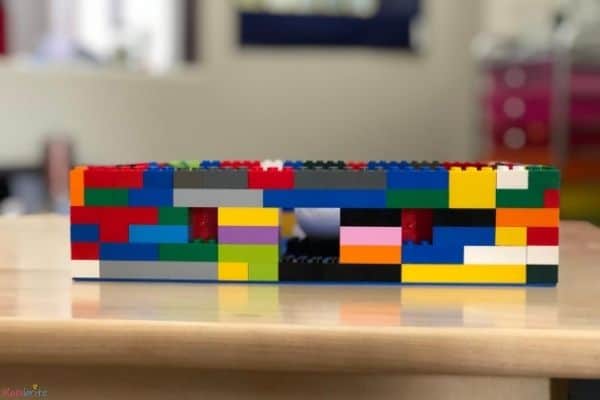
For the last side, we built 2 holes for observation, and one big hole for the light source.
In the middle of the baseplate, you want to build just a small structure to hold the styrofoam ball. This prevents the ball from rolling around when you shift the box. Also, it makes the ball your eye level when you look inside the observation holes.
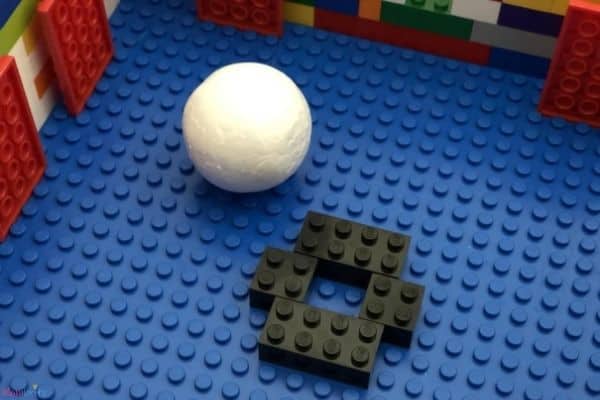
To make sure that it’s dark enough inside the LEGO box, you want to shield light from coming in through the other holes while you peep inside one of them. Therefore, we placed small LEGO plates vertically on the inside of the “windows” to block the light. You should block all the windows except for one. The big light source window should always be open.
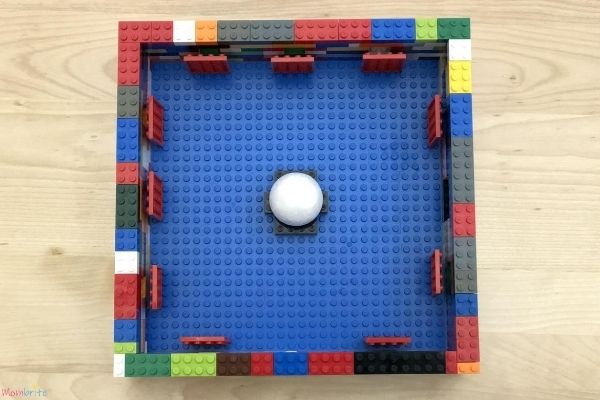
That’s it for the LEGO moon phase box construction! After that, you just need to place the styrofoam ball in the middle of the baseplate, place the second baseplate on top to block the light, and then turn on your flashlight!
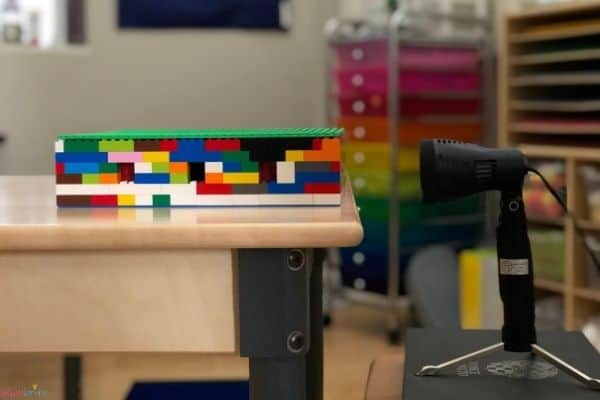
To switch from one observation hole to another, just lift up the lid and move the small LEGO plate from one window to another. It’s super fast and easy!
Demonstrating the Moon Phases
Have your child peek into each observation hole to see how the light changes shape depending on his position relative to the Moon (styrofoam ball) and the Sun (light source). You should be able to see all of the different moon phases.
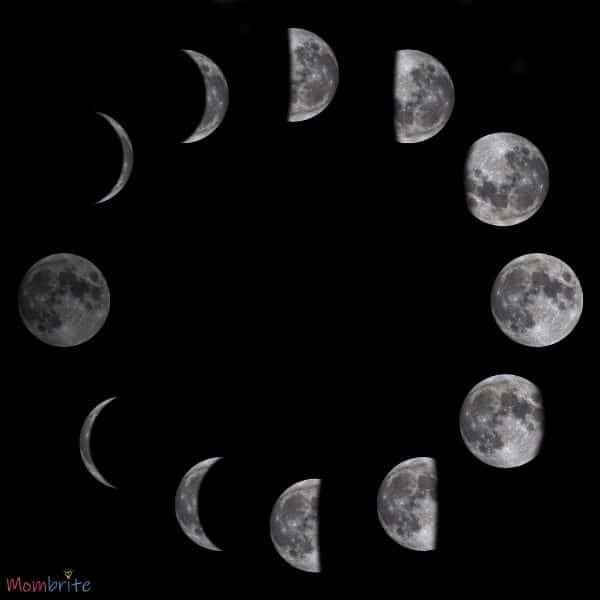
For example, when the Moon is between the Earth and the Sun, there is no light on the near side of the Moon from the Sun. Therefore, the Moon is not visible to the unaided eye.
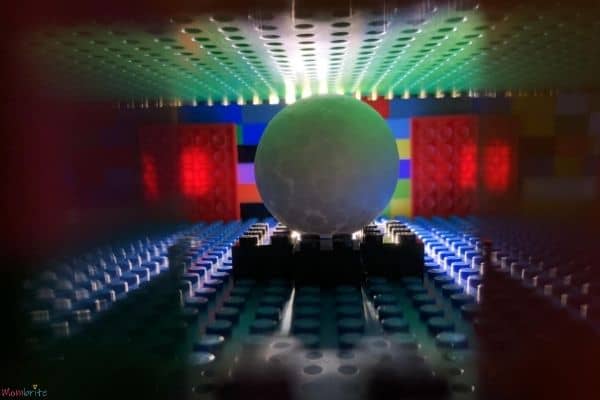
The most famous shape of the Moon is the Crescent Moon. You can see the Crescent Moon on either side of the LEGO box, where there is light only on a slender fraction of the styrofoam ball.
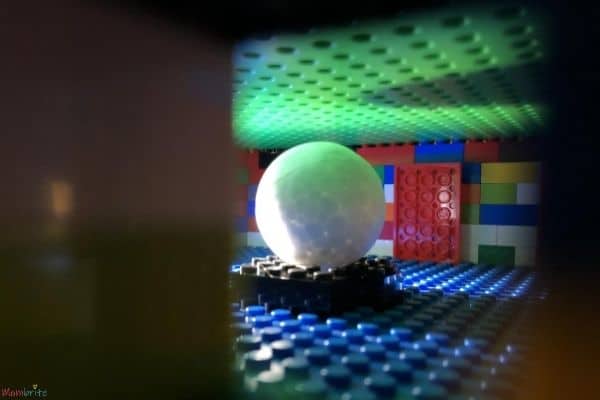
One thing to point out to your child is that this LEGO box moon phase demonstration only shows the Moon’s different positions relative to the Earth and Sun. It does not represent the actual orbits of the Earth and the Moon. Since your child is going around the box trying to see the Moon, you want to clarify that the Earth does NOT orbit the Moon, and it’s the other way around.
I hope this moon phase science activity helps your child understand the different moon phases and why we see the shapes of the moon change!
For more fun moon activities and crafts, check out:
